 My love for all things washi tape runs deep. With so many colors and patterns to choose from, it’s an item that I’ve never tired of during all my years of crafting. So I thought to myself… why not cover my walls in it?!
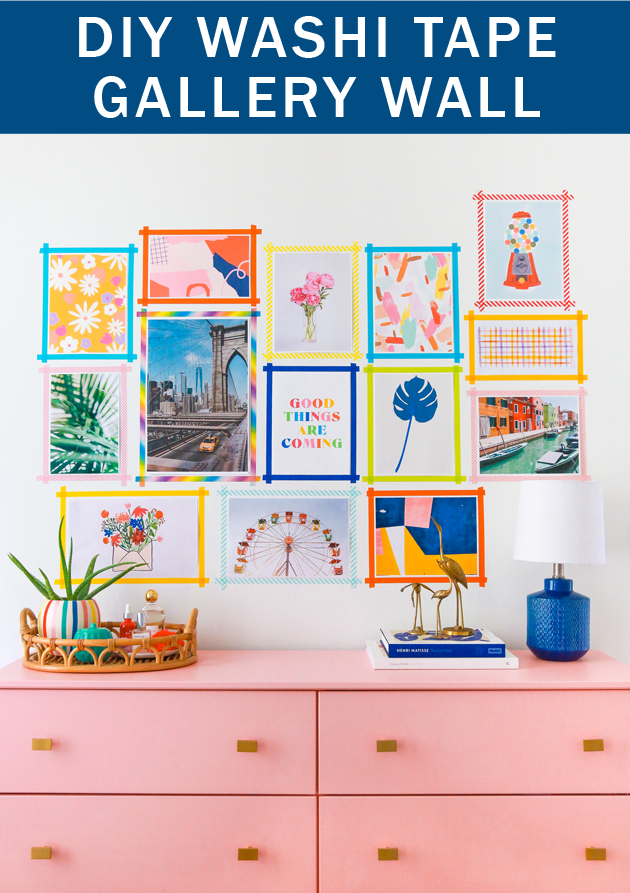
All of the pieces I used to make this DIY Washi Tape Gallery Wall were free printables I found from artists + bloggers! That’s right– you can make a gallery wall with just a printer and a few rolls of tape. Here’s how:
 What You’ll Need
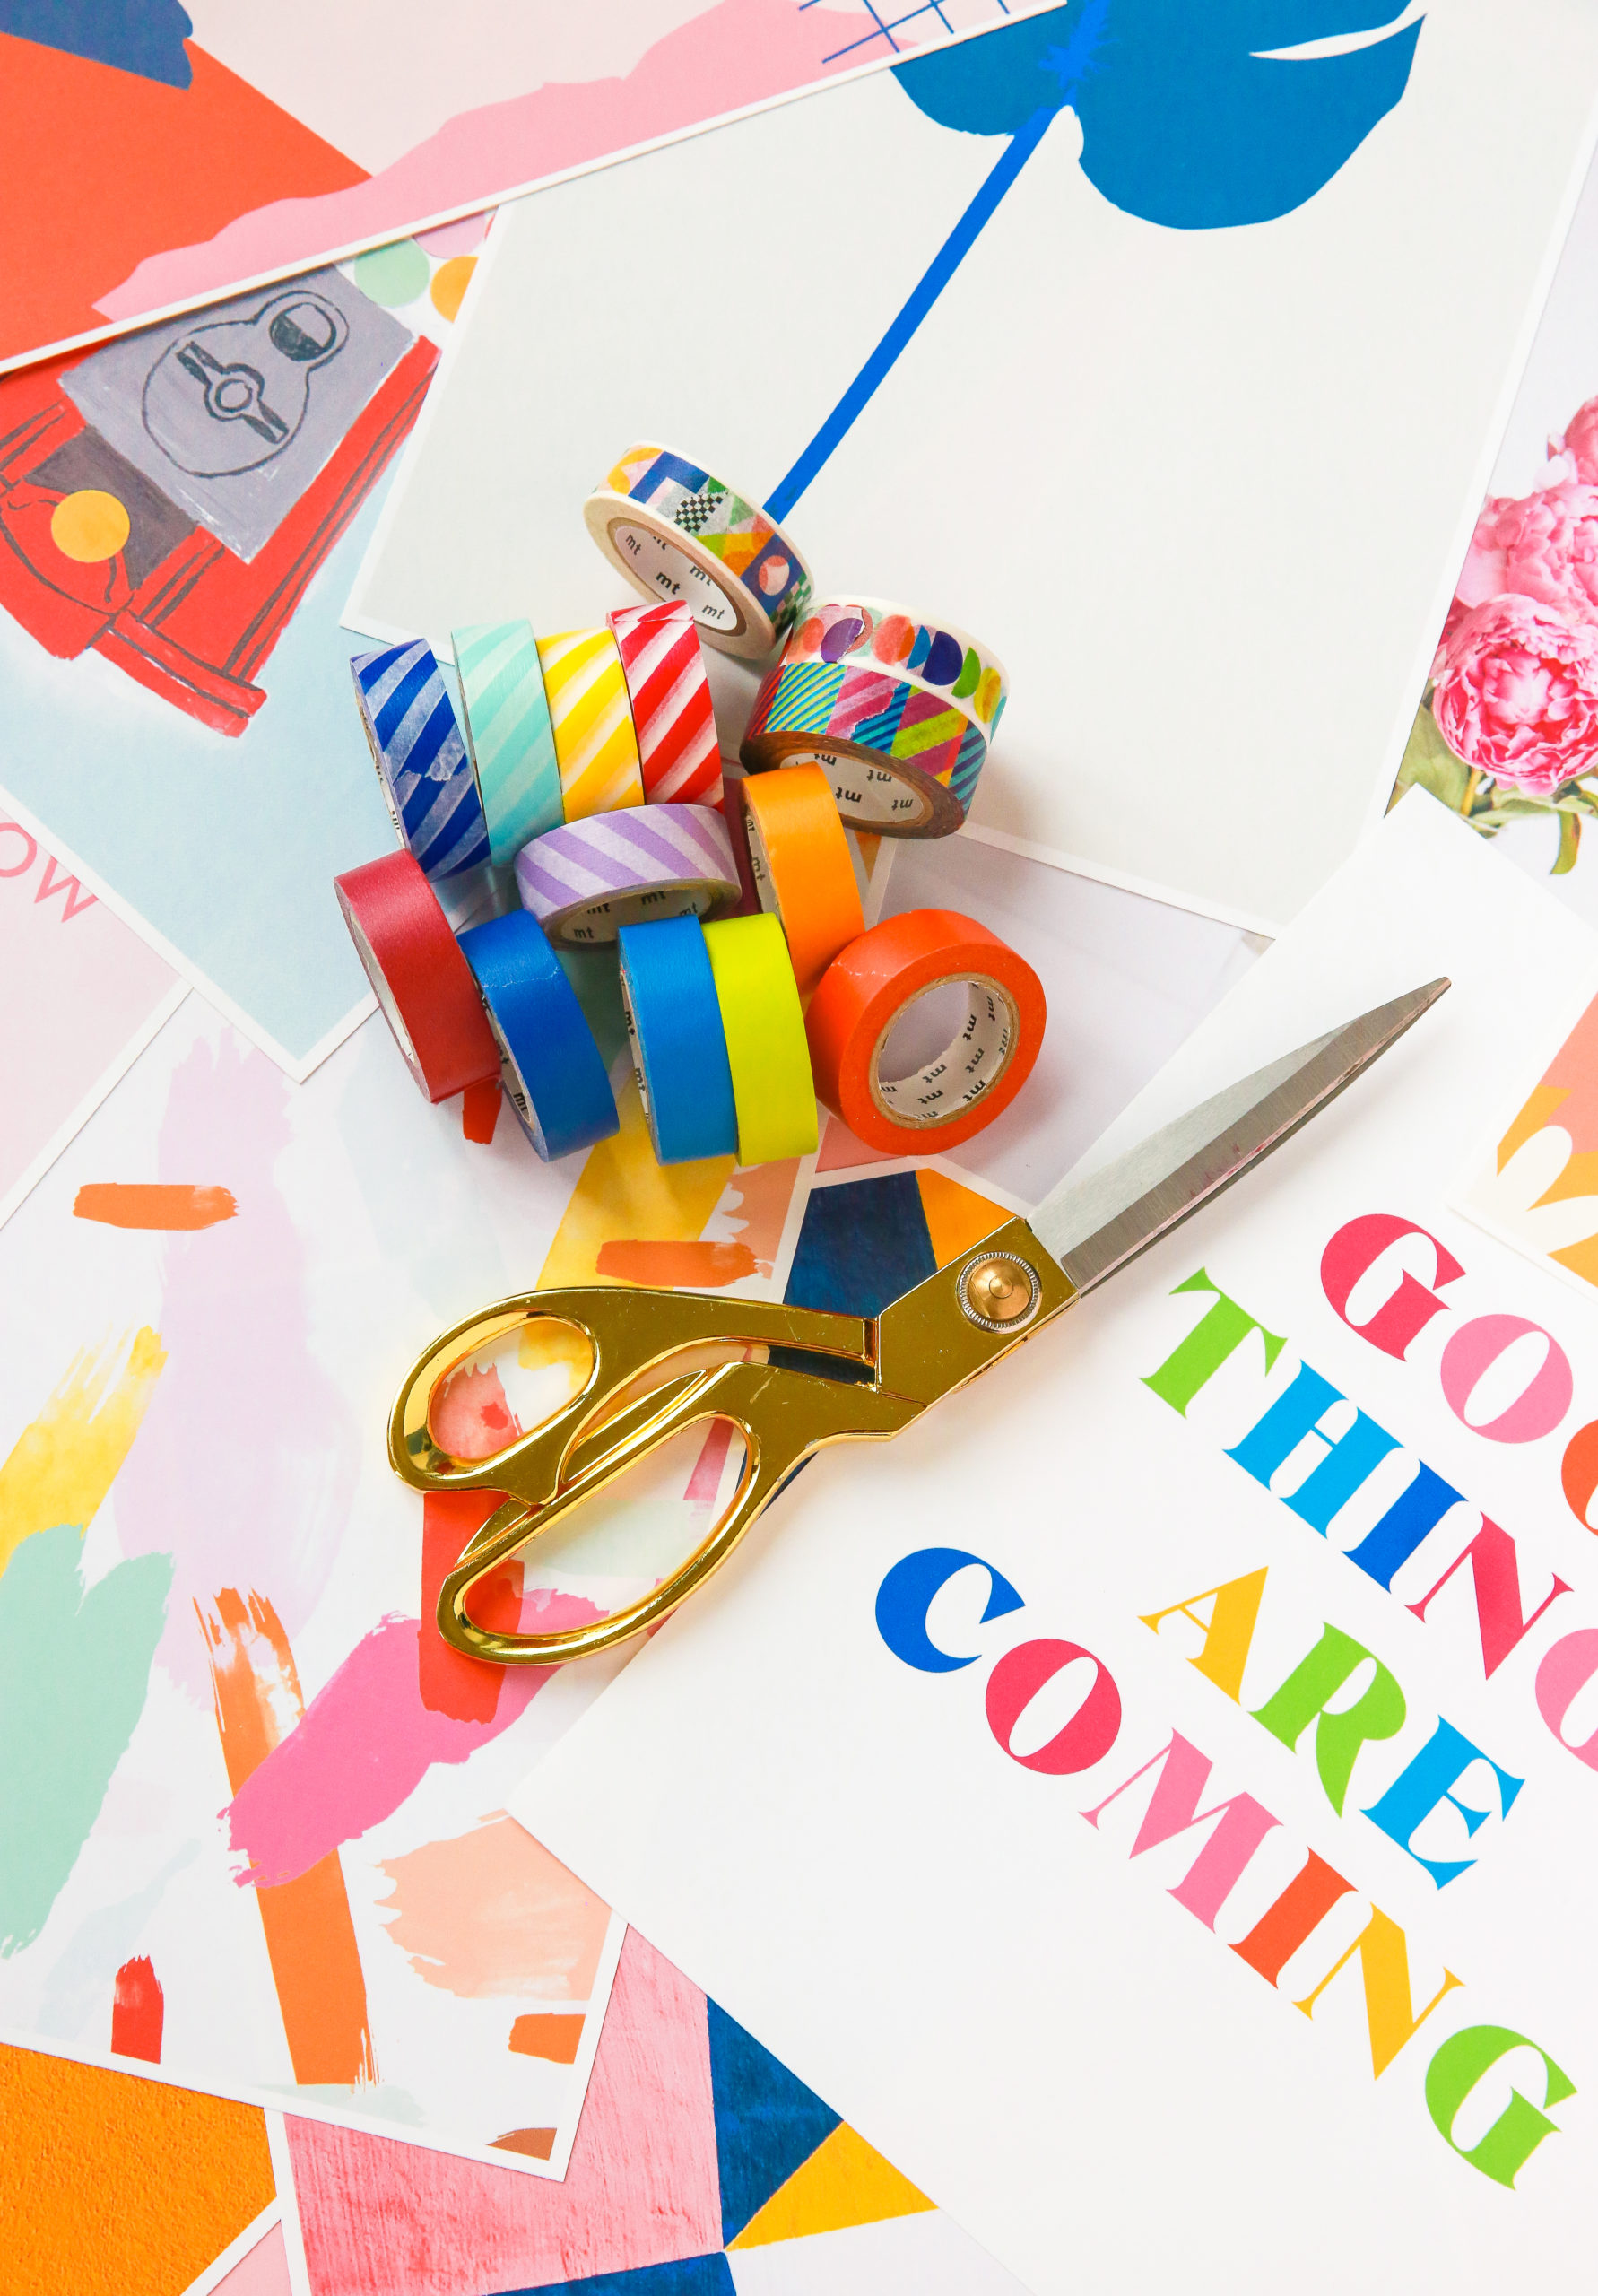
– Washi Tape
– Printer + quality paper
– Scissors
– Level
– Free printable art (rounded up all the pieces I used in this post; Please refer to the original source of the art confirm the usage rights)
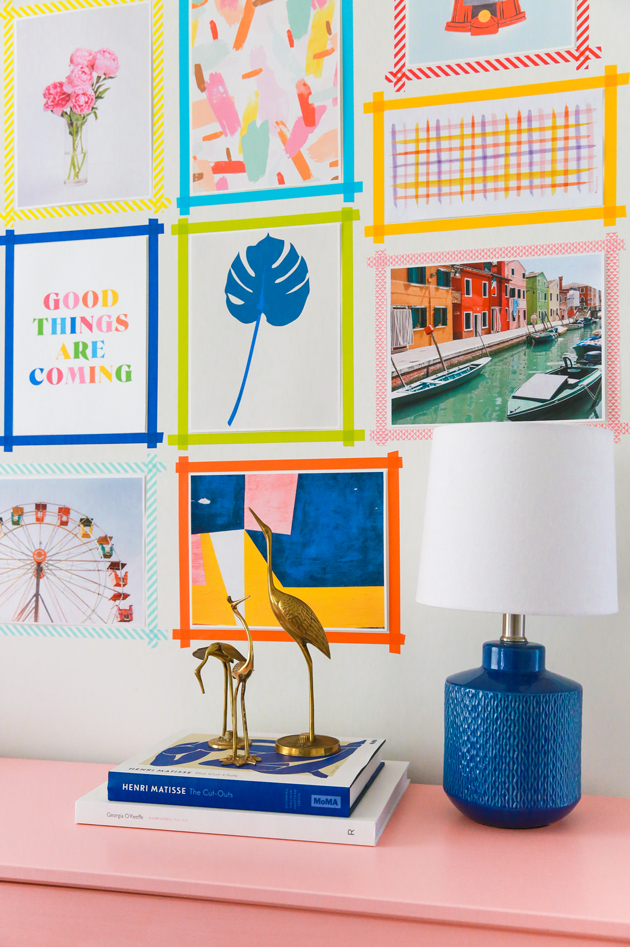
Not only is using washi tape instead of frames cost effective, it’s also a way to bring in more color. I used washi tape from my shop and since you’re reading this post, you can use the coupon code: WASHI for 15% off your full order!
For the printer, I have a photo printer and was able to just change out the paper for a thicker quality matte paper. You can also use photo paper.
I highly recommend using high quality paper instead of standard printer paper for this project. It’ll just give you a better print overall. If you don’t want to deal with printing at home, send the prints to Staples for in store printing (prices might be around $1/print).
 How To Make a Gallery Wall
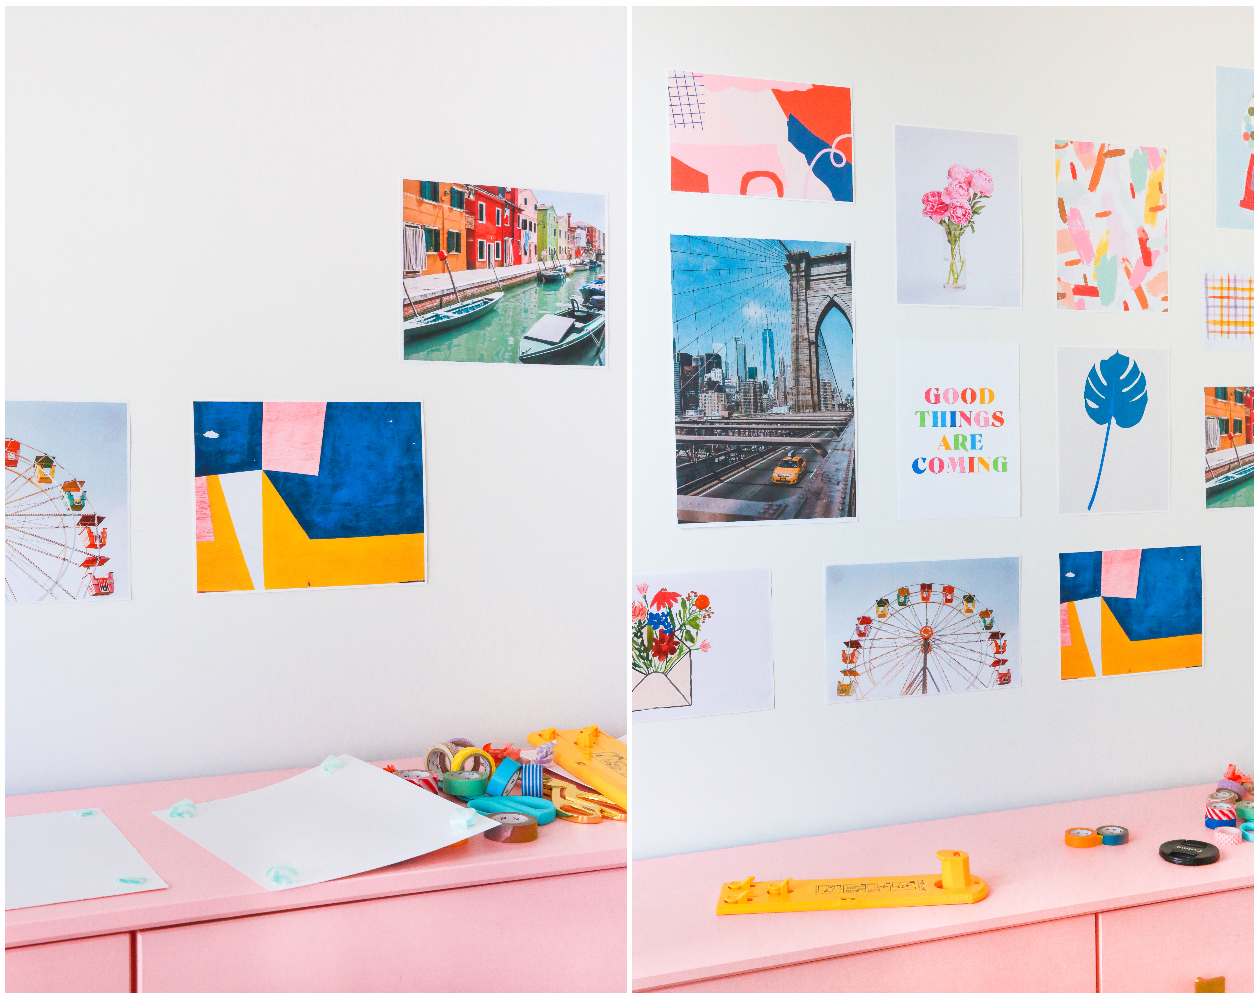
Start with the layout of your gallery wall. Arrange prints flat on a surface so you can see how they’ll fit together. I typically work on the floor for this, because it gives best overall view. Don’t forget to keep measurements in mind to ensure they’ll all fit on my designated wall space.
Once you have your layout, hang the bottom row of wall art first. This will ground your gallery wall and ensure that you don’t run out of room towards the end.
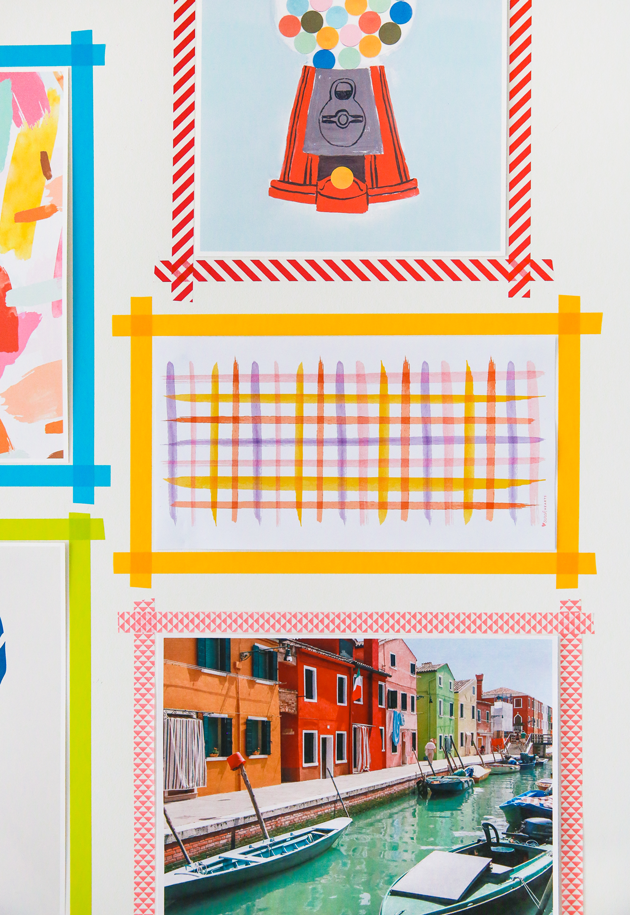
As you’re hanging pieces, make sure to leave enough empty space around your art to fit the washi tape. I left about 2.5″ from print to print. And of course level each piece as you go.
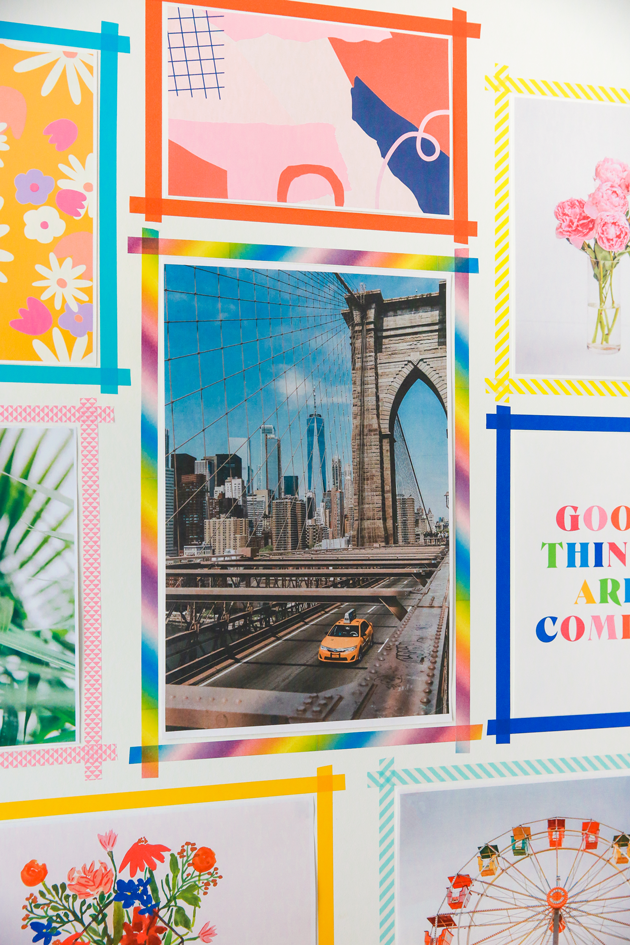
Continue hanging art until your gallery wall is in place, then it’s time to go in and add your washi tape! I like the look of the overhang, but you can trim your washi to a perfect rectangular shape as well. Use scissors to ensure a clean edge.
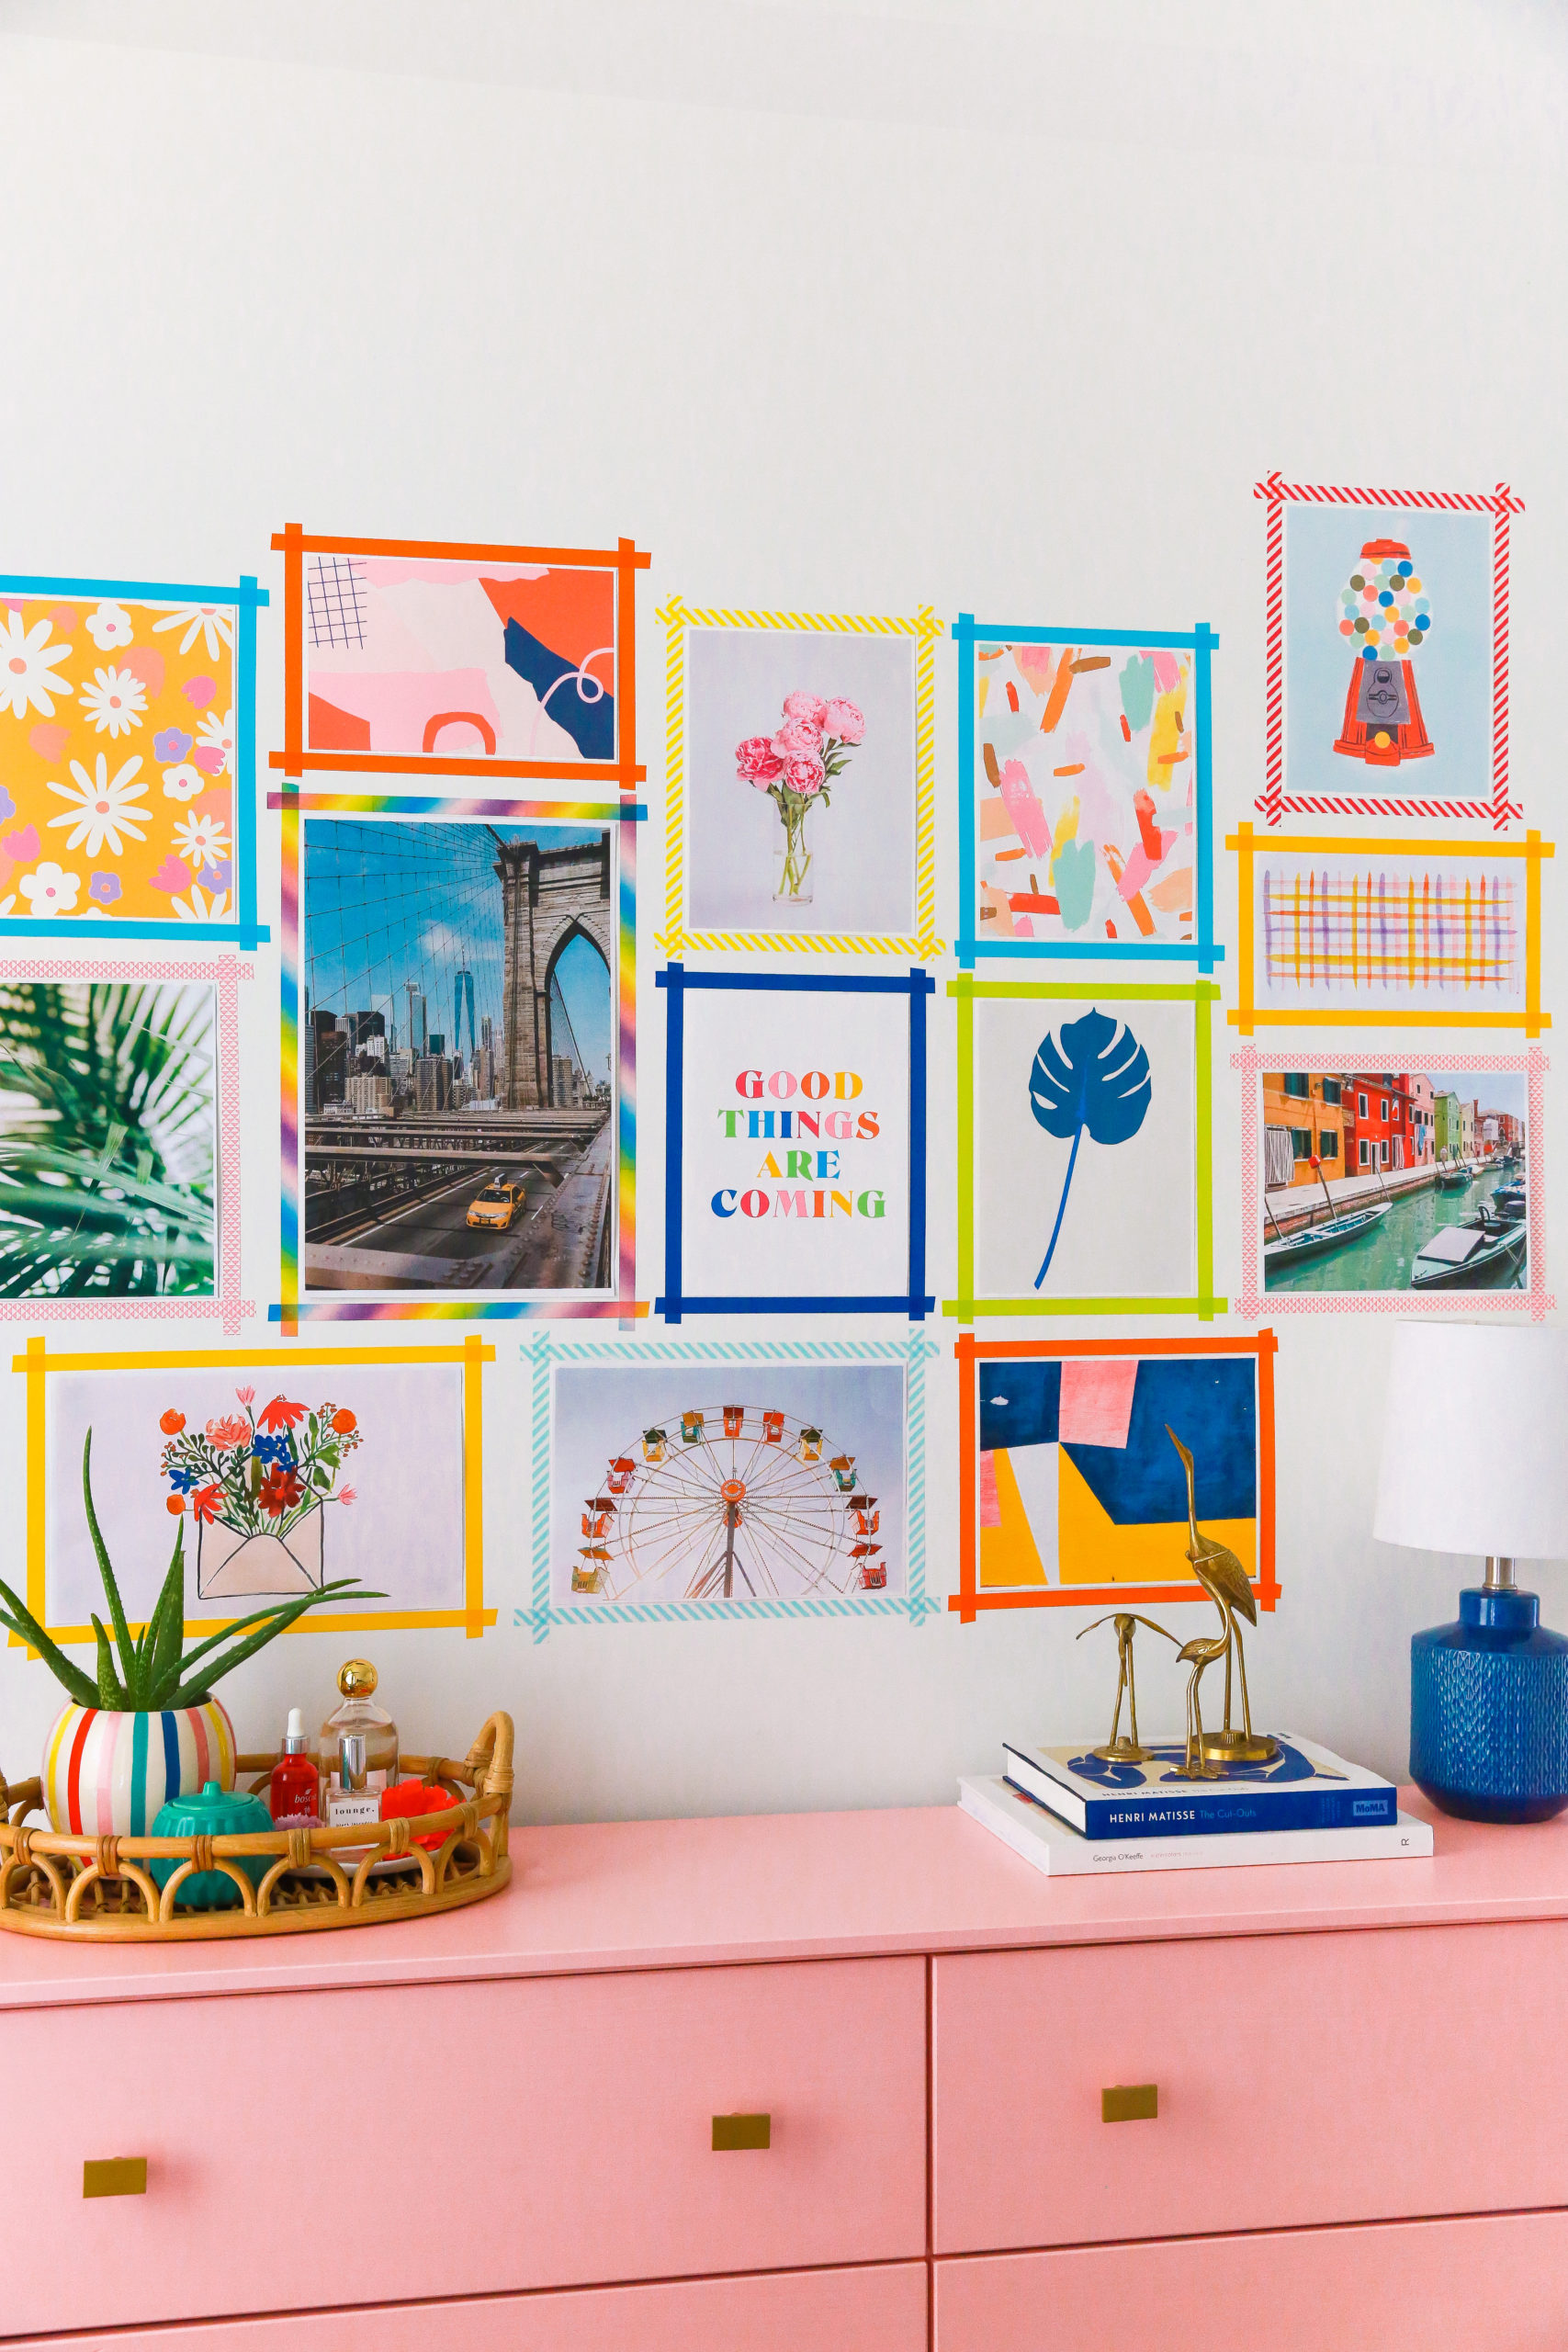 And that’s all there is to it! If you run into any issues, the good thing is that washi can easily be moved. This is also a great renter friendly decor idea because washi isn’t harmful to wall. It’s always a good idea to do a test swatch before beginning though.
I’m so happy with how this turned out and love the idea of changing it up slightly with new tape or a new print as time goes on. As someone who changes their mind a lot when it comes to decor, the flexibility of this project is perfect!
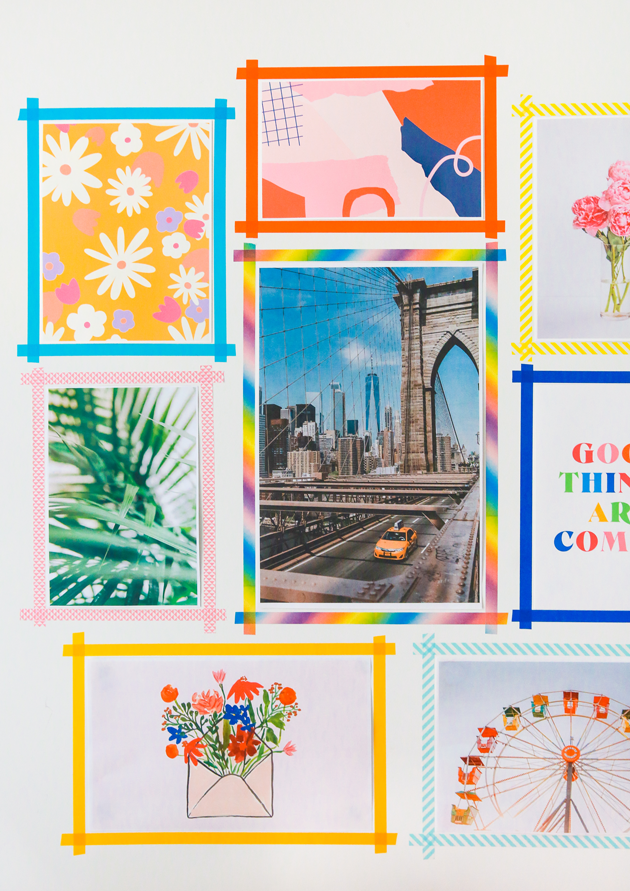
I rounded up sources for all of this art in a previous post, but am linking to them again here in case you want to replicate this gallery wall for your home and check out the amazing artist behind the work:
1 | 2 | 3 | 4 | 5 | 6 | 7 | 8 | 9 | 10 | 11 | 12 | 13 | 14