This post is sponsored by Fujifilm. All opinions are 100% my own. Thank you for supporting the brands that keep The Crafted Life making!
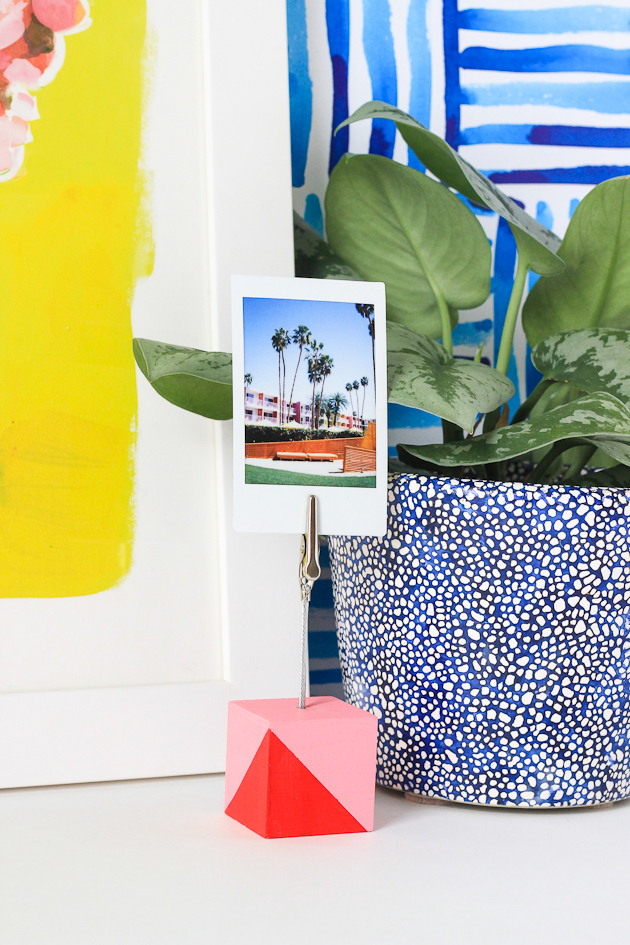
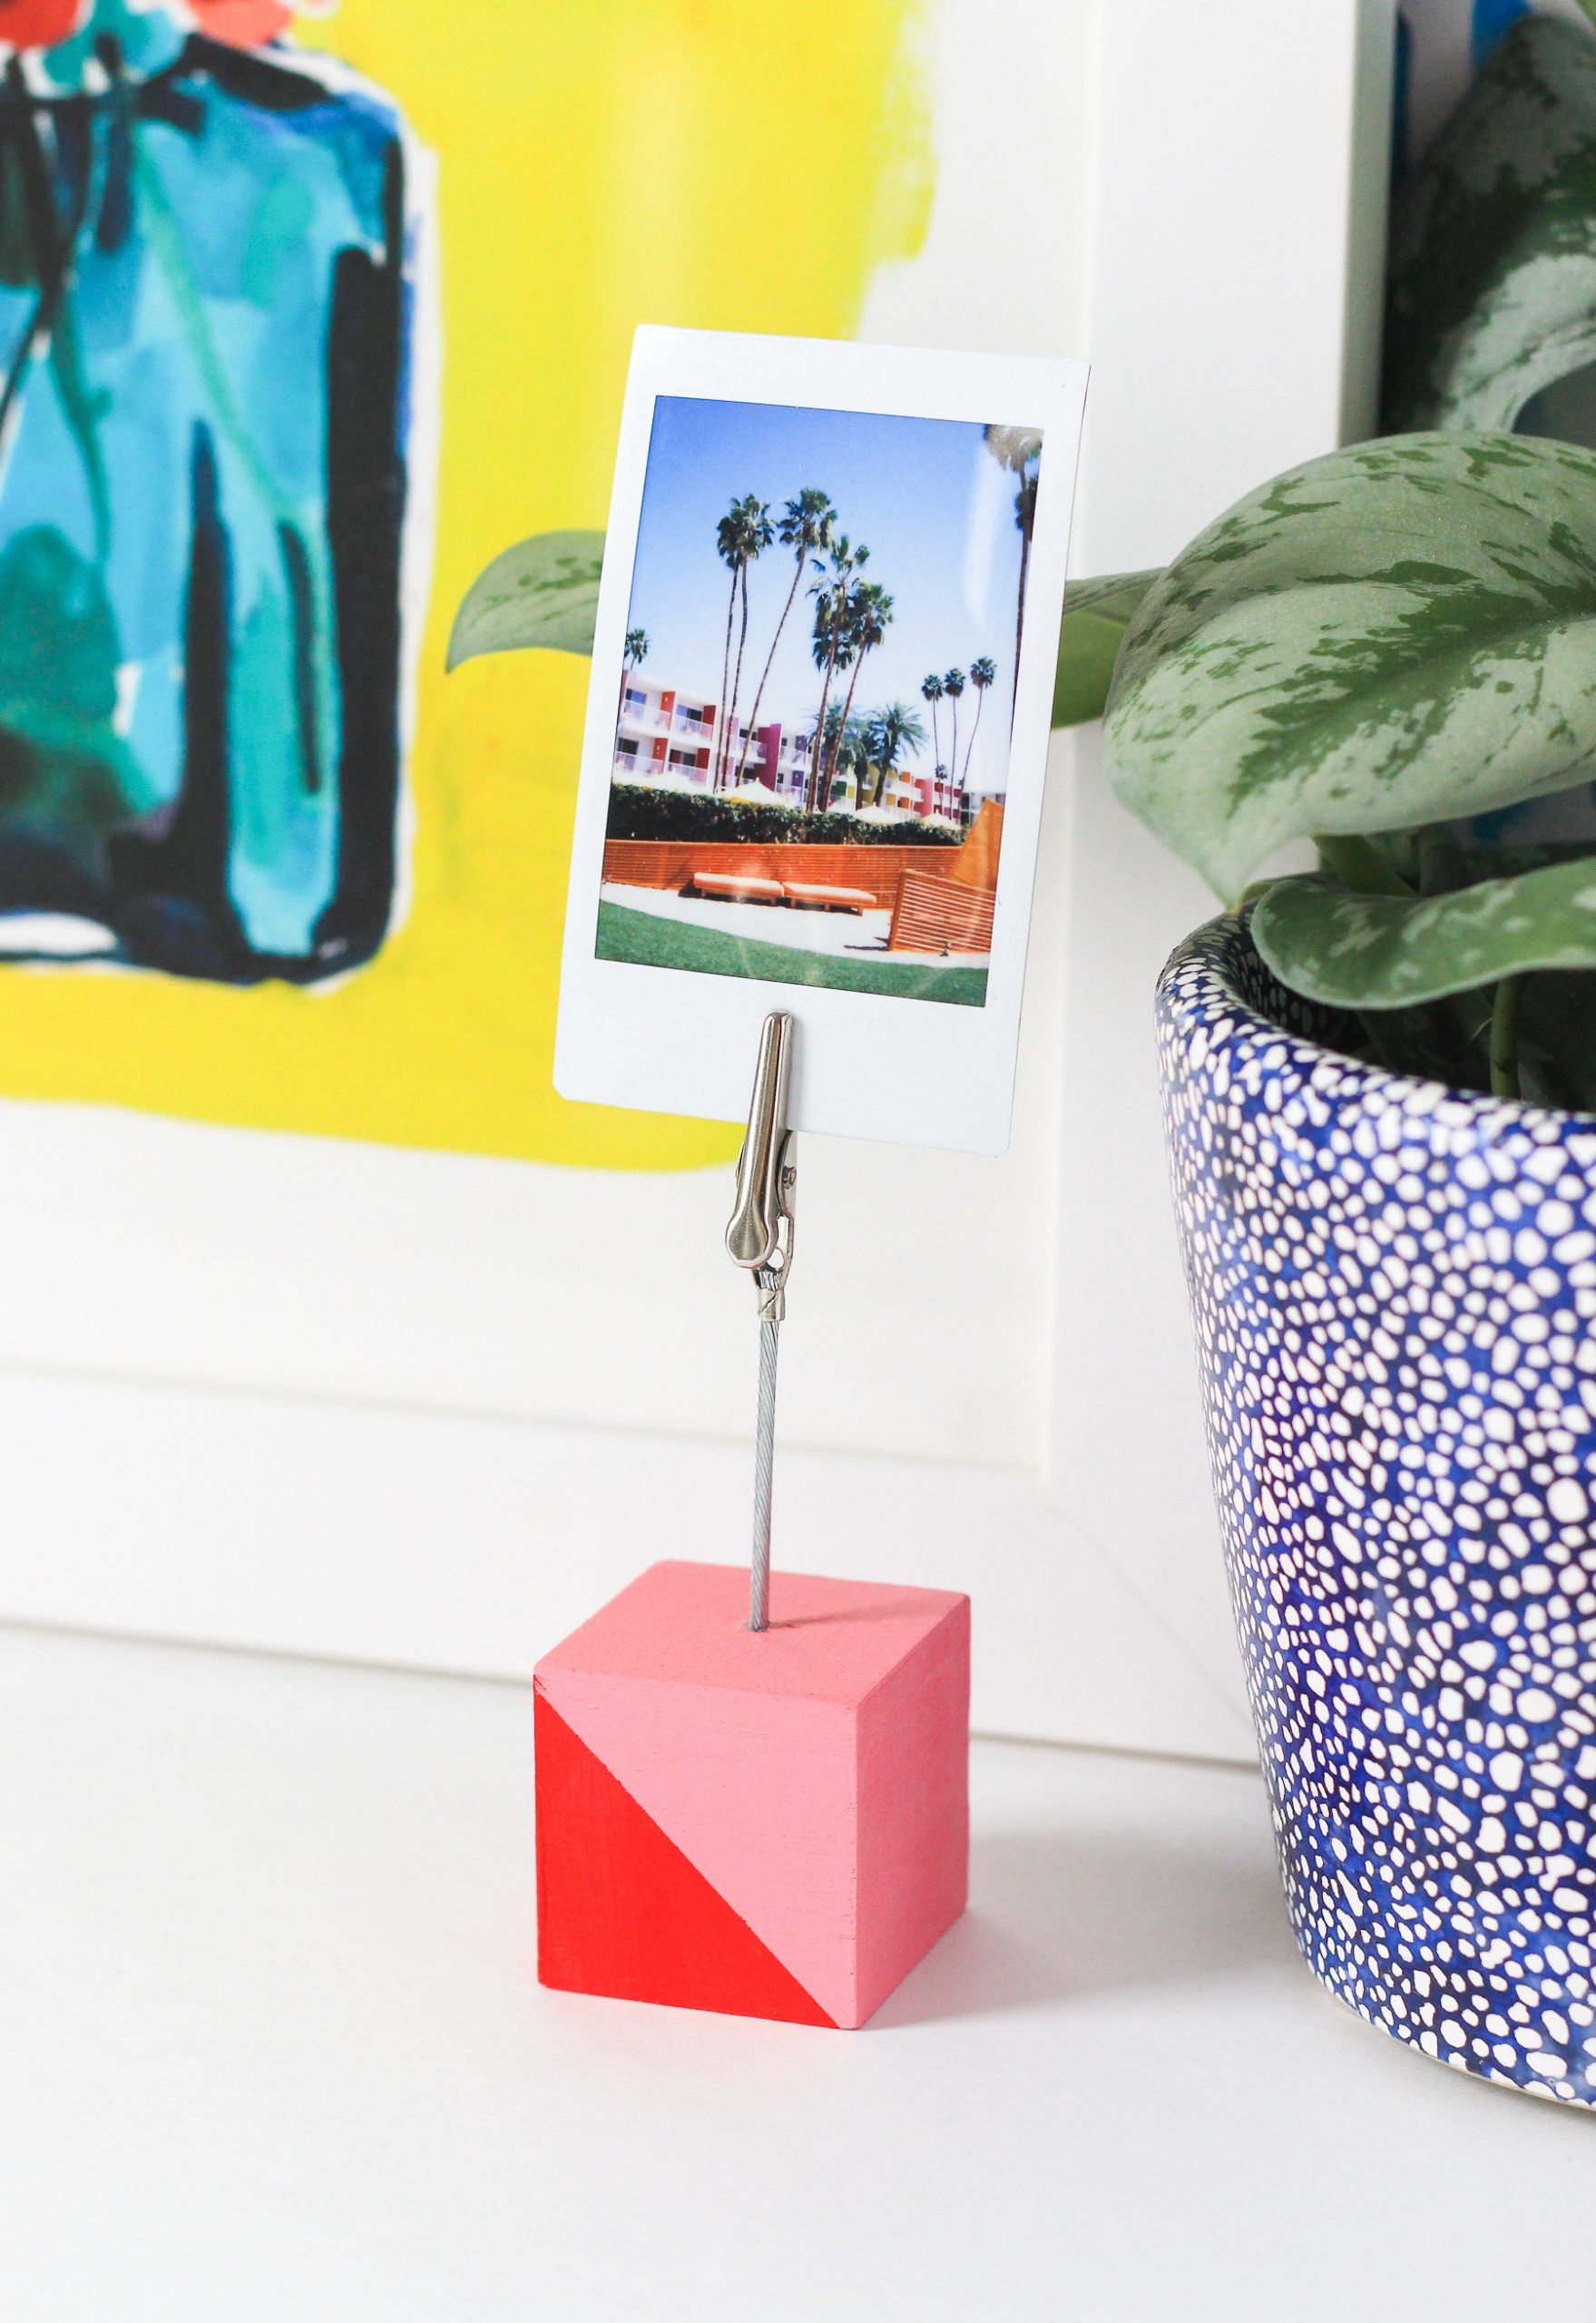
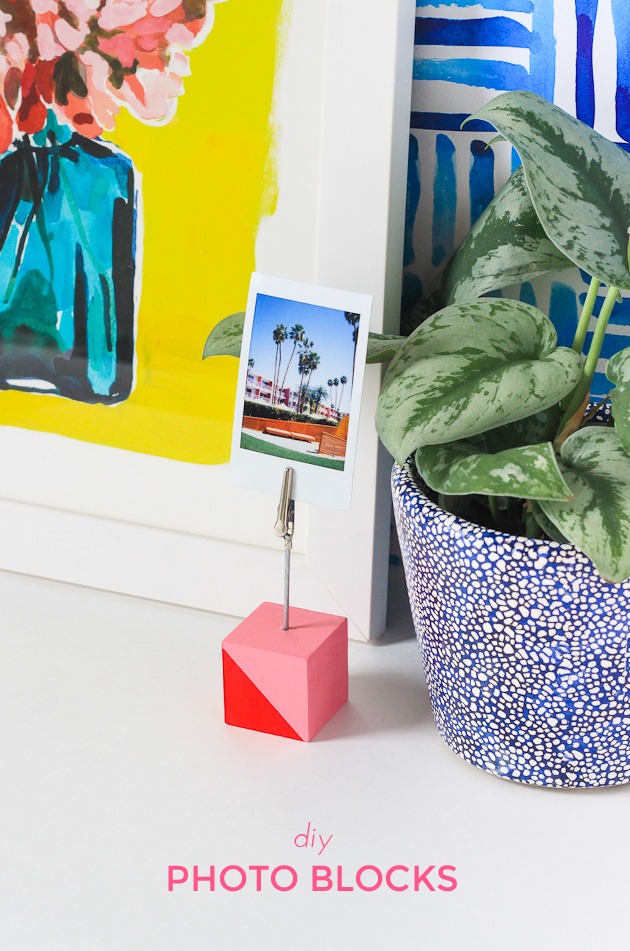 Valentine’s Day is coming my friends. And I mean, what says I love you more than a handmade gift?! These DIY photo blocks are not only the perfect way to display your special Instax shots for both friends and partners alike, but they also take less than 30 minutes to make. Talk about a win-win! Here’s how how to make photo blocks:
Time: 20 minutes + dry time
What You’ll Need:
– Instax Mini 70
– Instax Mini film
– Wooden blocks
– Alligator clips
– E-6000 glue
– Paint + paintbrush + tape
 How To:
Start by drilling a hole in the center of your wooden block. You want to drill down as far as possible without going through the block. Newbie with a drill? Just mark your drill bit with a piece of tape where you want to stop. This will also help you keep your photo height consistent if you plan on making a set!
Paint your blocks as you please. You could even paint a fun pattern, a heart, or your initials to make them extra special. Once dry, apply a bit of E-6000 glue to the end of your alligator clip and insert into your block. Let dry, add your Instax Mini Photo and you’re all done!
These really are too easy not to make, so while you’re whipping up a batch for your loved ones, don’t forget to make a few for yourself!