Time: 1 hour
Materials: premo clay, bead making tools, wax paper, leather cord, oven
 I’m always amazed that when I make something out of clay that it doesn’t fall apart. Call me skeptical, but it seems like it should be harder to work with than it is. I’ve been wanting to learn to make my own beads for a while (because hello, endless jewelry projects), so I finally took the plunge and picked up some Premo Clay to start experimenting with!
 Before you begin, preheat your oven according to the instructions on the back of your clay.
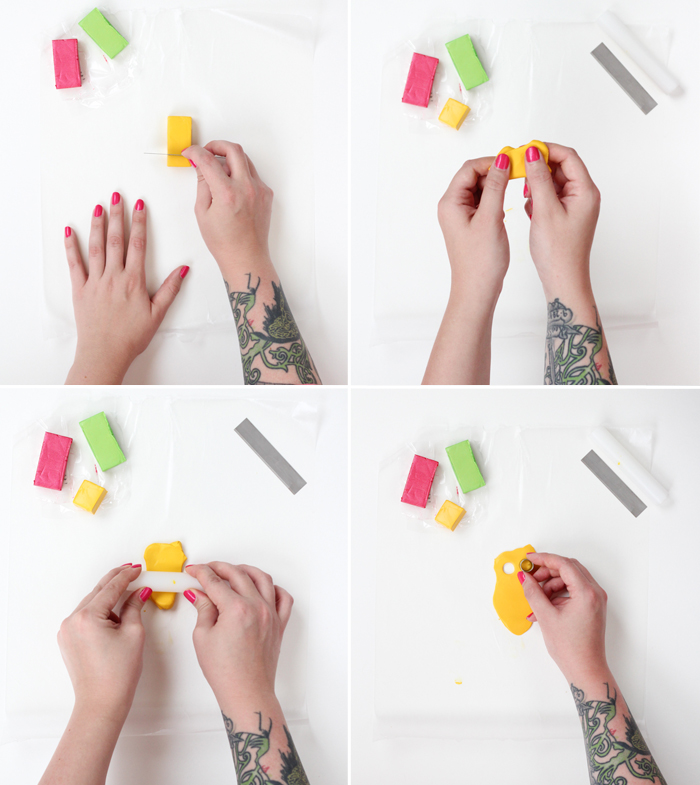 Cut of a chunk of clay and mend in your hands. When soft, roll out on wax paper (this will help keep your clay clean). Once you have the amount of clay you want, shape by rolling in between your two palms like you’re making a ball.
There are a variety of ways to make your own beads. I really liked playing around with creating new shapes and sizes without any real guide. For those of you looking to create a more symmetrical piece, the bead kit does comes with a circle punch that helps you measure out the same amount of clay per bead. Just be sure to repeat the same technique when shaping.
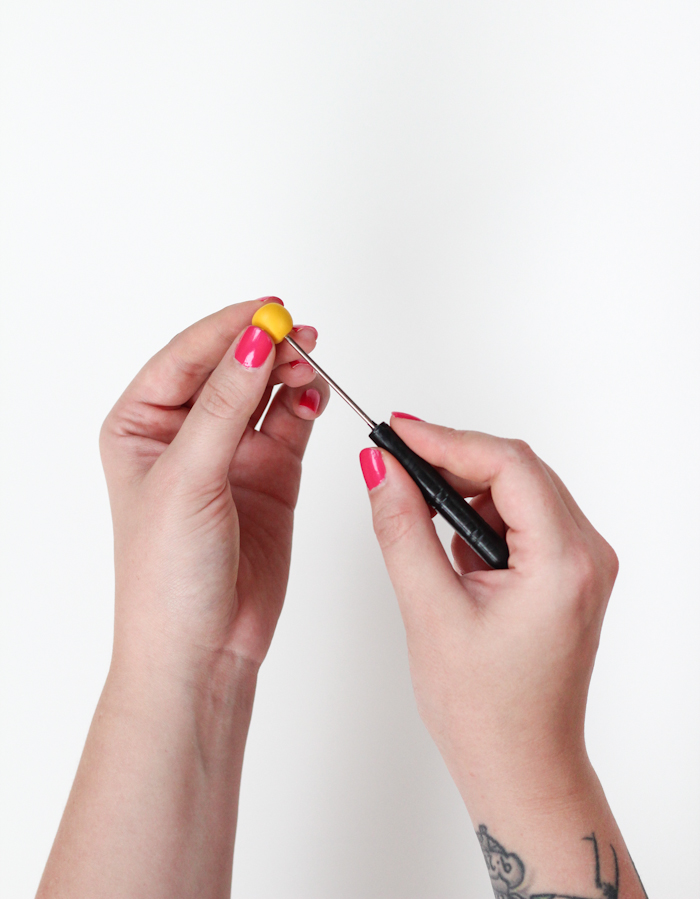 Once you have your desired bead shape, you’ll need to pierce it to create your hole. Poke through on one side until barely making it through, then repeat on the other side, starting where the existing hole is. Set on baking pan when done.
*Tip: Wash your hands in between each color to avoid the colors mixing in with one another.
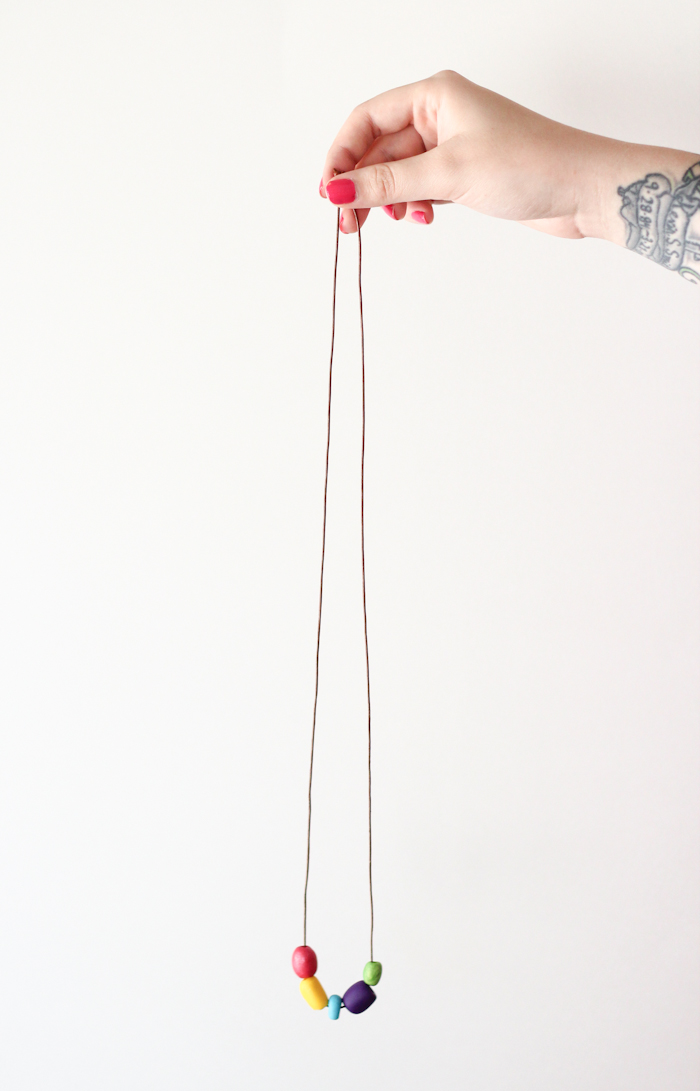
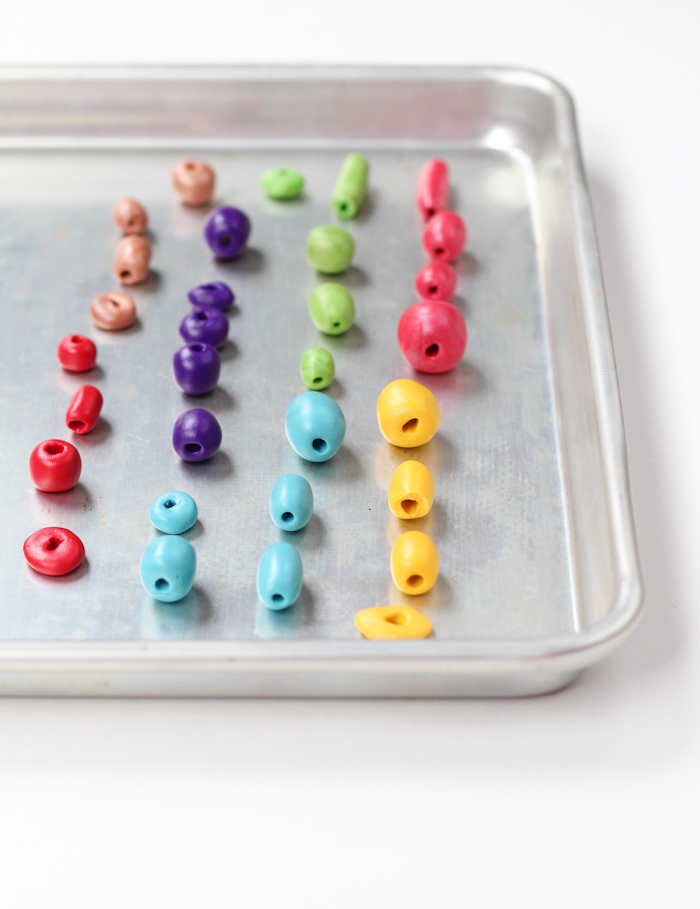 Bake in the oven according to clay instructions. Let cool then string on leather cord to wear!
  If you have any tips or tricks for making your own beads, I’d love to hear them in the comments below!
For more clay inspiration, follow Premo on Twitter, Facebook, Pinterest and Instagram!
![]()