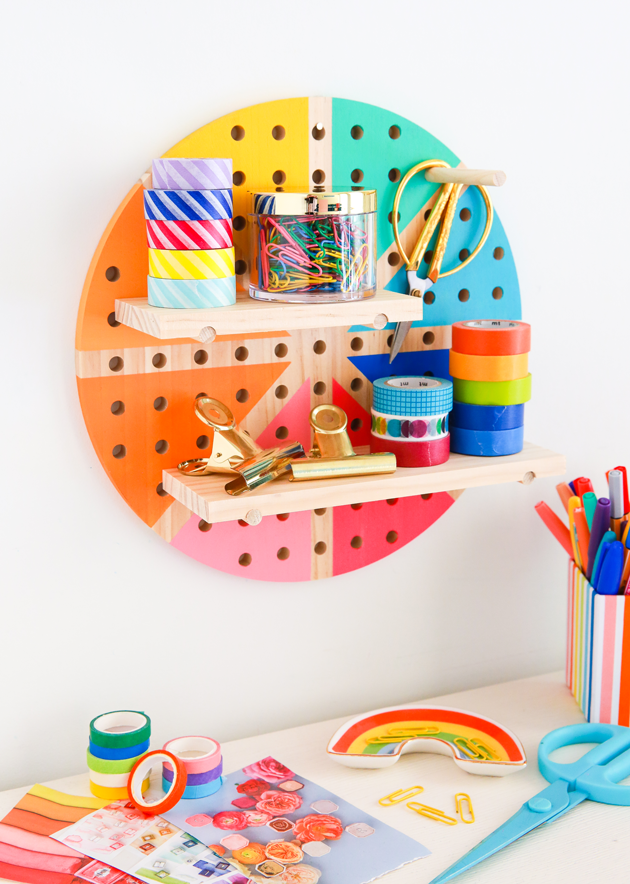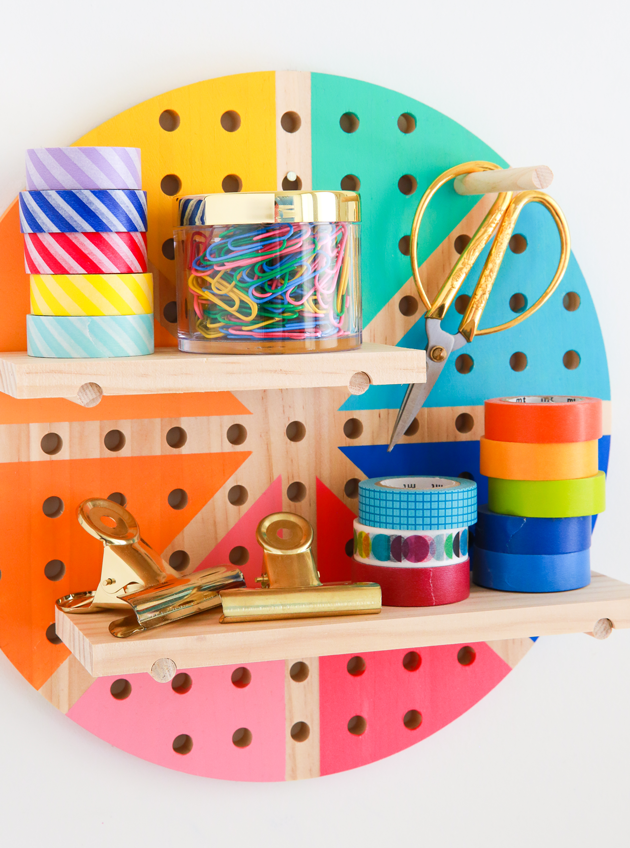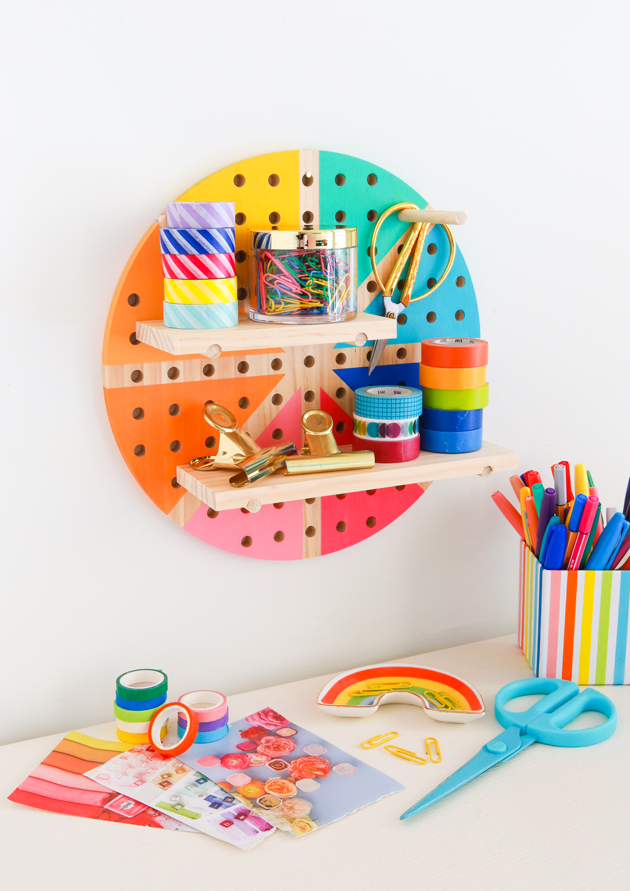
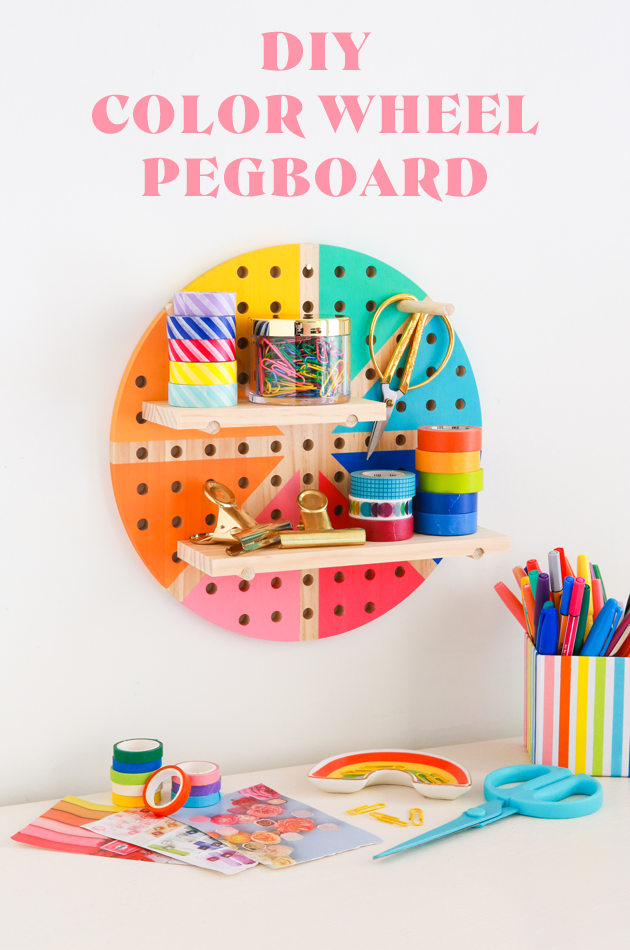
 Ever since designing my color wheel mouse pad, I’ve had color wheels on the brain. No circular surface is safe– everything is a potential rainbow in this house! So when I came across this round pegboard during my online quarantine craft shopping, I knew what had to be done. Here’s how to paint a color wheel pegboard:
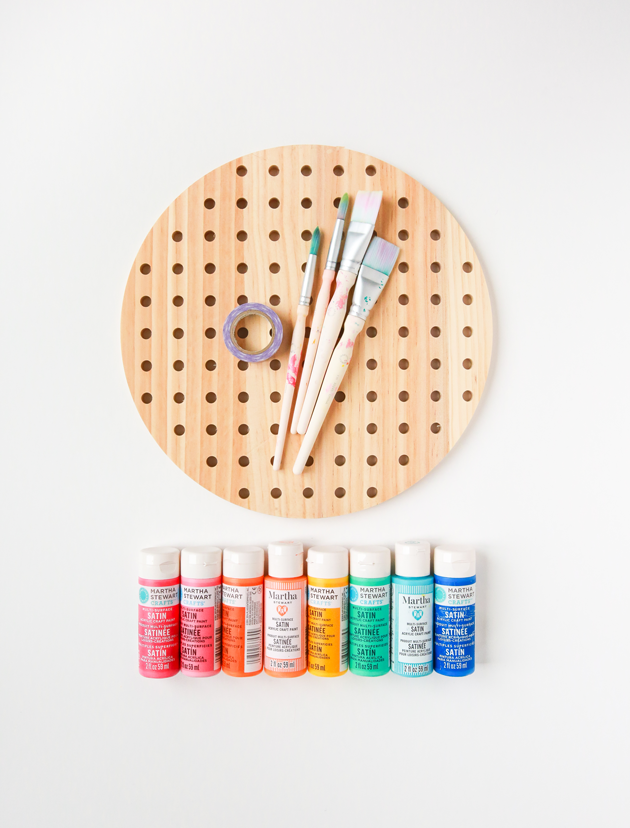 Materials
– Round peg board
– Washi tape
– Acrylic paint in rainbow colors
– Paint brushes
– Sealant
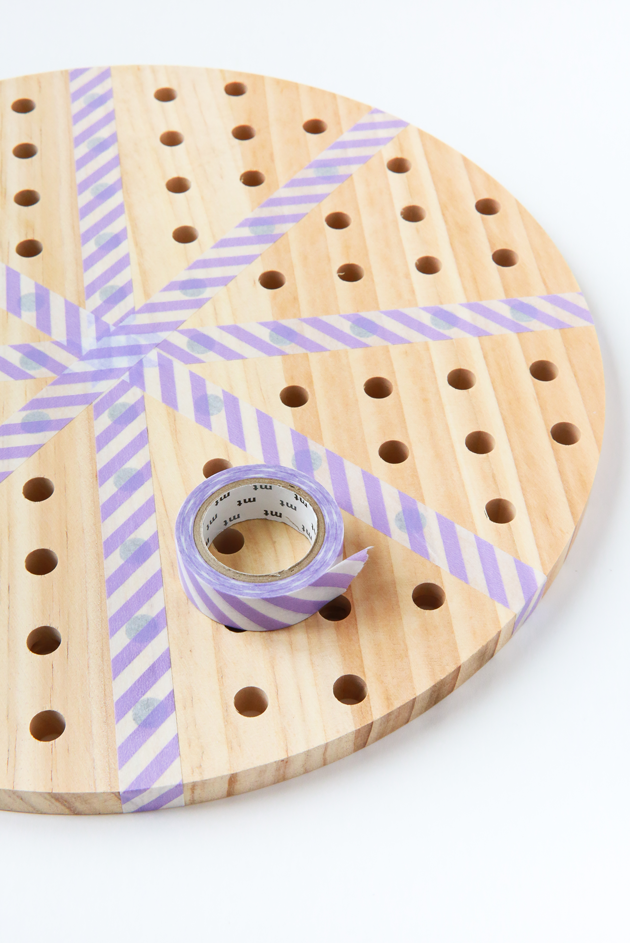 Start by taping off your design. You’ll want to make sure each section is the same size, so measure when doing this (you can just count the number of holes). The holes also can serve as a guide for a straight line for your tape. Press down with your fingernail to make sure the washi tape is in place.
If you want a rainbow in another way, you could tape off your pegboard similar to how I did my Rainbow Circle Shelf.
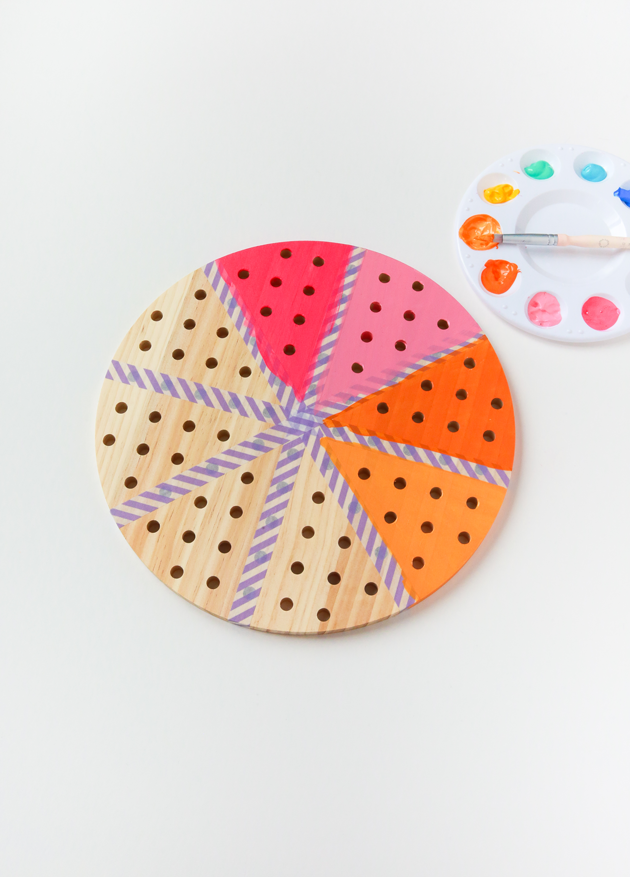 Then paint! Move around the pegboard one section at a time until completely covered.
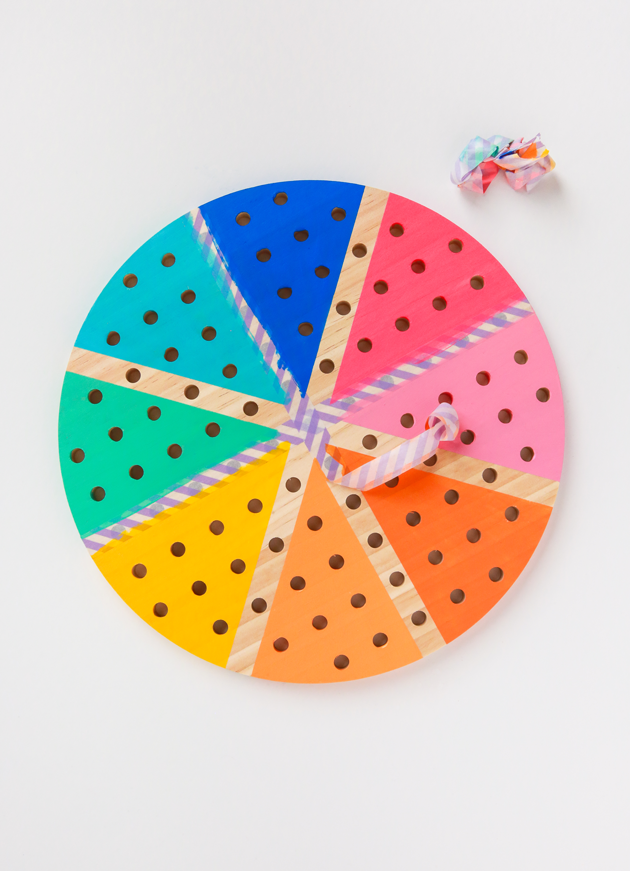 Remove tape, starting with the last row you put down. Once dry, seal and let dry fully over night.
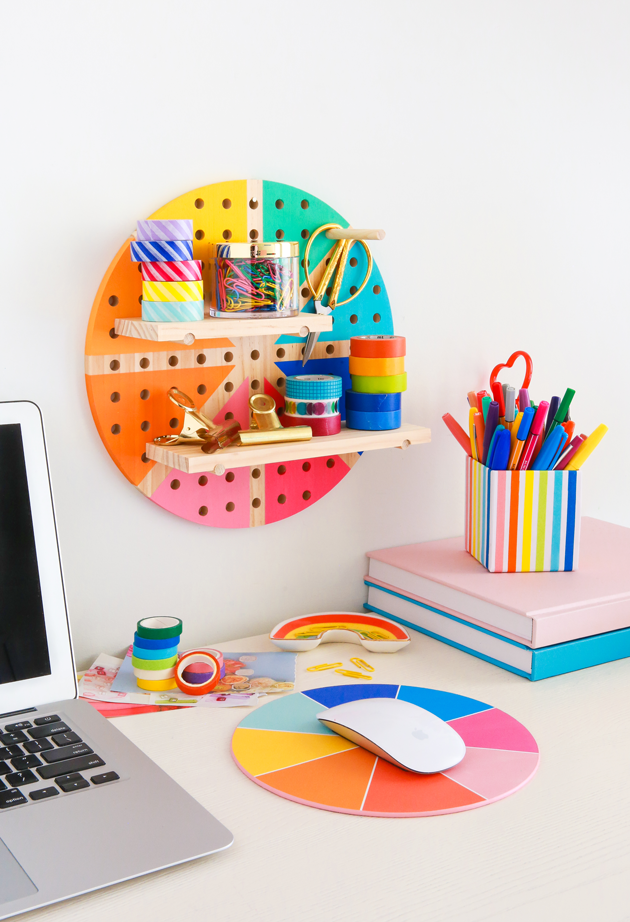 All that’s left is to hang it up! Great for displaying your colorful office supplies, or even hang by the front door to hold your keys and masks!
There’s something so nice and wonderful about taking a basic storage item and giving it a rainbow makeover. I hope that this project brings a little joy to your home and can’t wait to see your versions!