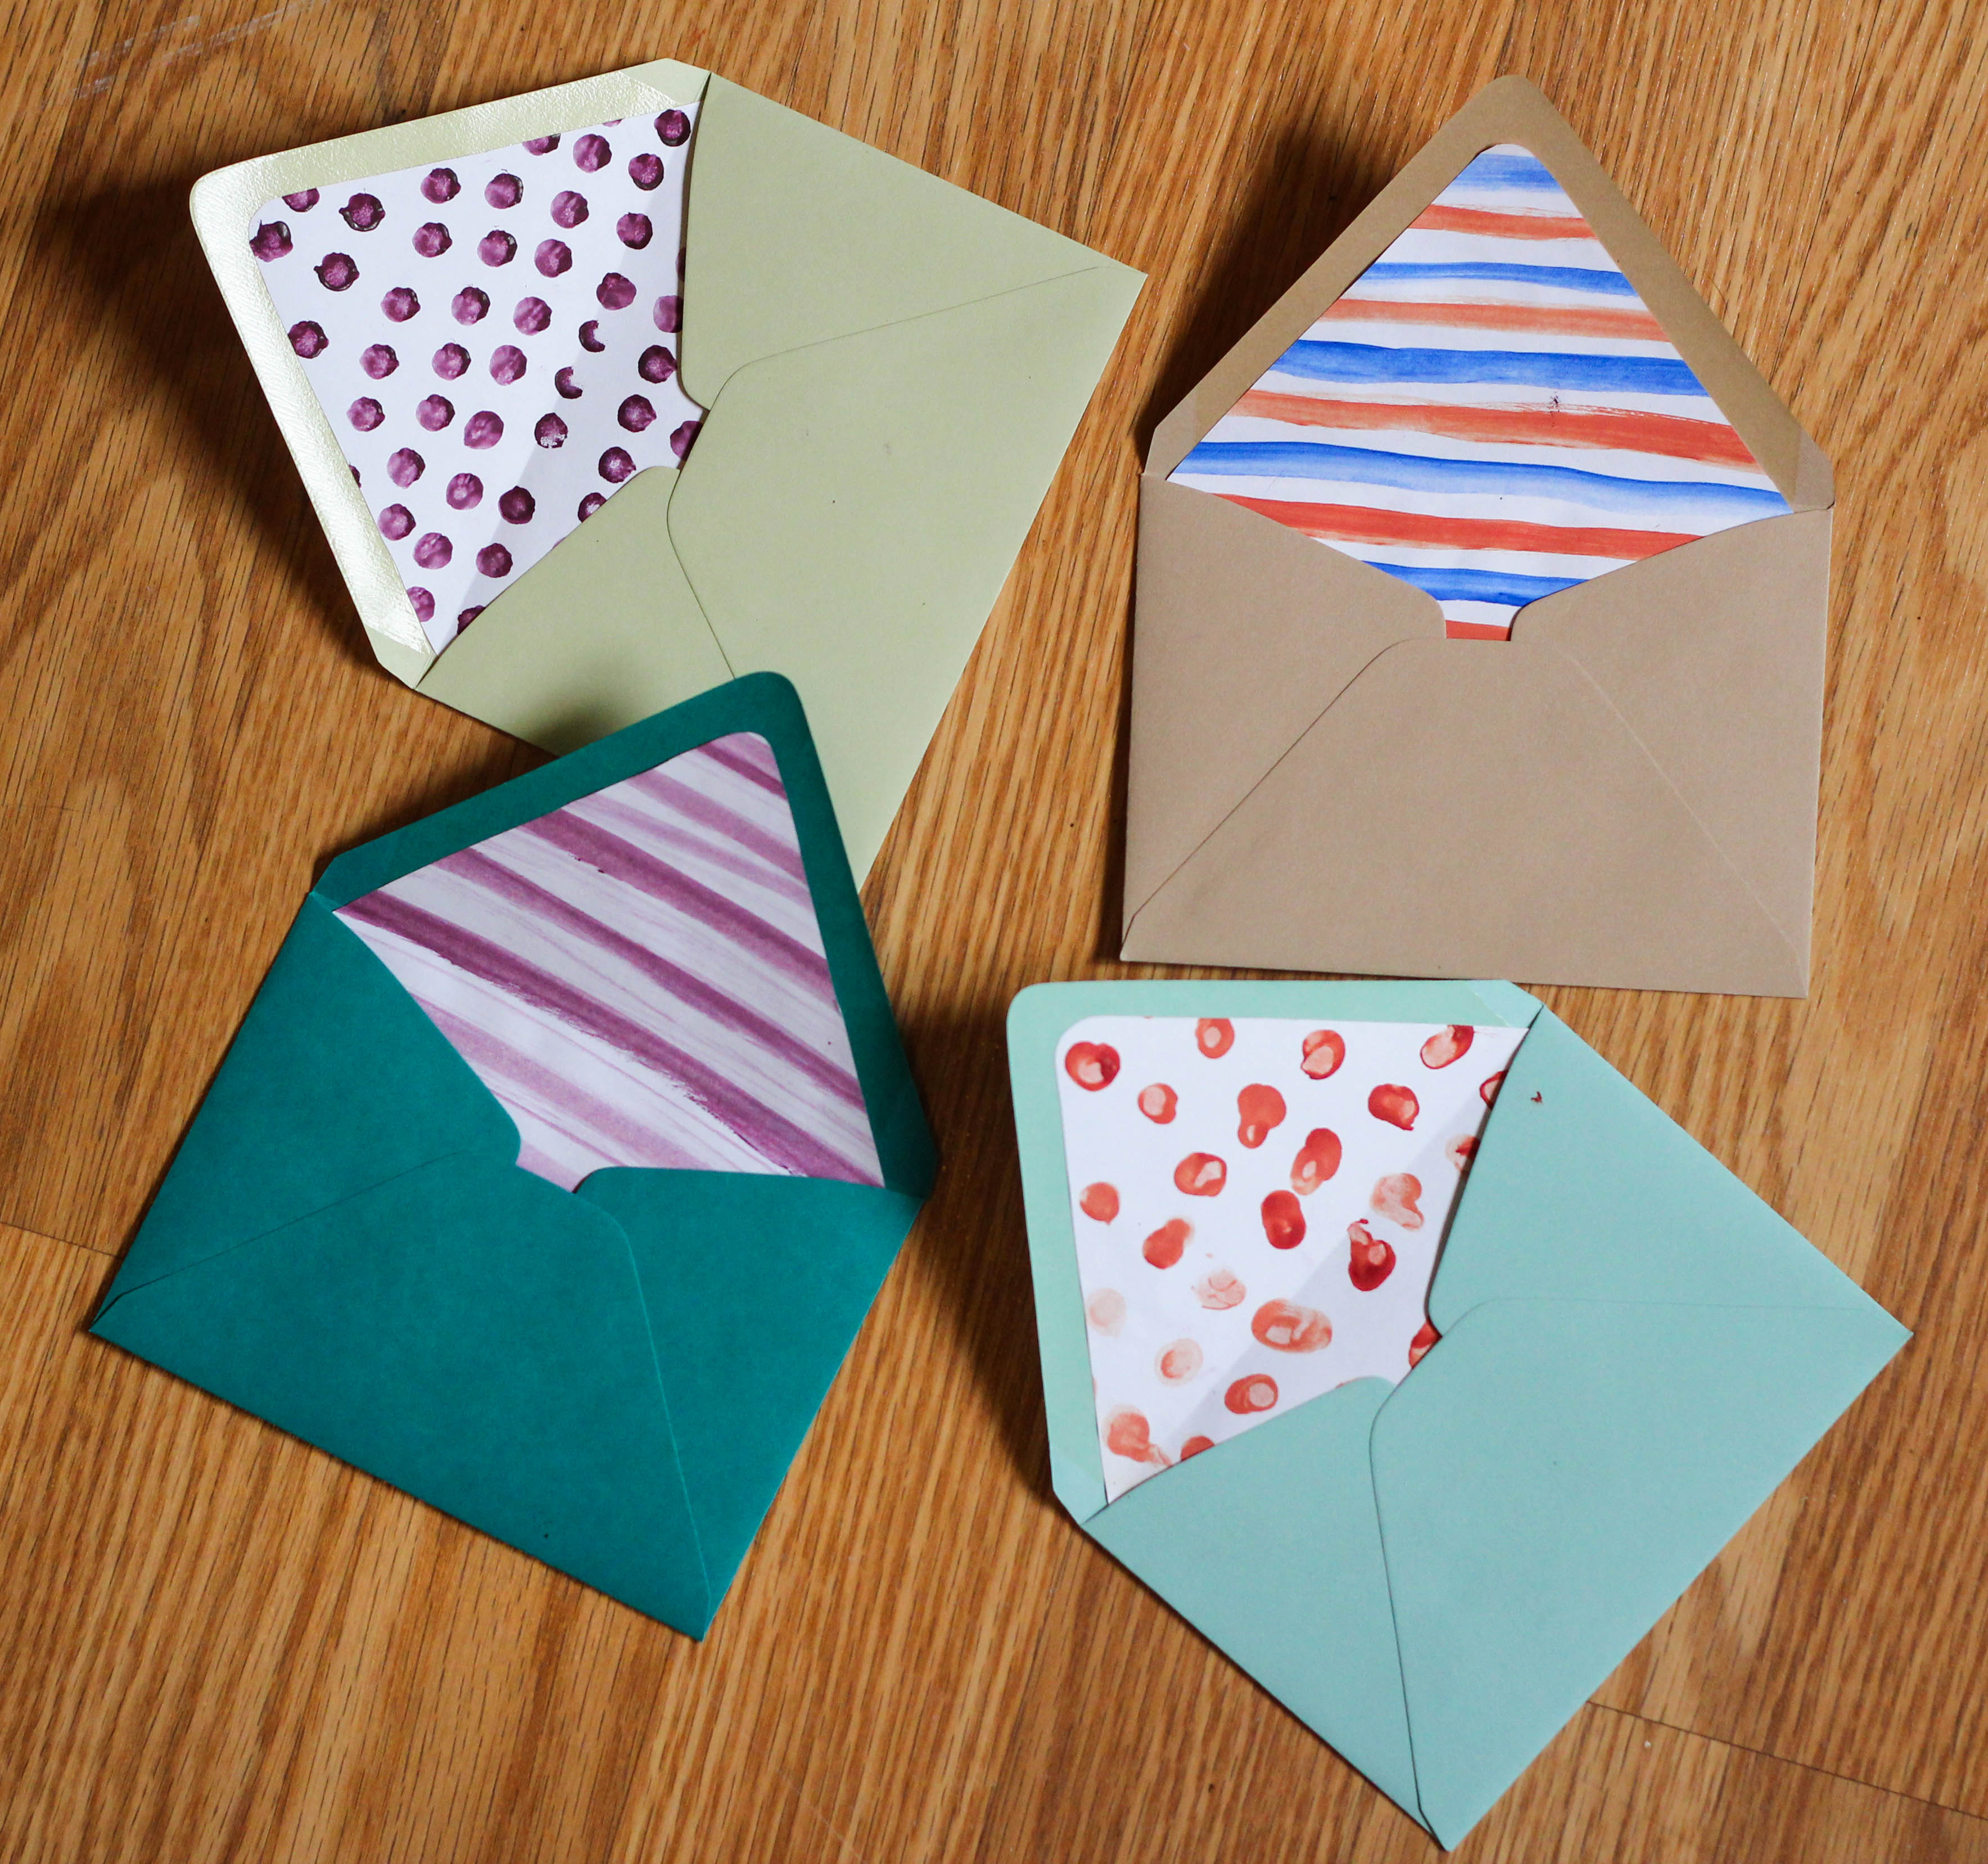
Time: 45 minutes
Materials: plain white paper, paint (I used watercolors), brush/q-tip/eraser
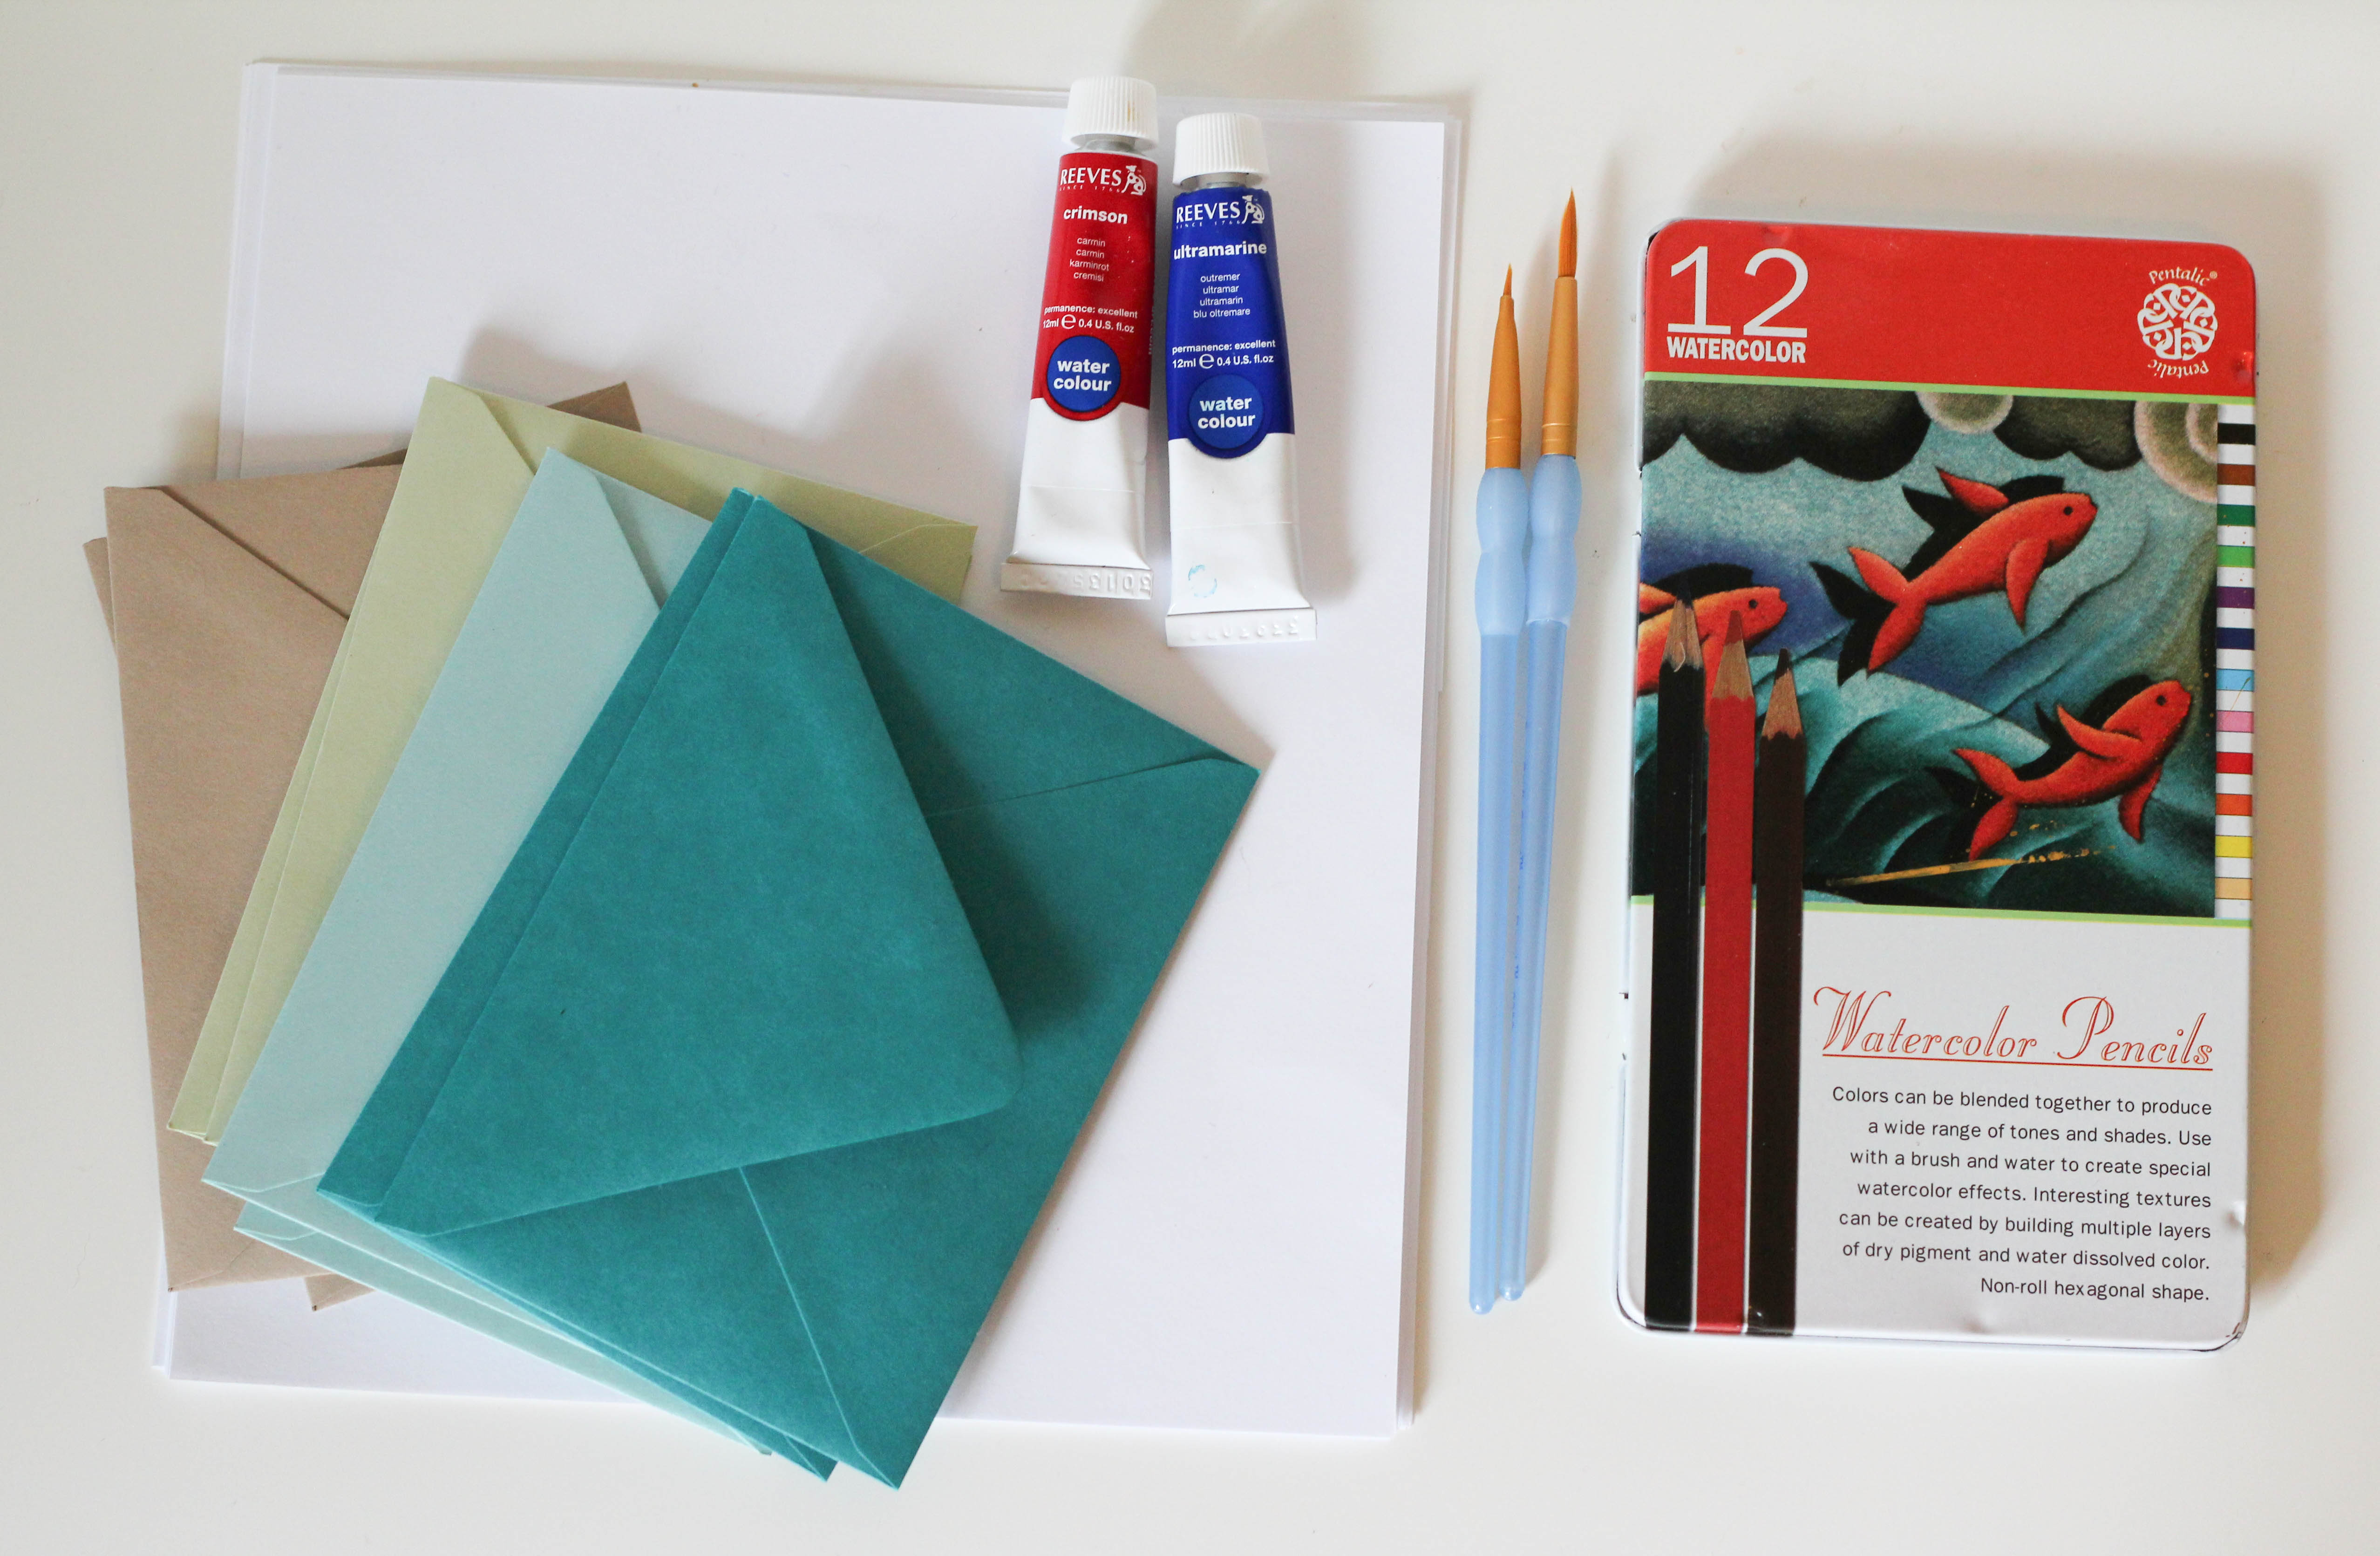
Lining your envelopes is a quick way to add a personal touch to a letter, but buying printed paper can get expensive. Here are some quick tips and tricks to making your own envelope liners.
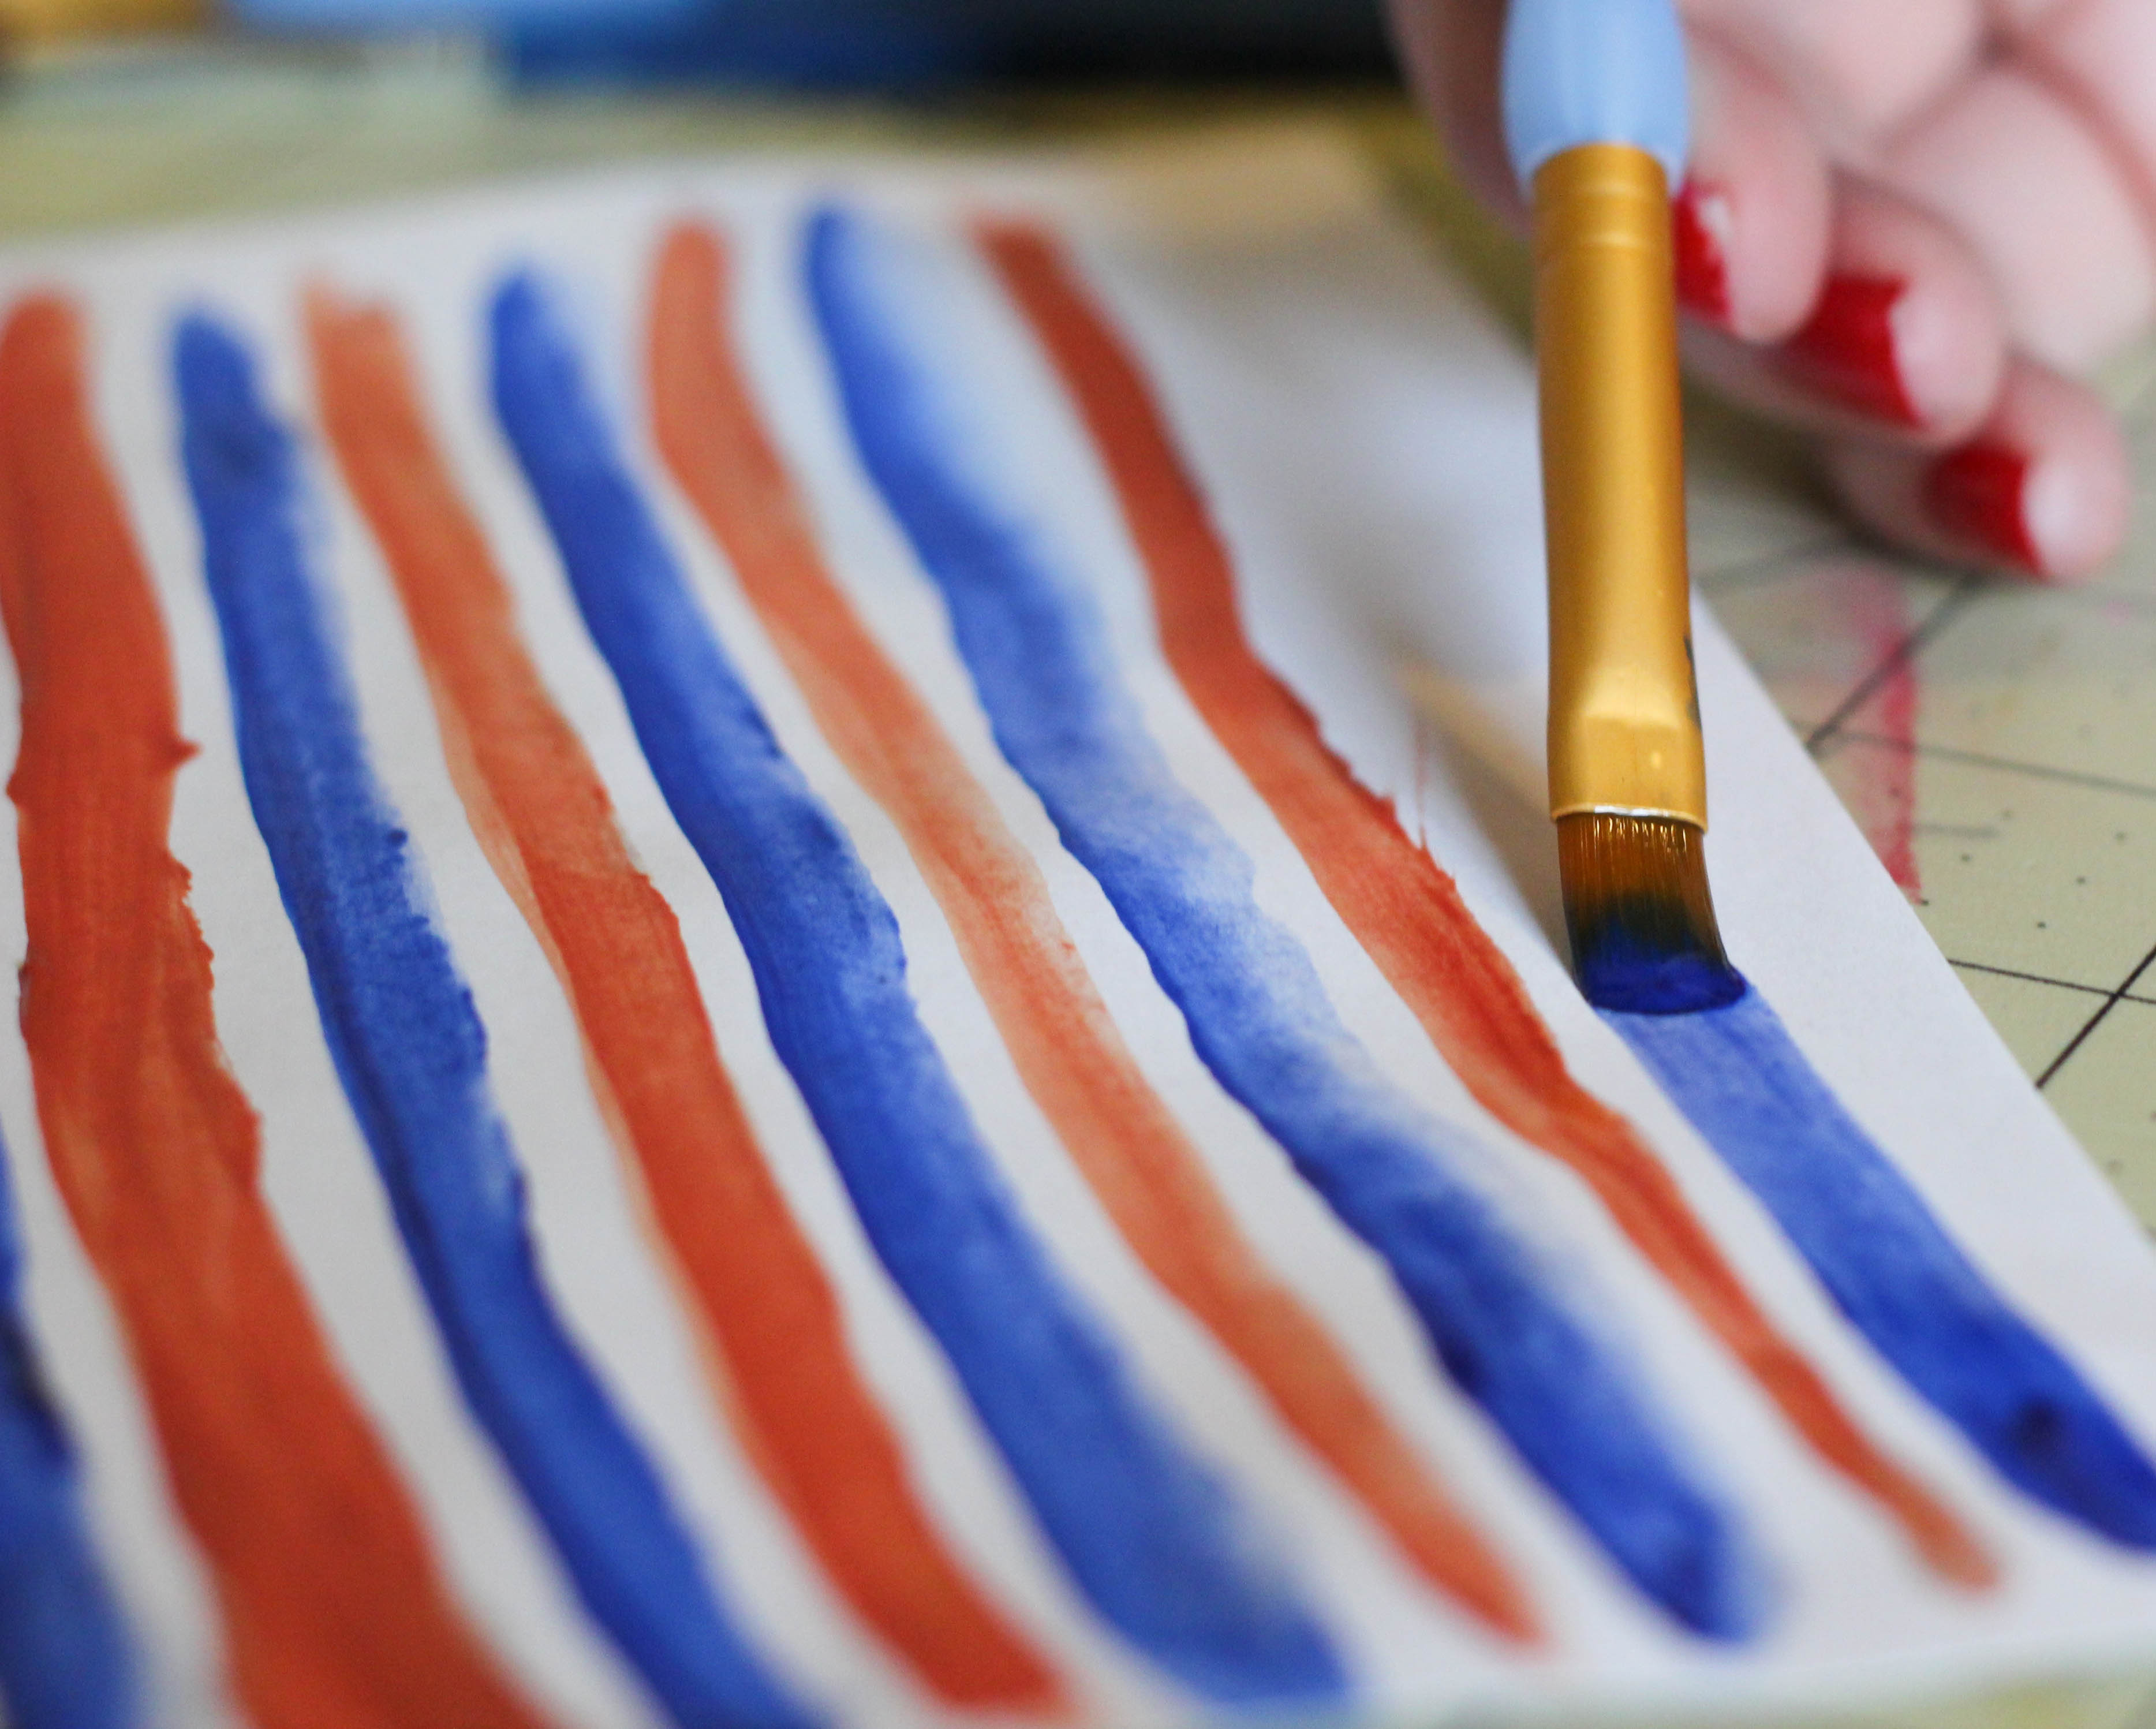
Paint basic stripes! Don’t worry about making the lines straight– painterly lines provide more of a handmade feel.
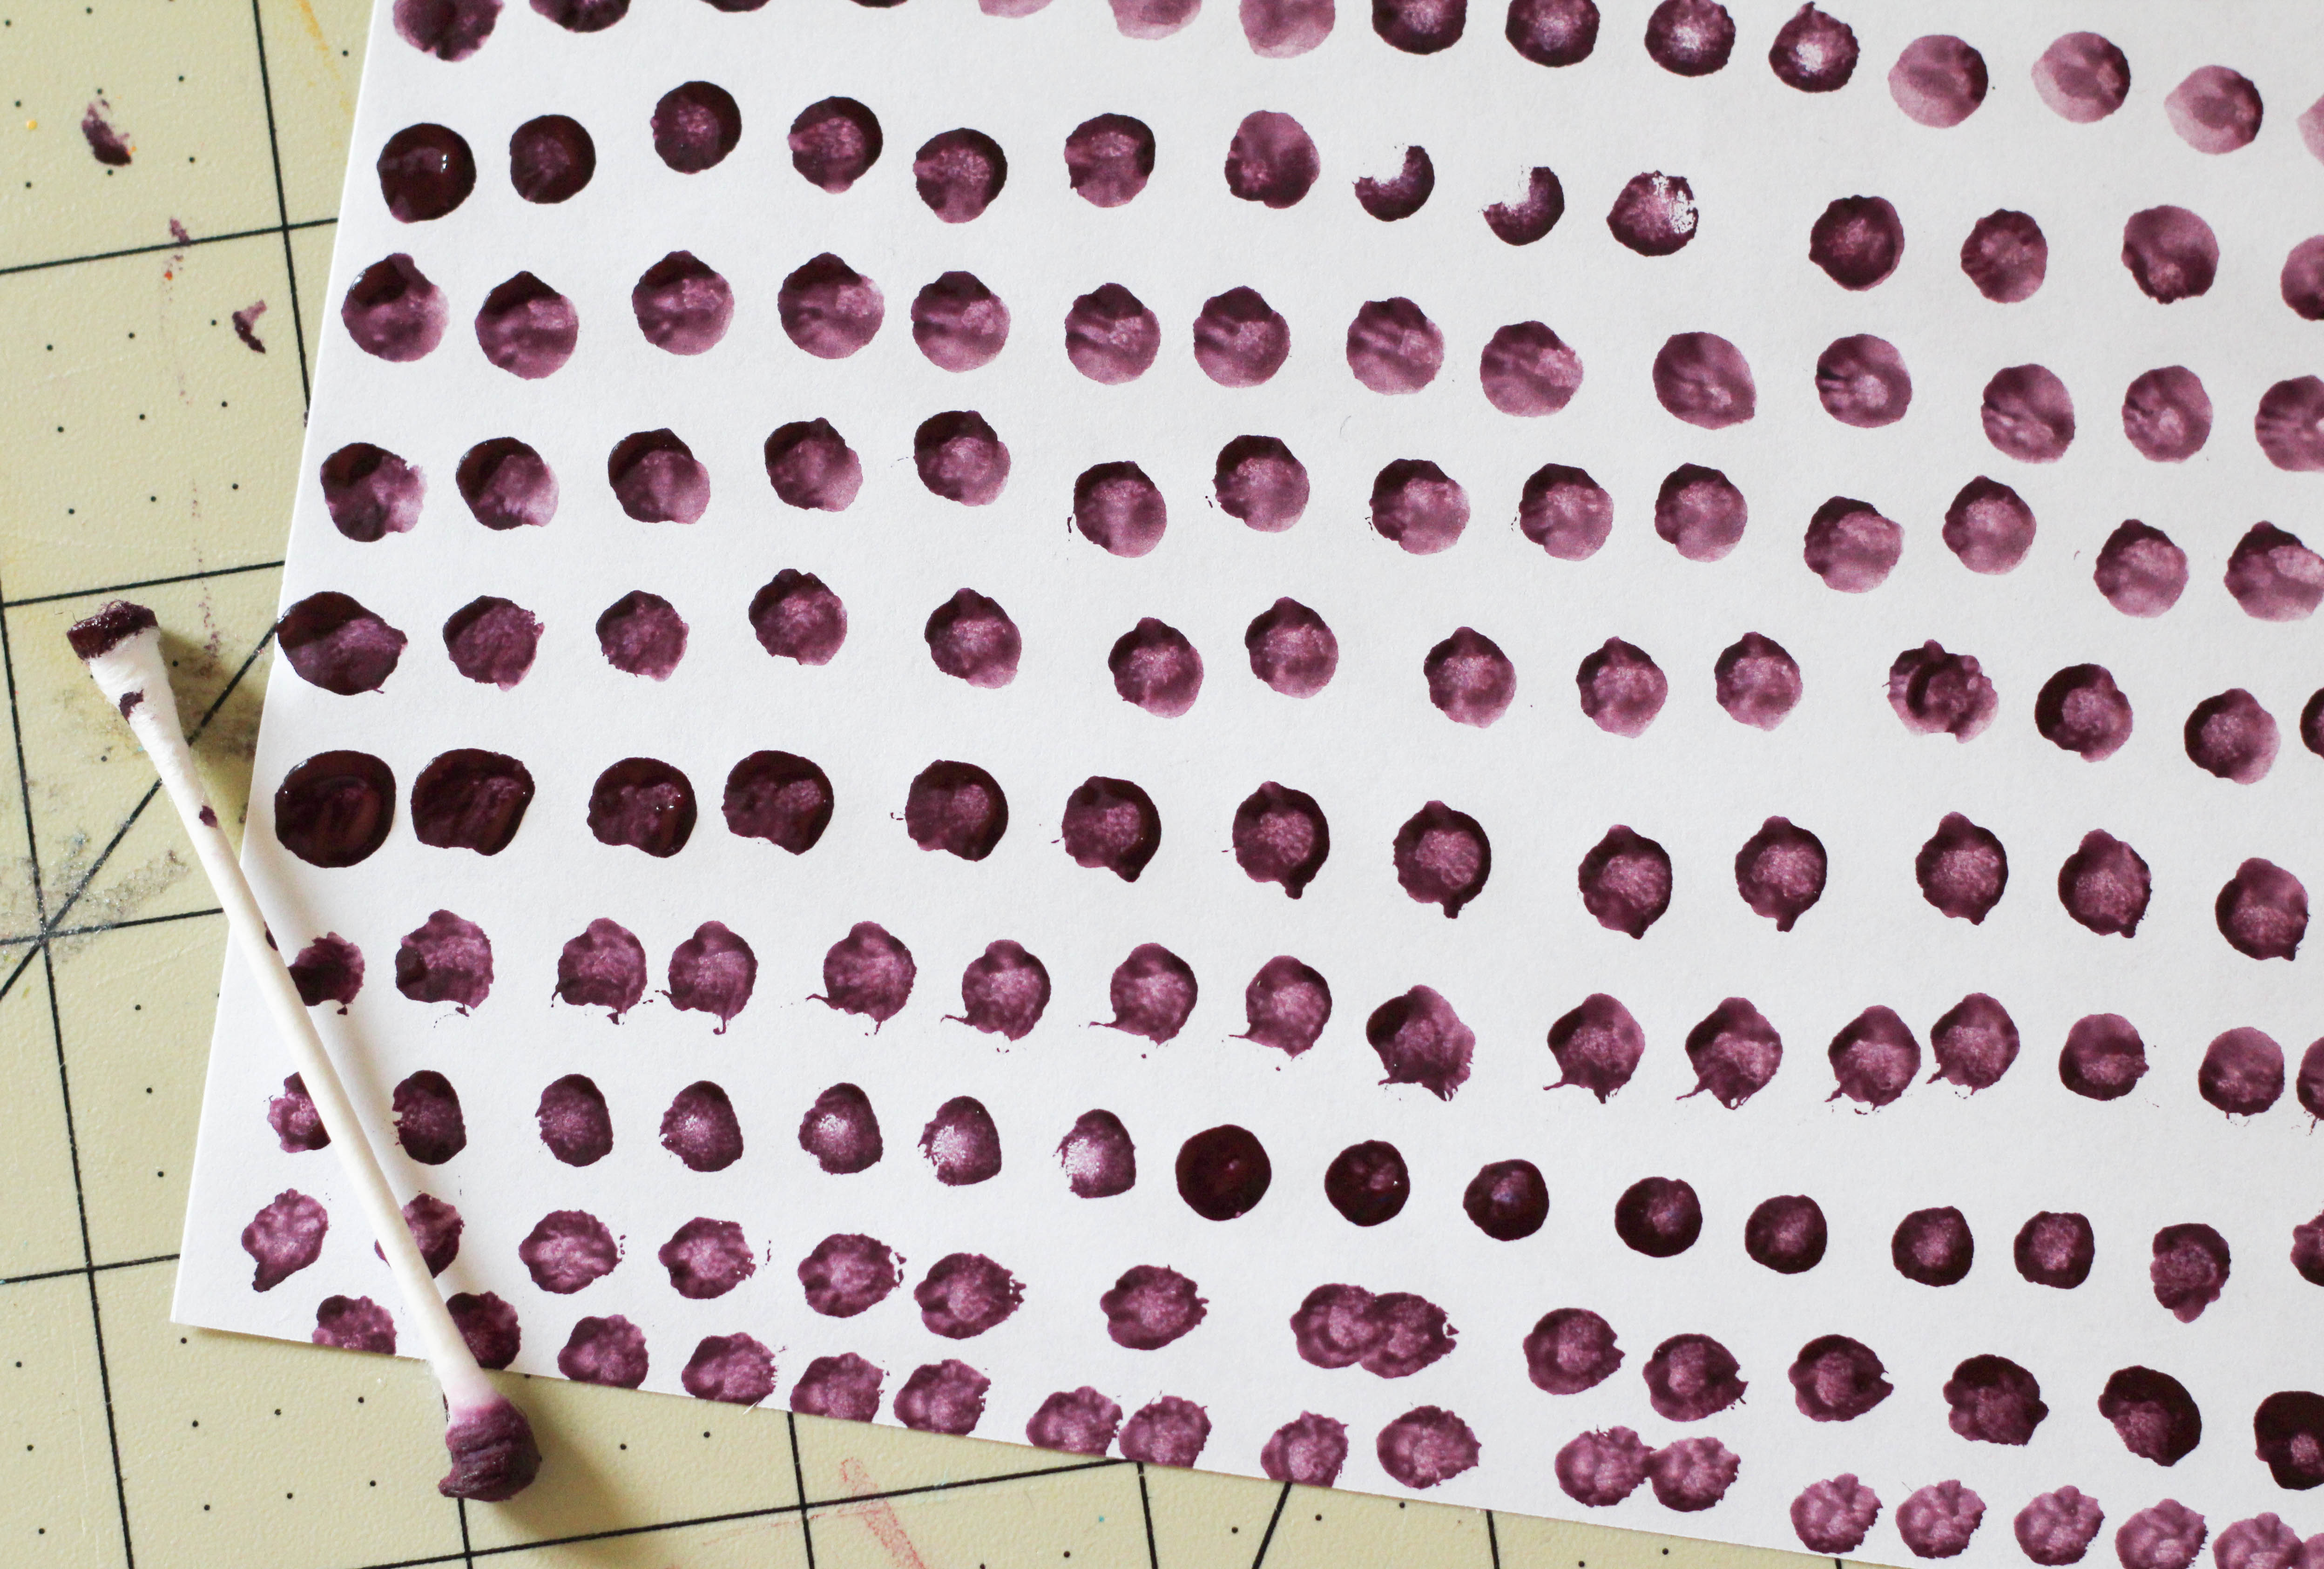
Q-Tips will give you a textured and imperfect polka dot
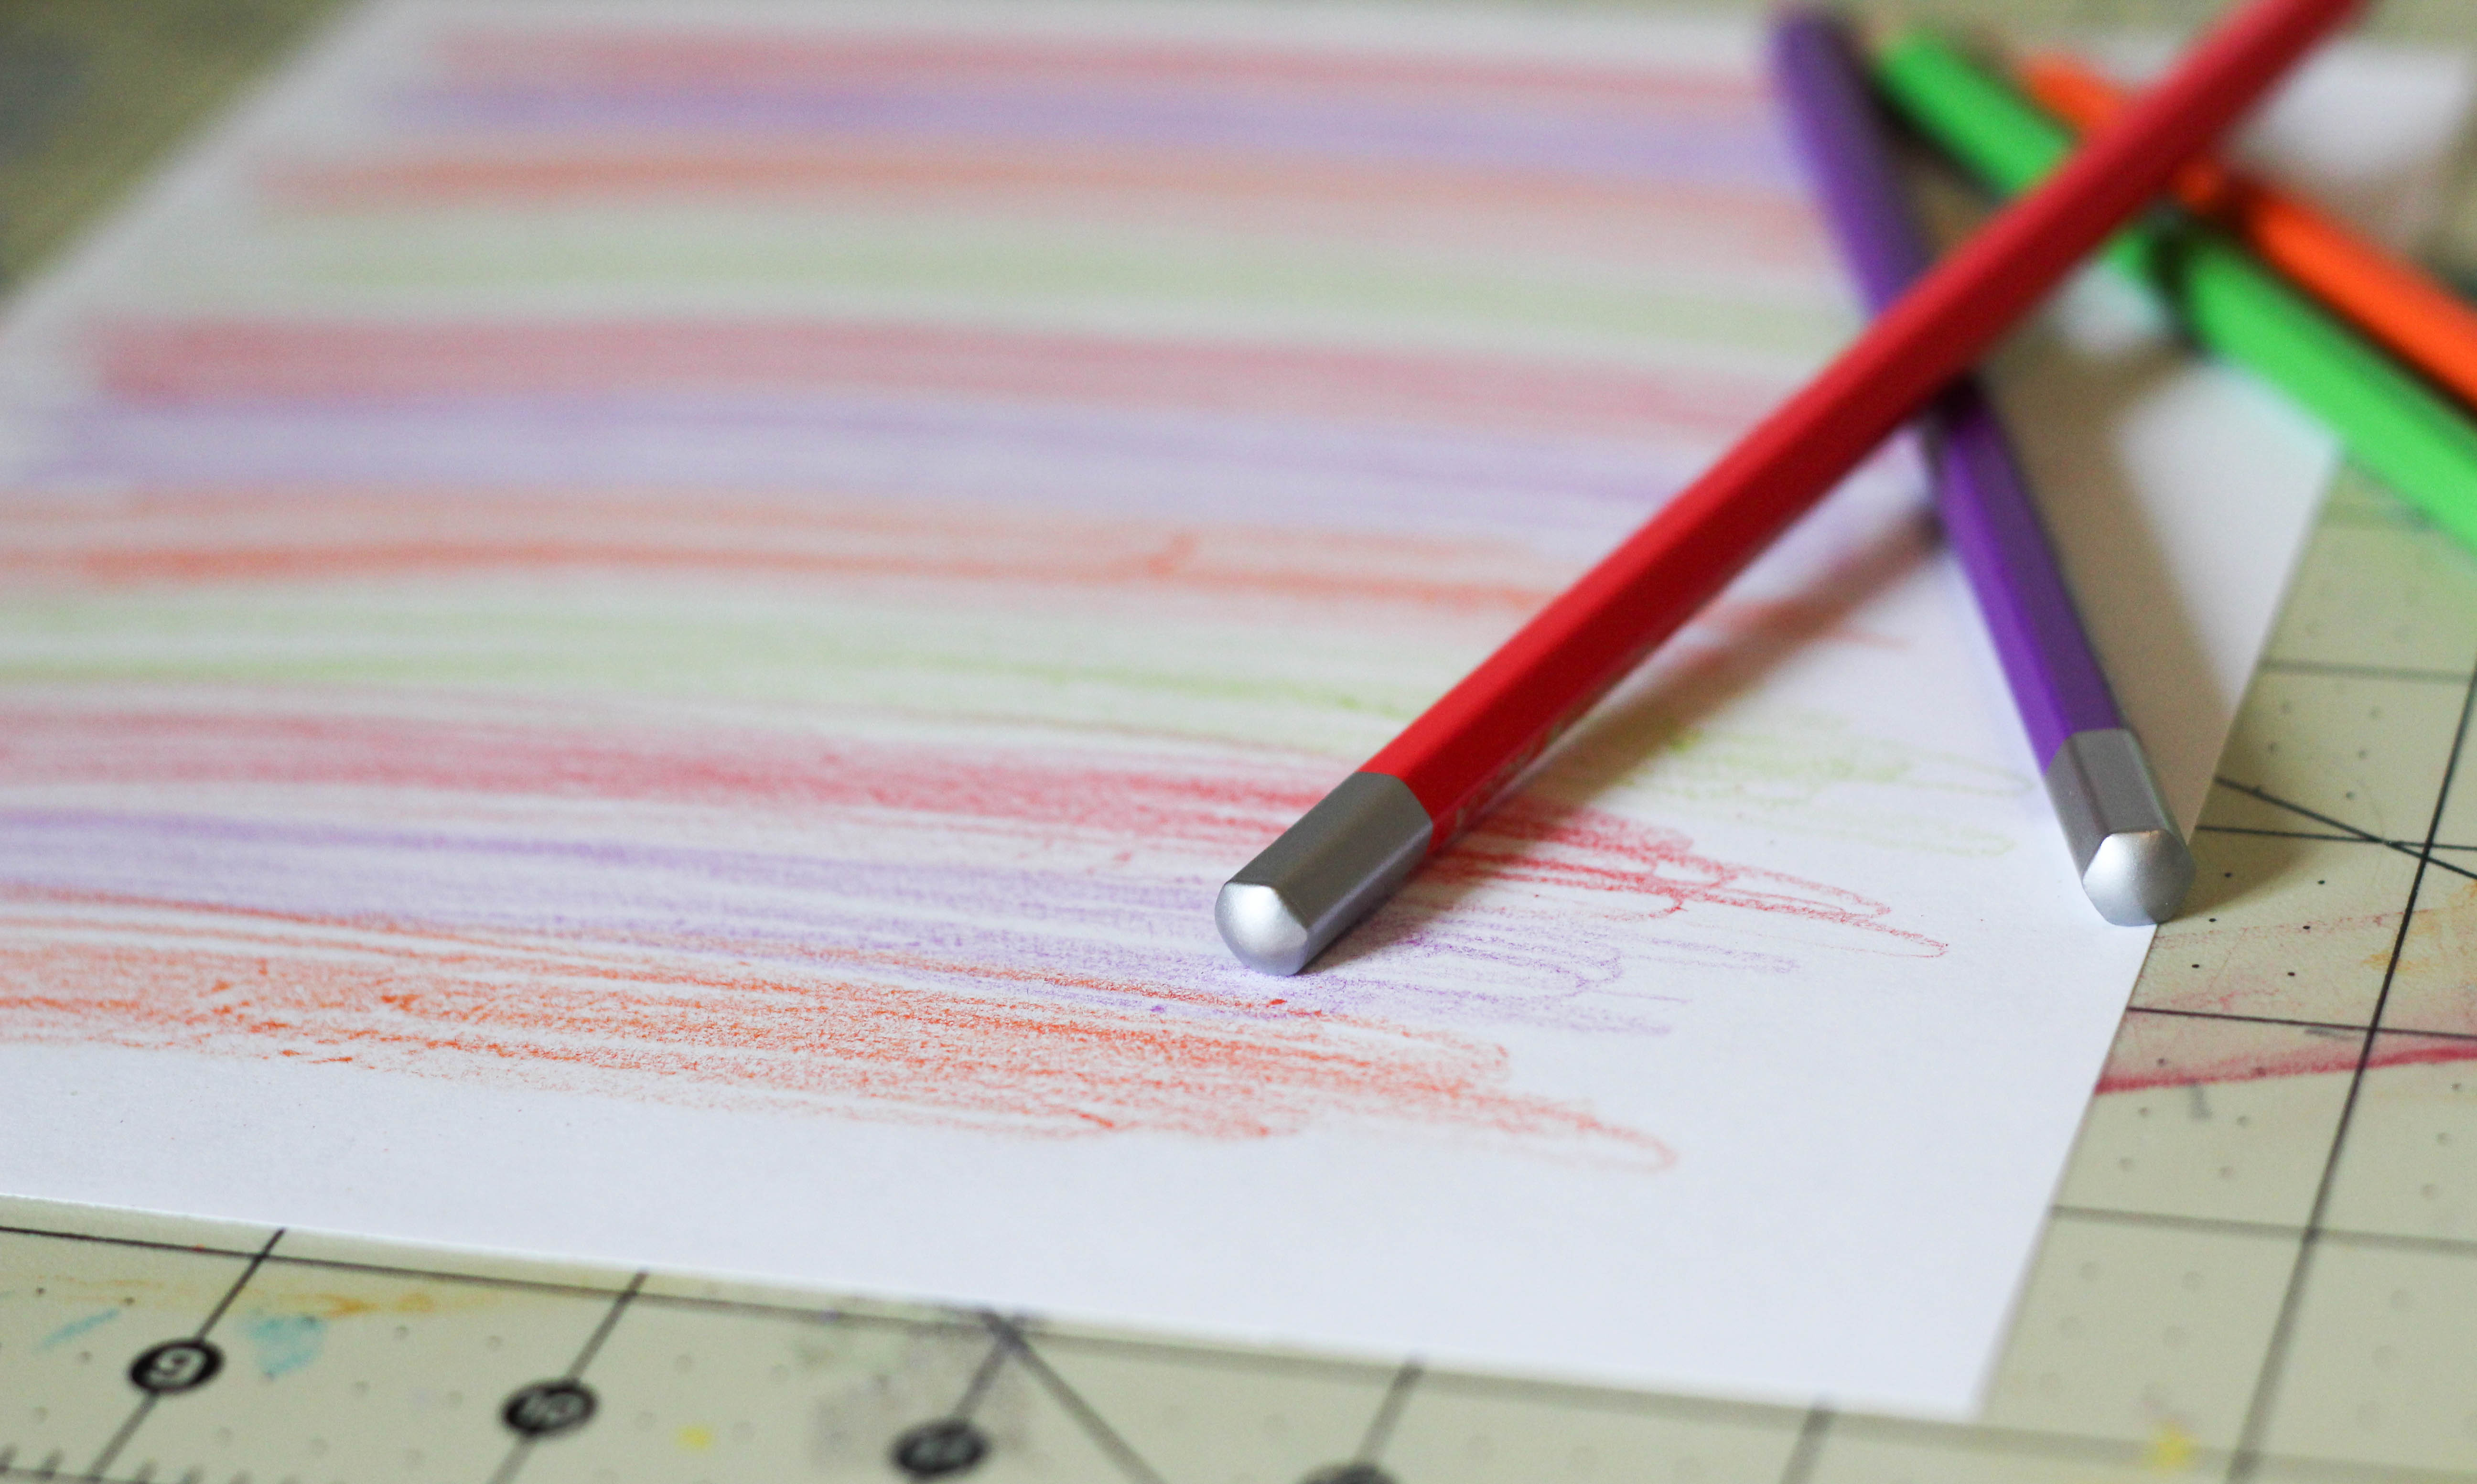
For a cleaner line, draw your design with water color pencils then go over with a wet brush.
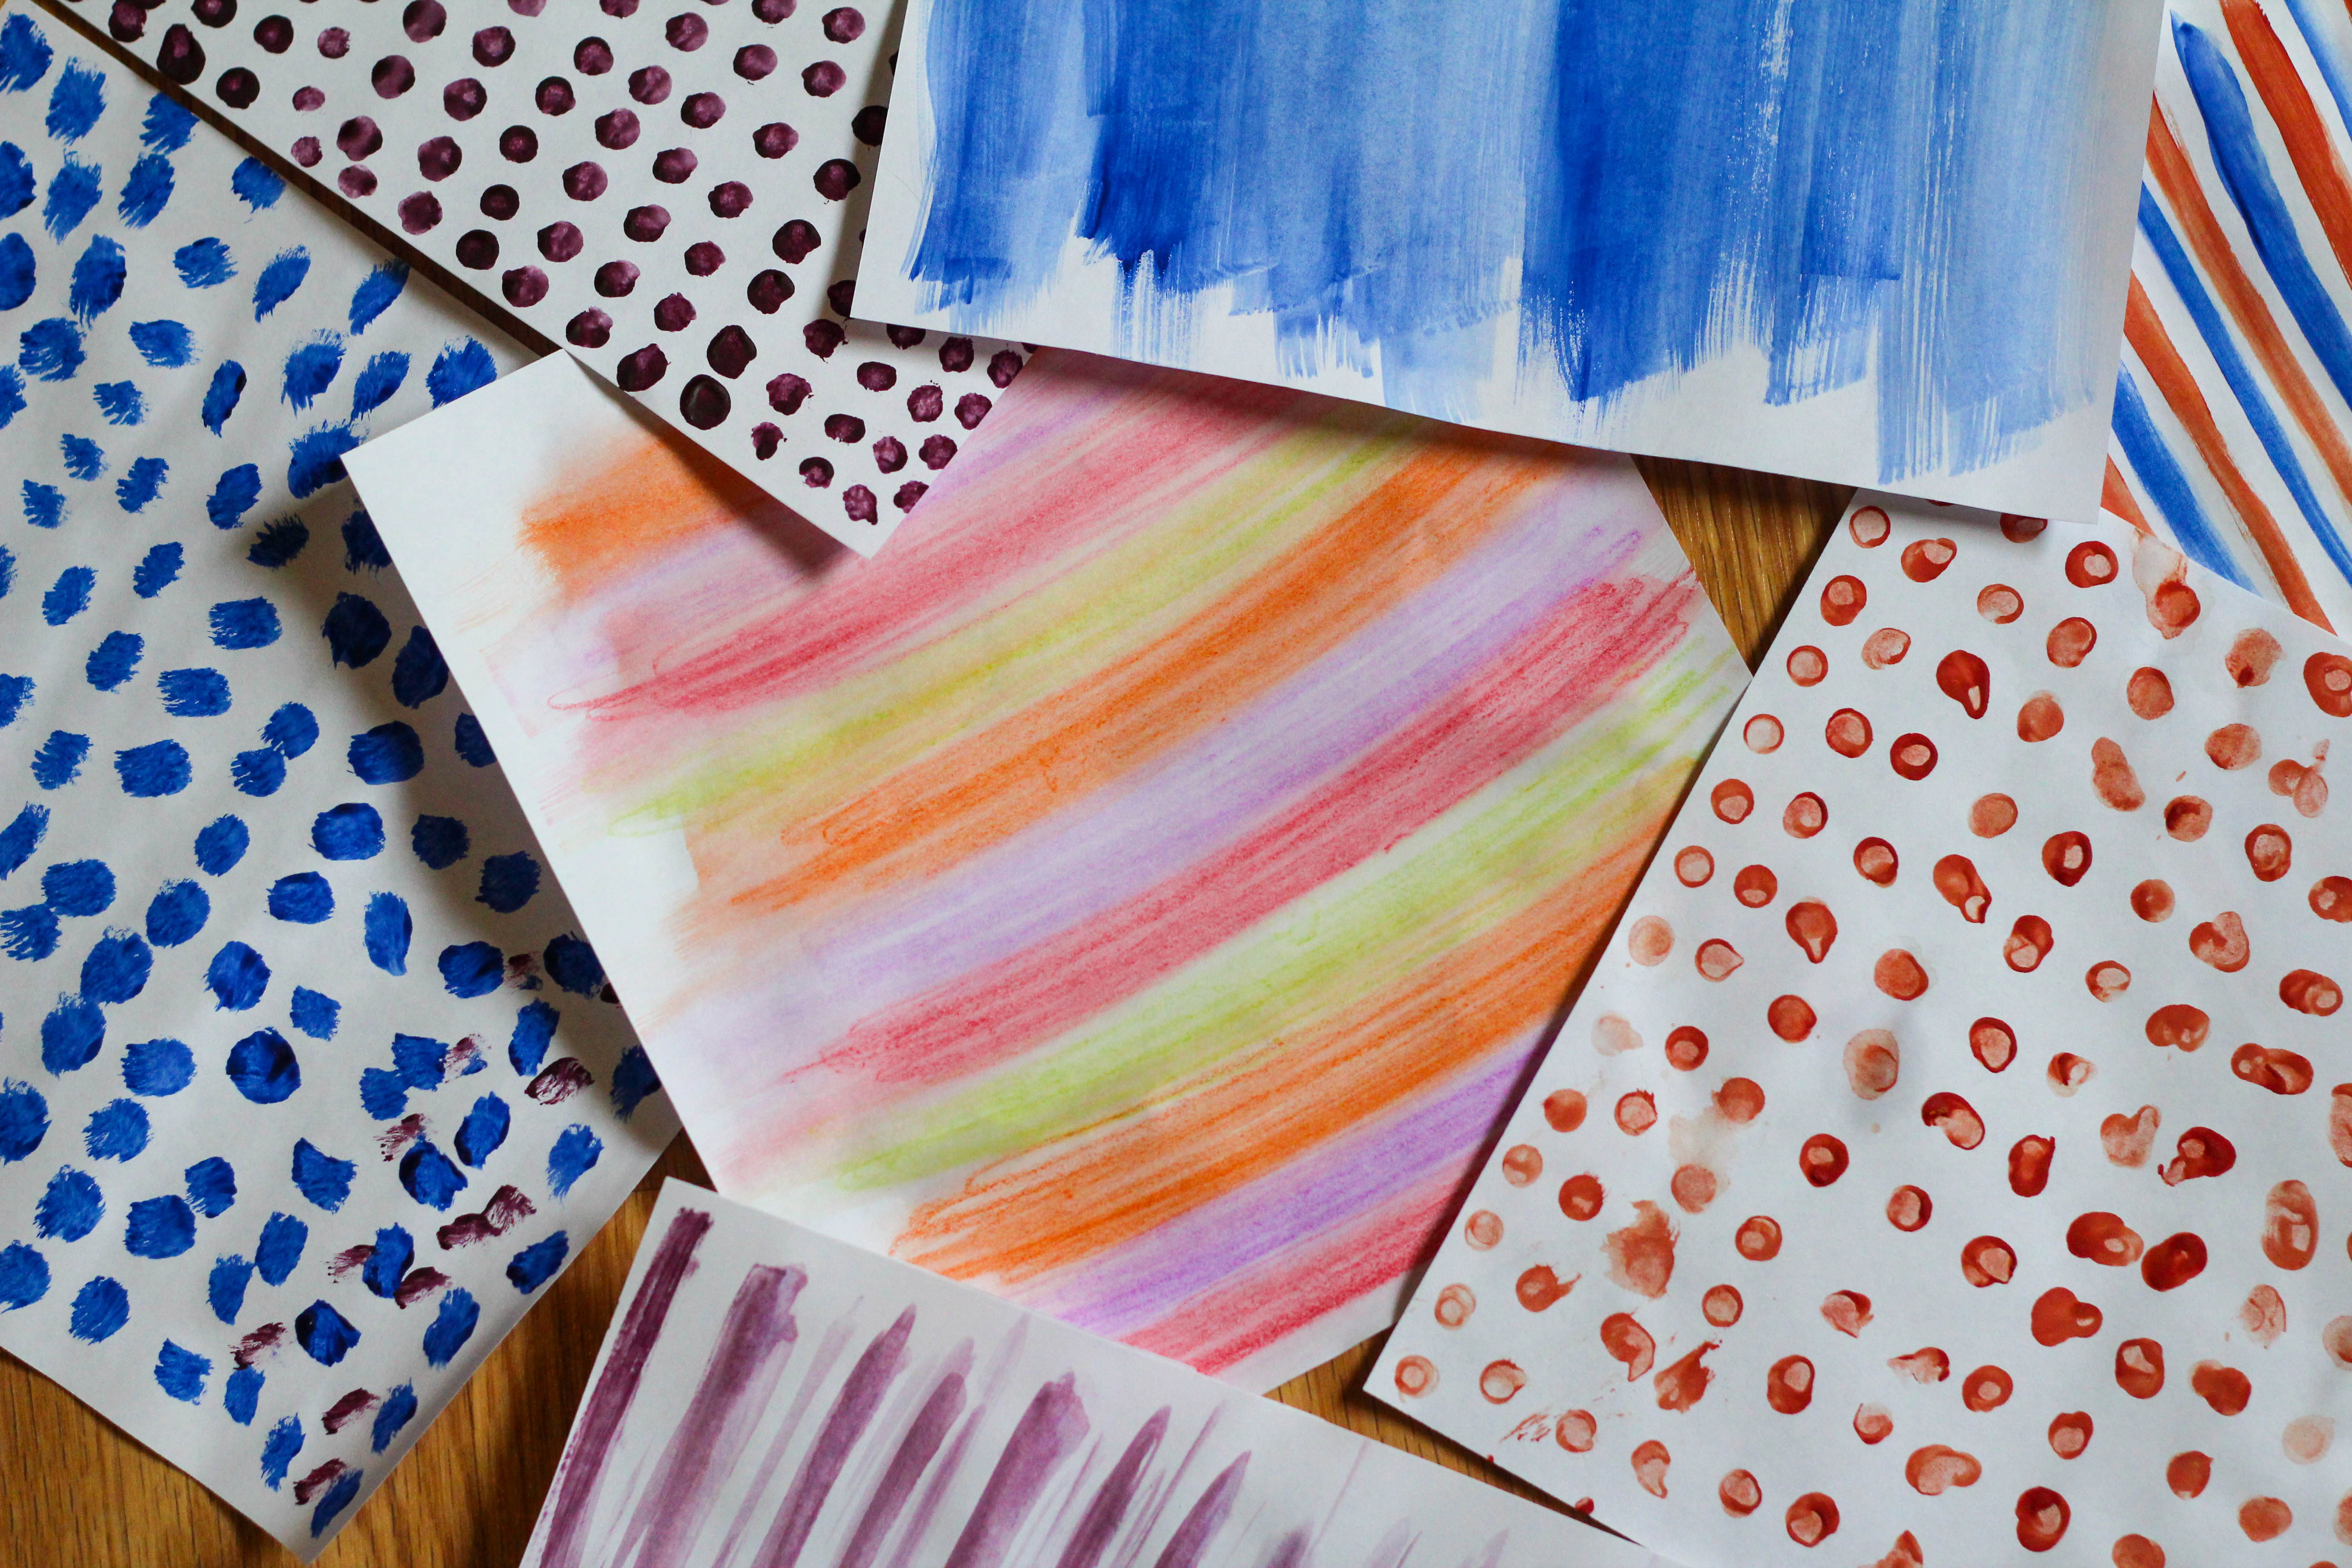
*Don’t feel afraid to experiment! Once you’re done, you can choose the ones you like the best.

Once you’re done designing, trace your temple and cut out. Put inside your envelope and secure with double-sided tape or a tape runner.