Time: 2 hours (because of dry time)
Materials: thin fabric, fabric mod podge, wooden tray, sponge brush
I’m always blown away by how many creative ways there are to makeover a single object. There are essentially endless possibilities. I mean really, how cool is that?! That’s why I’m excited to be teaming up with four other bloggers to show you different ways to make over a simple wooden tray. Plus one of you will be winning all the supplies you need to make over a tray of your own. Keep reading for details!
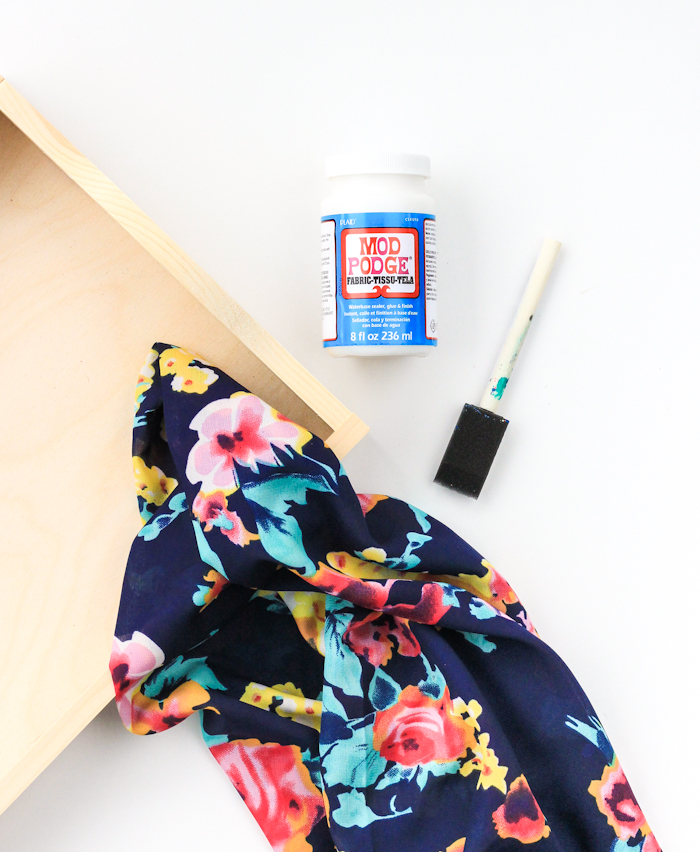 You may have seen this fabric on Instagram two weeks ago. I’m still obsessed!
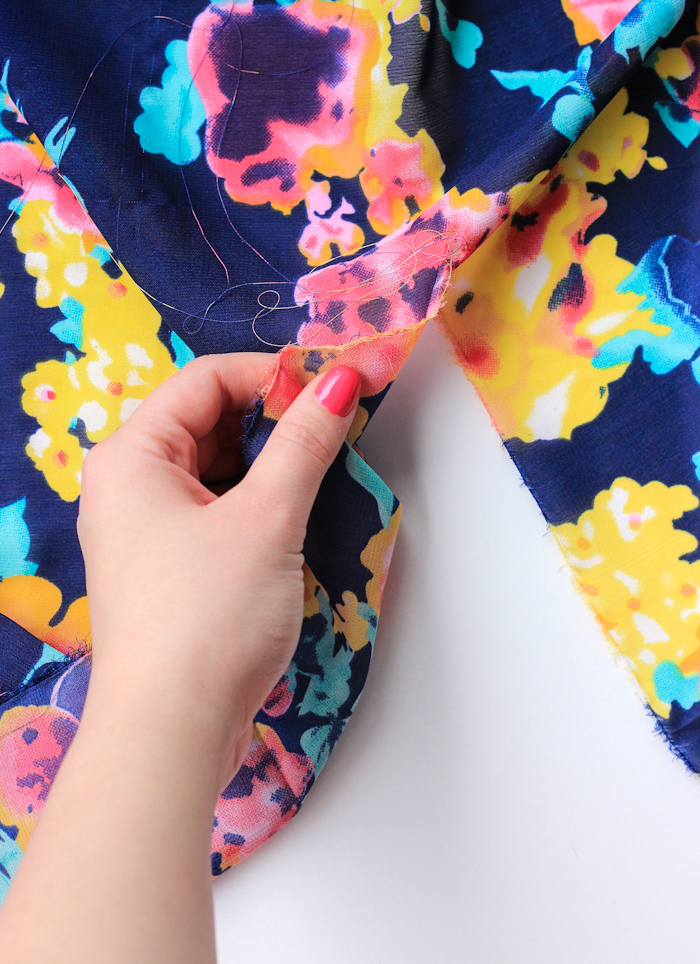 *Tip! For woven fabrics, instead of trying to cut a straight line, you can actually tear them to get better results. You may have seen them do this at fabric stores (here’s a video if you haven’t!).
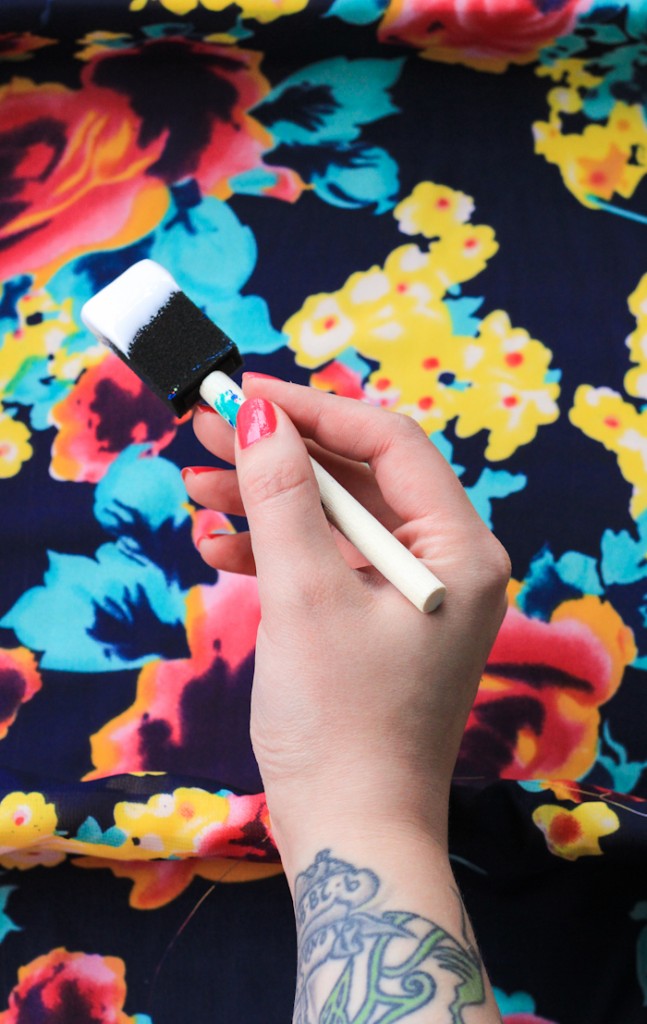 Apply a layer of Mod Podge on the base of your tray and cover with fabric. Smooth down with your finger to avoid air bubbles.
I recommend starting on the bottom of your tray and then working your way up the sides. It also helps to let each section dry for a bit because you’ll want to pull the fabric as tight as possible so that it’s flat. There will be over lap of fabric on the corners– cut off the extra and then fold over for a smooth finish.
Once dry make a slit inside the handles and fold the fabric over to glue down. For this section I found that the Mod Podge didn’t work as well (not strong enough it seems), so you may want to use hot glue or E-6000 to get a tighter hold.
 Once everything is dry, it’s ready for use! You could seal with a layer of Mod Podge, but if you’re just using it decoration, there’s not a huge need to do so.
 To see the other ways to DIY a wooden tray (and trust me, you’re going to want to see them), be sure to head to A Bubbly Life, Sarah Hearts, Pars Caeli, and Oleander and Palm! And don’t forget to enter below to win all the supplies you need to make this project yourself (a $50 Gift Card to Amazon!).

