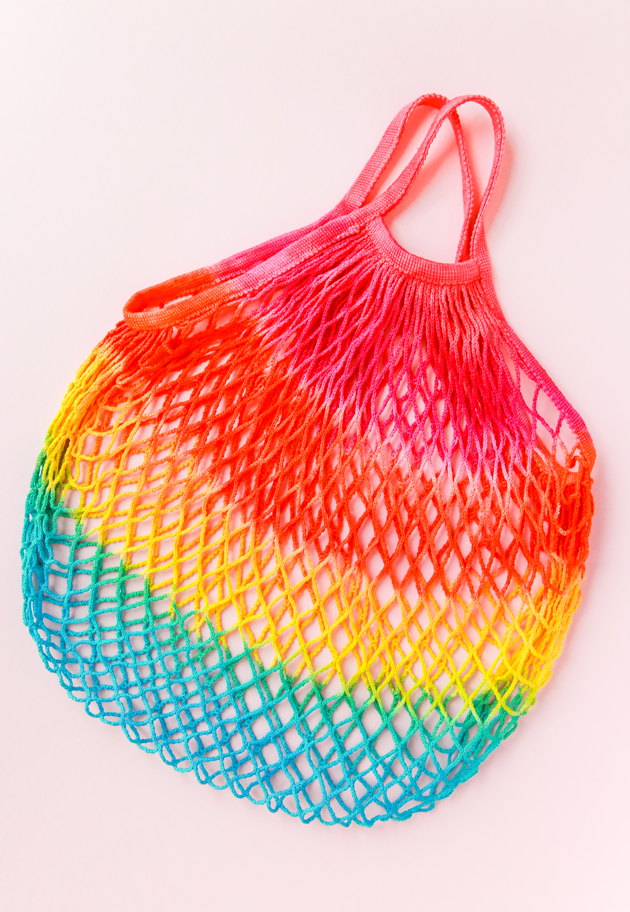
Okay, we’ve been in quarantine long enough that I’m finally giving in to the tie dye trend. What else is there to do, right?! I’ve seen a method that gives you more color control than the traditional approach, and so I thought I’d give it a try on some market bags. Here’s how I made my rainbow tie dye bag:
 Materials
– Cotton mesh bag (got mine from Ikea)
– Rit Dye
– Latex gloves
– Squeeze bottles
– Rubber bands
– Tray + cooling rack
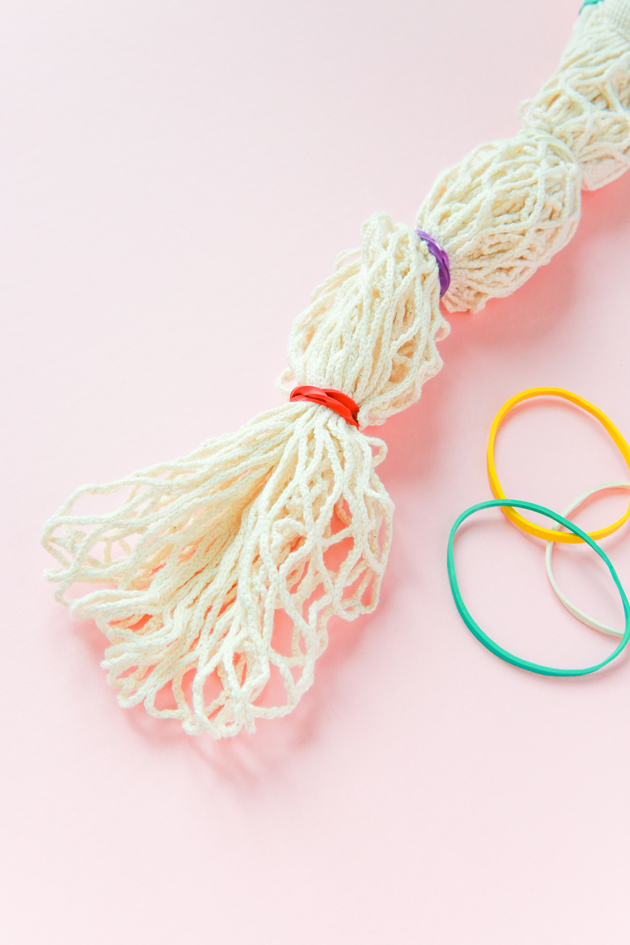 Start by banding your bag into equal sections. Each section will be a new color. Run the bag under cool water until wet, then squeeze out excess water.
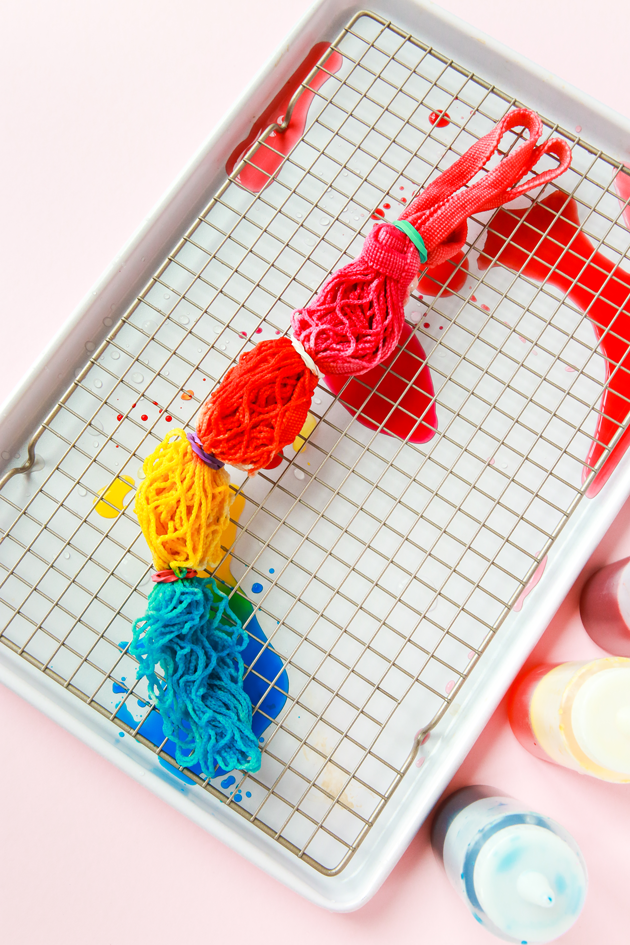 Place the cooling rack on the pan and lay your bag on top. Mix your dye according to the instructions (I did this directly in the squeeze bottles). Apply your color to each section. Excess dye will drip through on the pan.
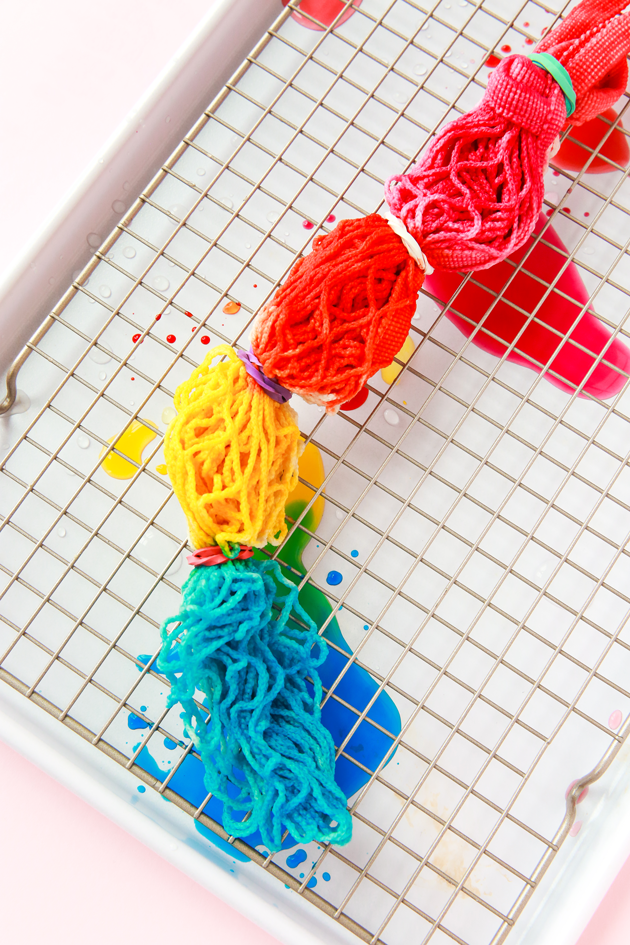 Once the entire bag is covered, flip over and repeat the process on the back so that there is no white of the bag i showing.
Place flat in a plastic bag (so no parts of the color are touching one another), and then let sit overnight. Remove rubber bands and rinse in cool water until the water is clear.
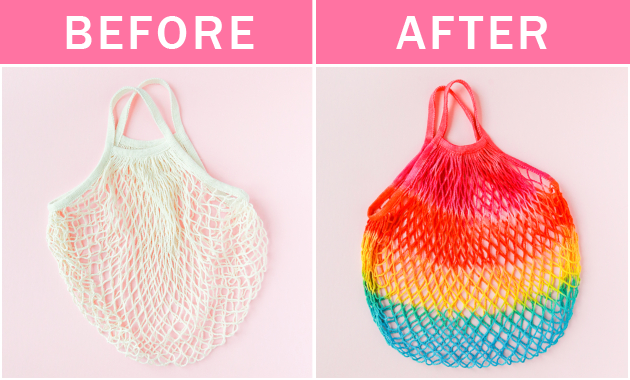 And there you have it! Instant rainbow! If you want more white in between each section, just use more rubber bands.
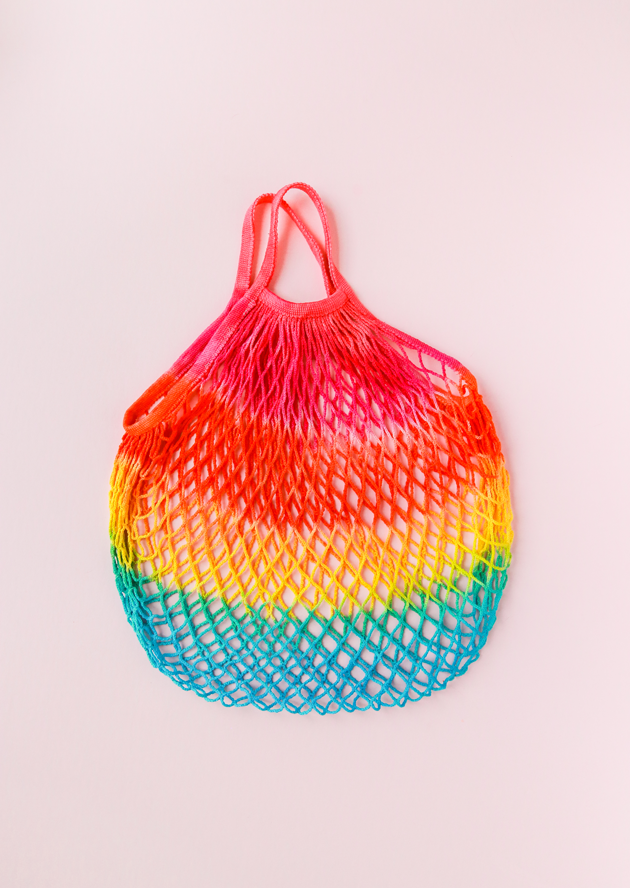 Overall it was a fun project to try! I’ve never applied dye with a squeeze bottle before, so I’m excited to play around with that method a little more and see what other results I could come up with. Doesn’t a rainbow tie dye dress sound like something I should add to my wardrobe?!
Would love to know if you’ve also tried dyeing and what fun things you’ve come up with!