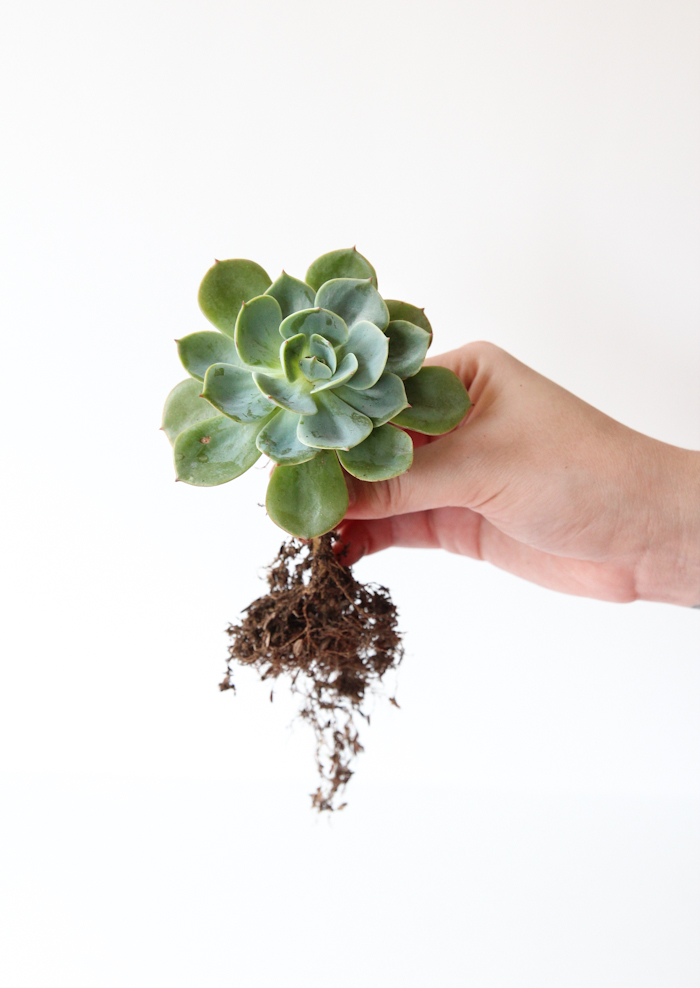
Time: 20 minutes
Materials: rocks, charcoal, sand, soil, succulent or plant of your choice, container
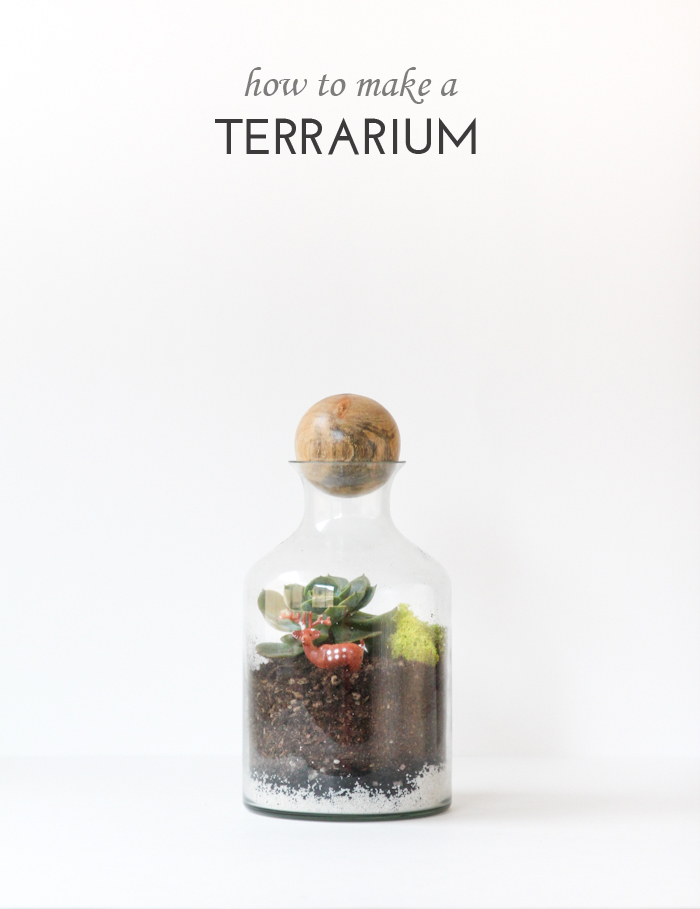 As much as I love a good house plant, terrariums have totally won my heart with their playful nature. You can customize everything from the container, to the colors of rocks/sand, and the decorative elements you use, making this project one with endless possibilities!
 I am no botanist, so before starting I did some research to learn the specific layers needed to make a thriving terrarium. PS by using Bing, I was able to rack up points through Bing Rewards that I can put towards food, shopping, and even charitable donations (it’s like a frequent flyer program for searching)!
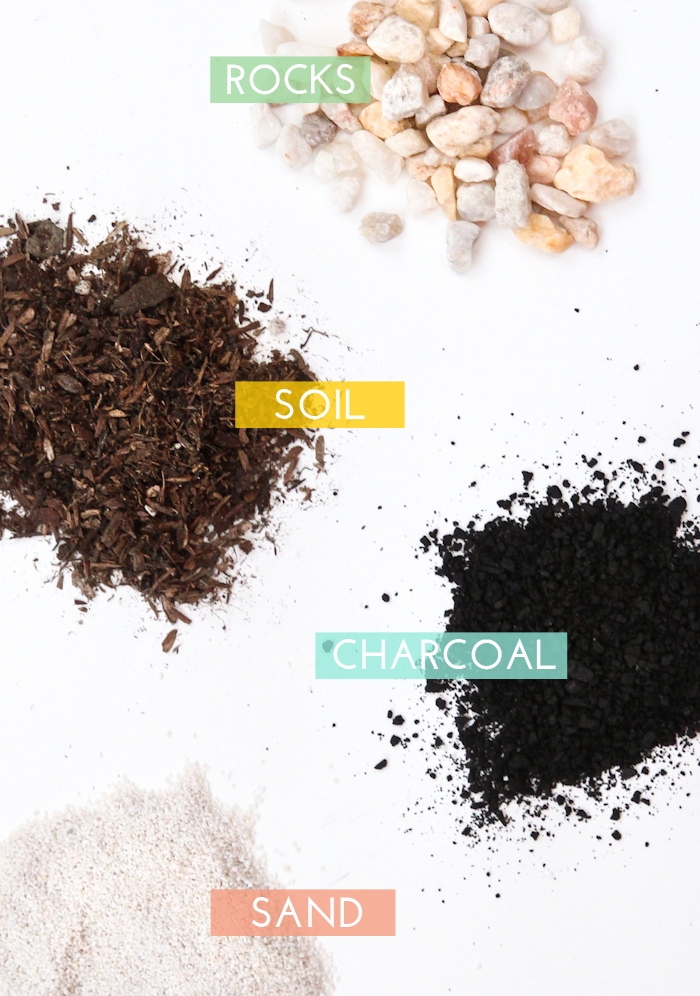 Start your first layer by pouring in a layer of rocks thats about an inch in height (this will prevent root rot). Next, add a very thin layer of charcoal, which is great for filtration. You should still be able to see your rocks peaking through the top. Cover all with a layer of sand then add your soil.
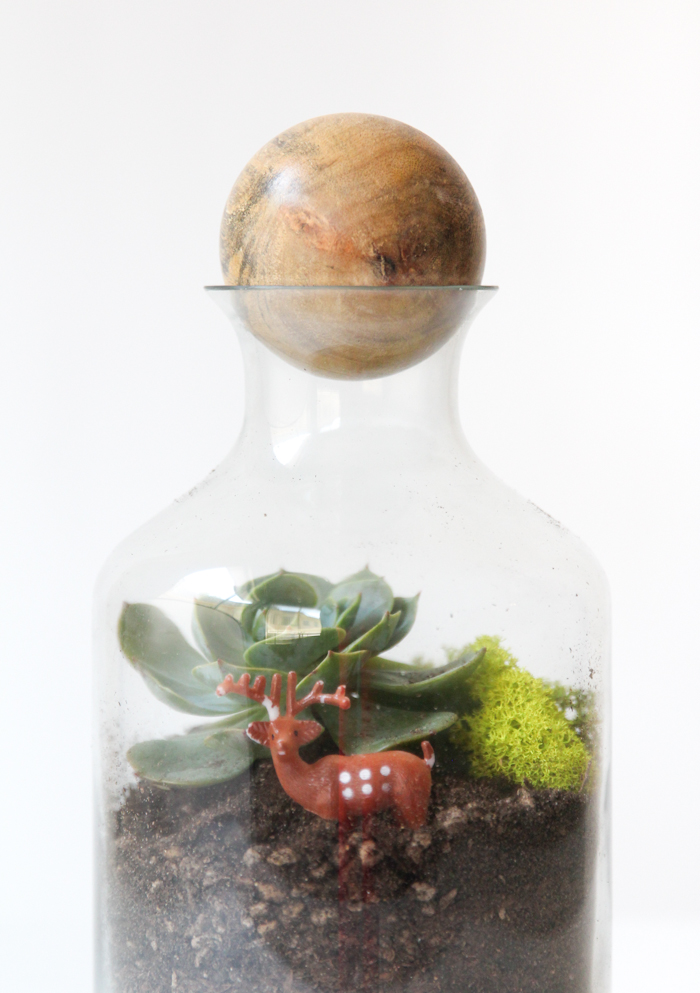
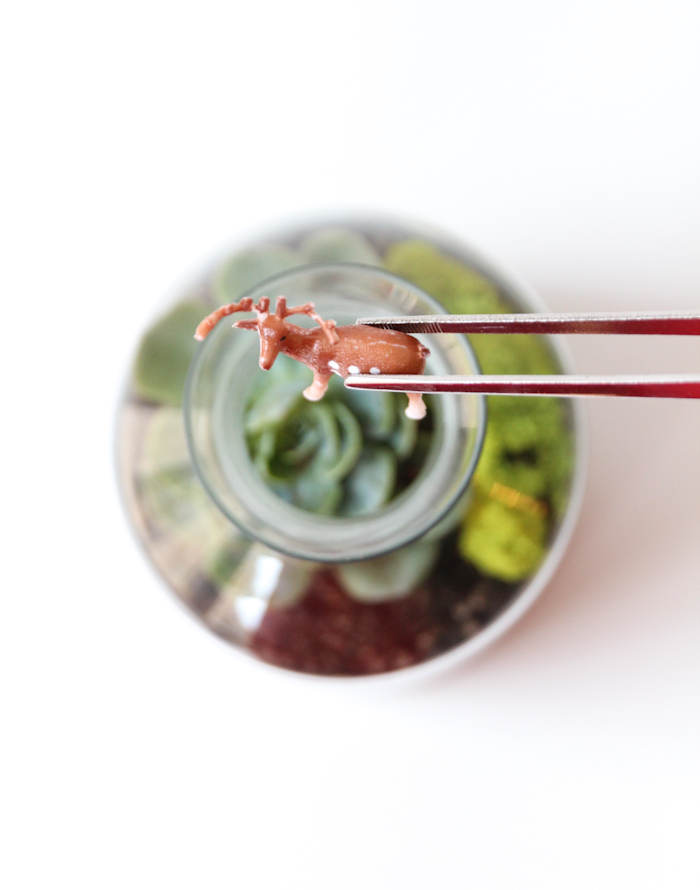 The very top layer is for additional decor. I chose to add some moss and a cute plastic deer, because hey, why not? There are so many options here, so have fun! If you have a container with a narrow opening, I recommend using these long tweezers to help you place everything.
You’ll want to water your terrarium with the tiniest bit of water a few hours after you’ve finished. Repotting is a little traumatic for plants, so if you happen to over water, the roots will absorb too much and it may kill it.
Place in a sunny spot in your house (non-direct light), and enjoy!
I’m required to disclose a relationship between our site and Bing. As a member of this program I have been compensated for this post in the form of product or payment.
All opinions are my own. Thank you for supporting the brands that keep The Crafted Life going!

