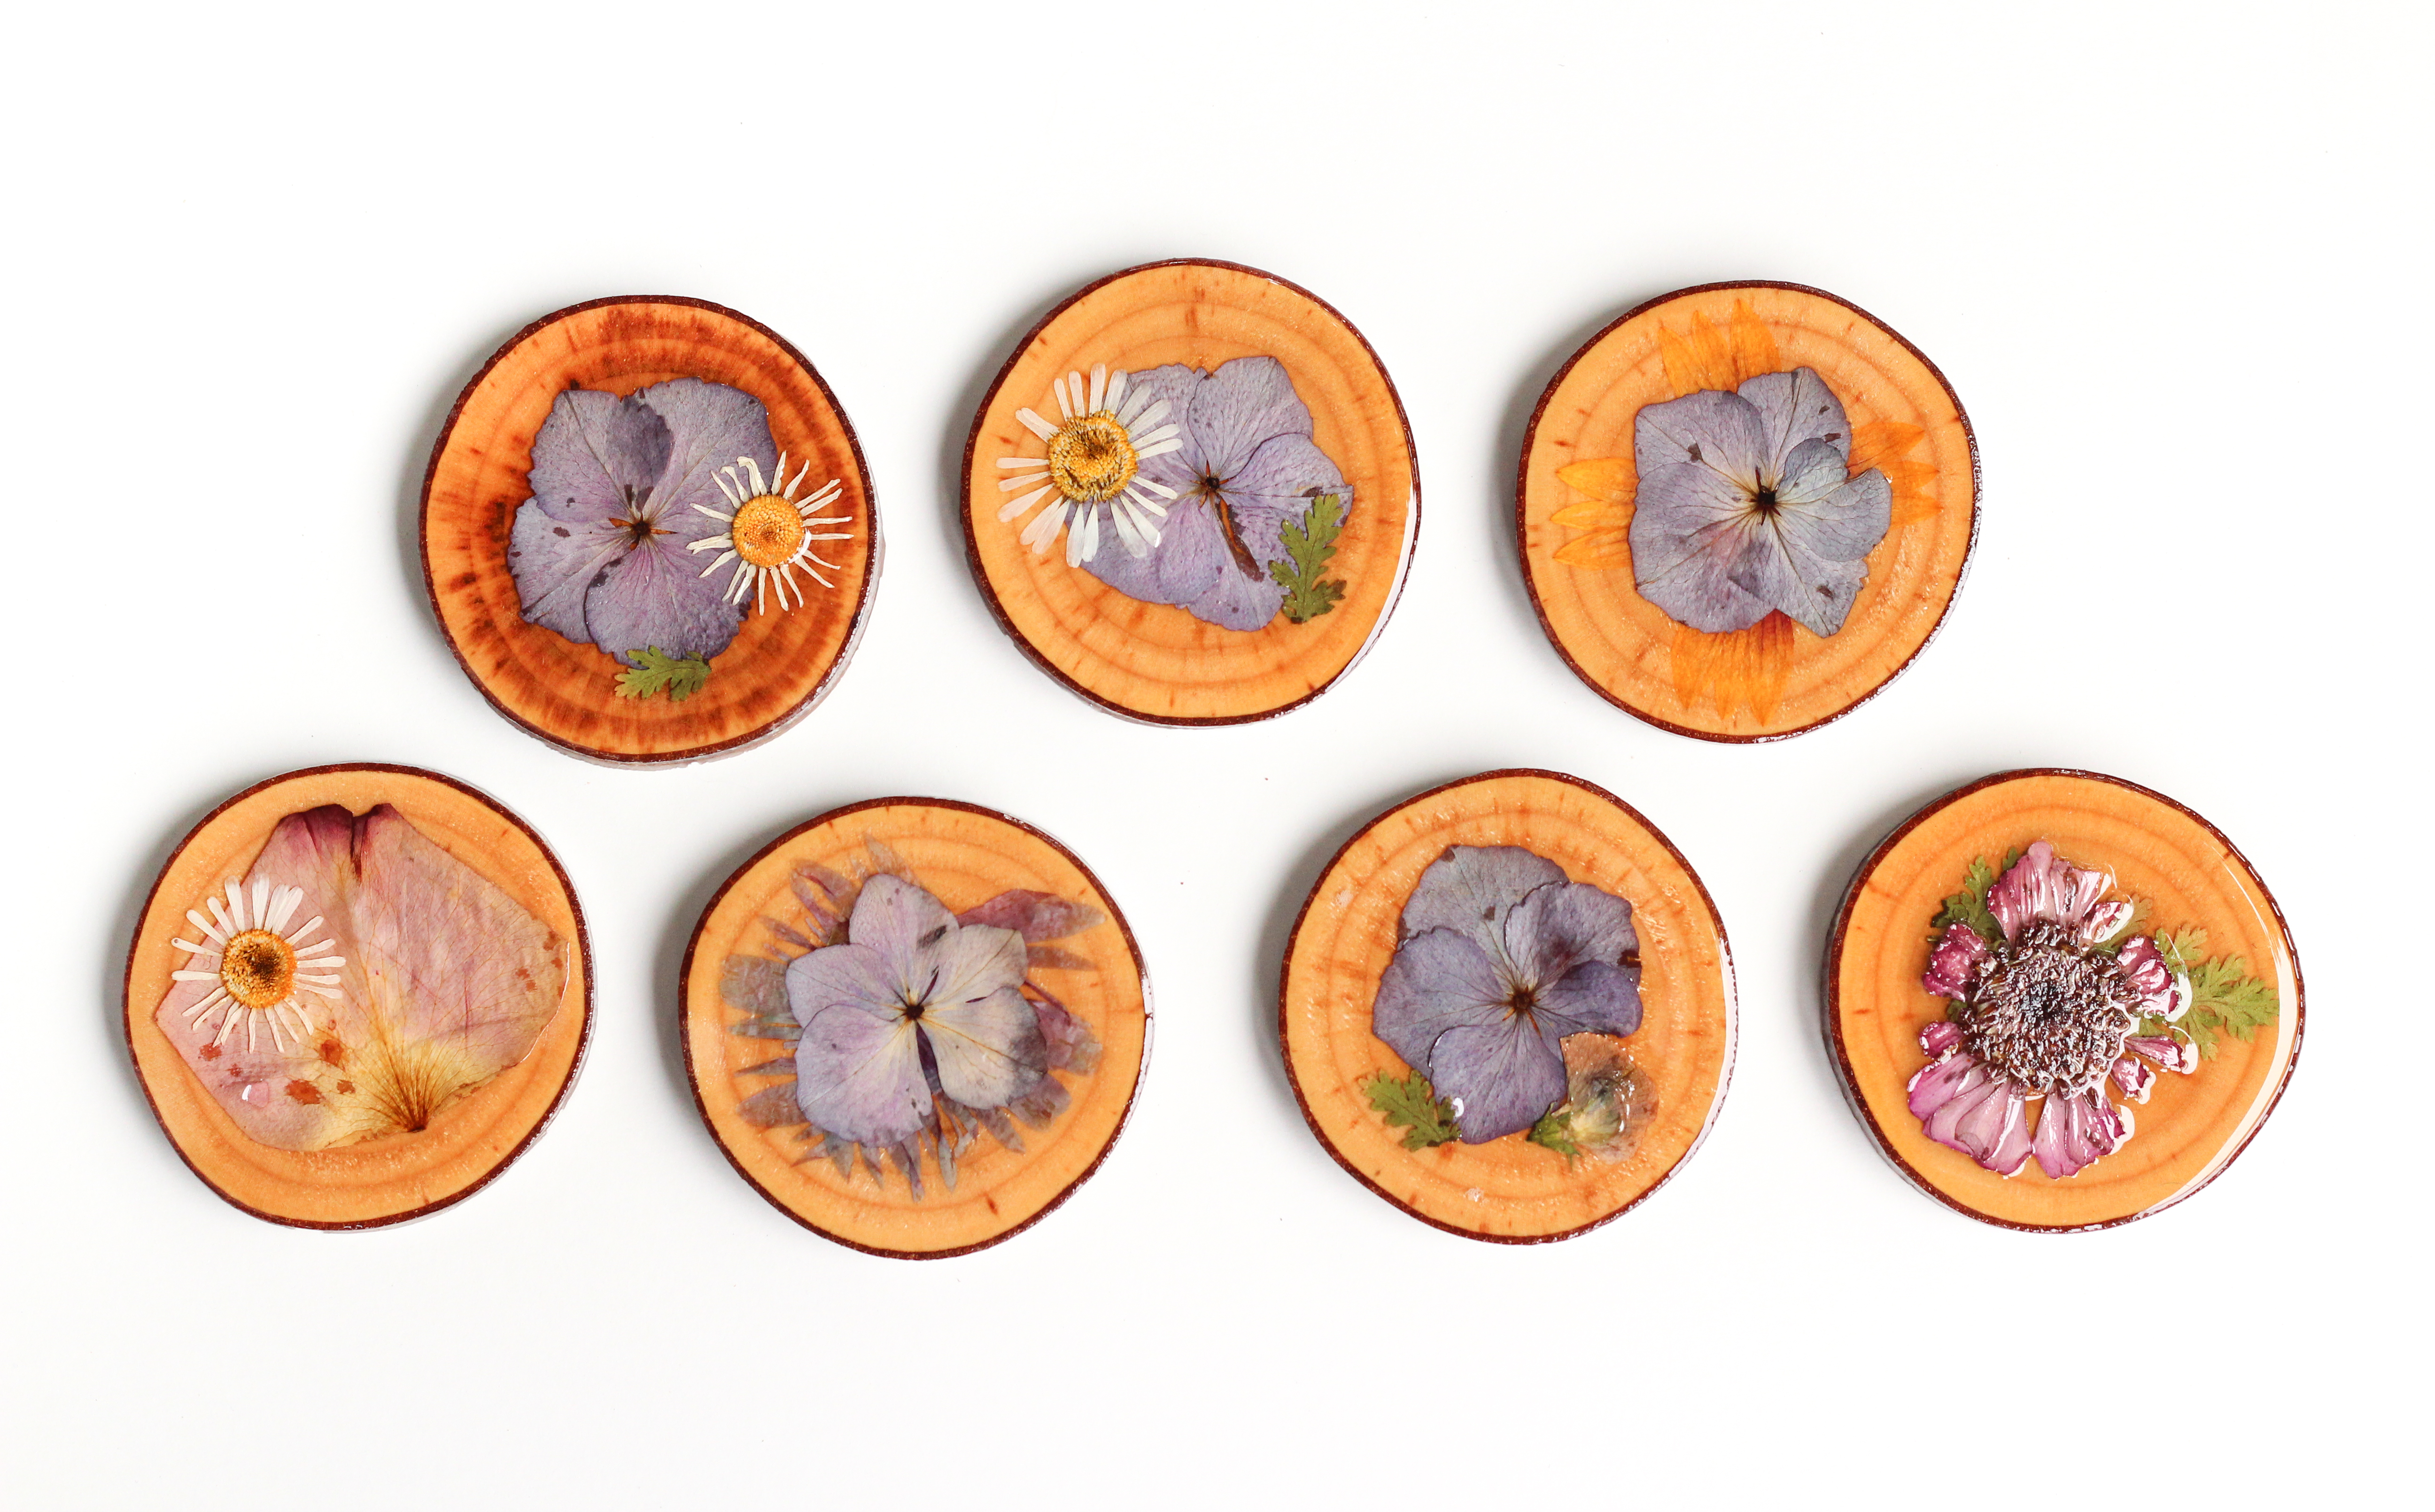
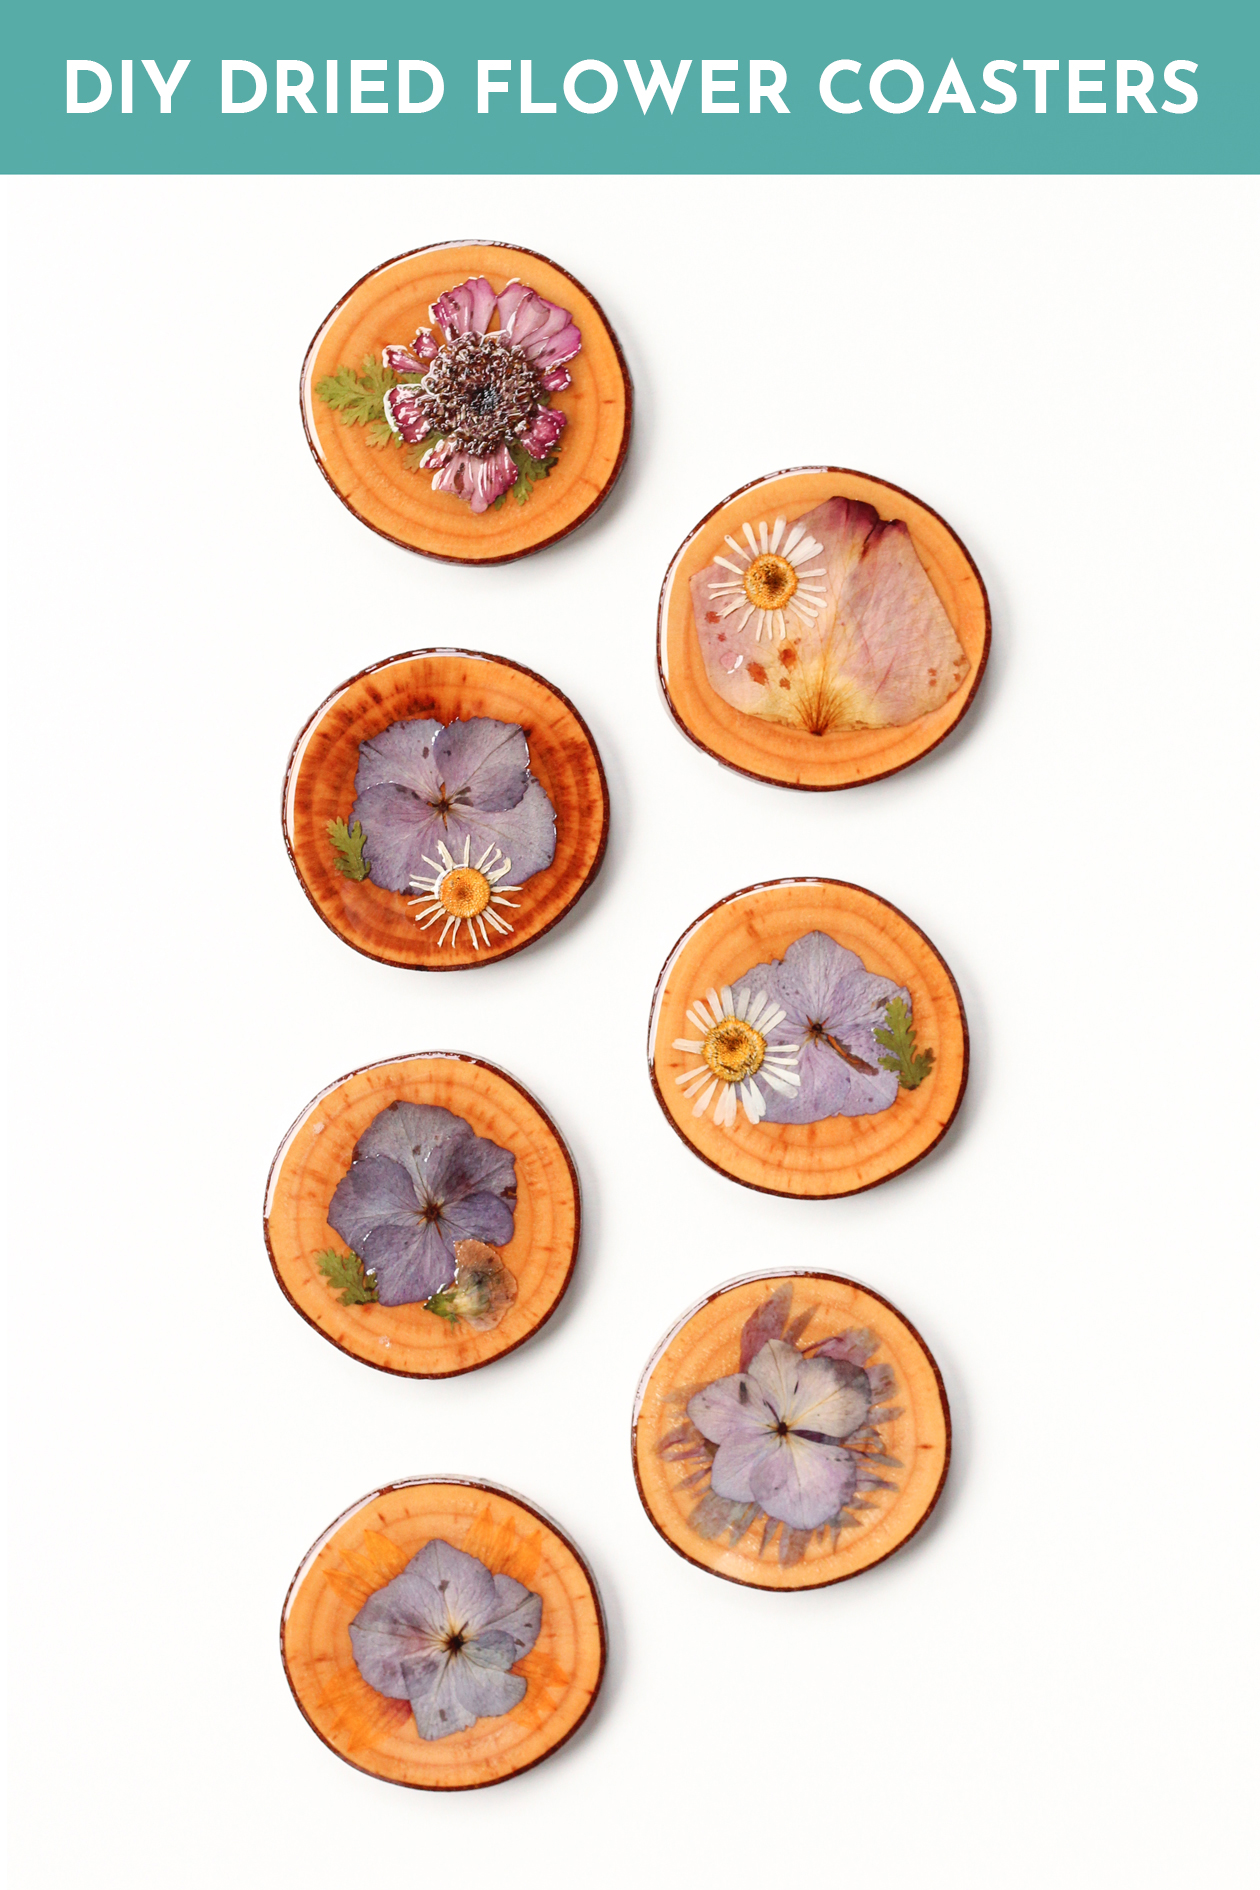
As someone who loves flowers, I can tell you this project is already an immediate favorite. Learning how to make coasters with dried flowers is the perfect way to preserve a special bouquet. They’re also just a great way to bring florals inside year round.
I know I’ve kept you in suspense since sharing how to press flowers, but today is the big reveal! This may just be my most time consuming project to date, but really it was well worth the effort. Sometimes a little extra time is fine to give to a project that will be in your home for years to come!
Here’s how I made them:
Content may contain affiliate links. When you shop the links, I receive a small commission at no cost to you. Thanks for supporting my small business.
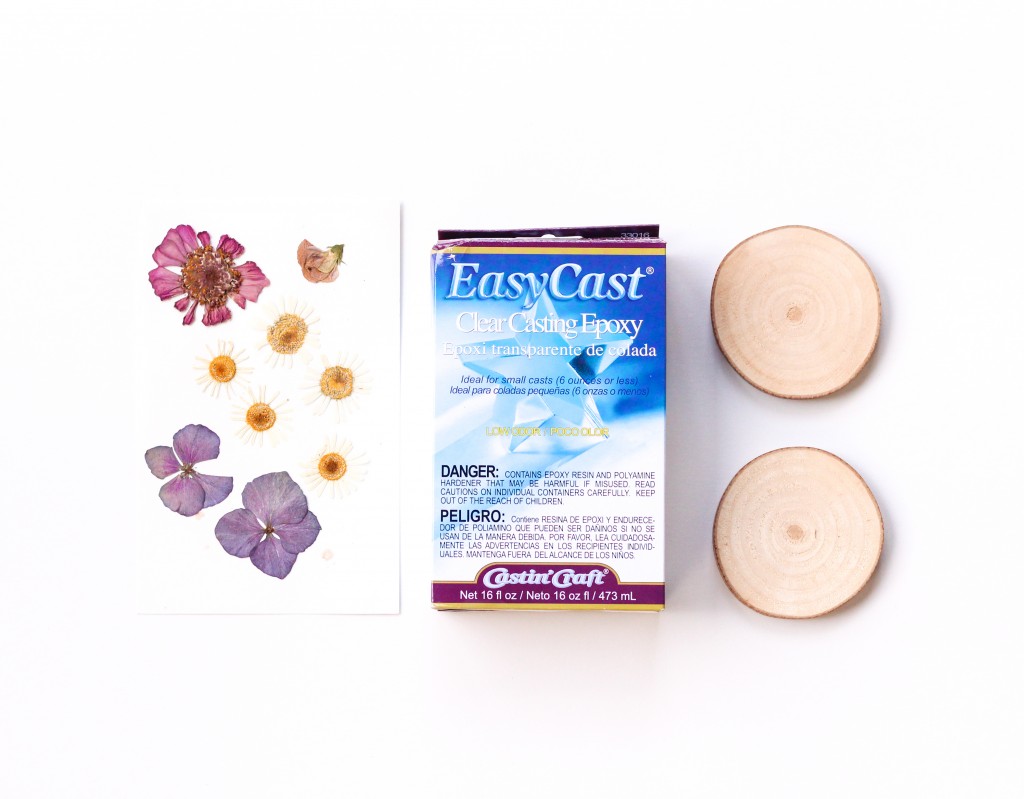
What You’ll Need
– Wood slices
– Dried flowers
– Epoxy resin
– Plastic cup, stick, and gloves (for mixing)
– Wax paper
– Wooden block
The wood slices I used were cut from a tree from my yard. If you don’t have access to a saw and need to buy yours, Etsy has several options.
How to Press Flowers
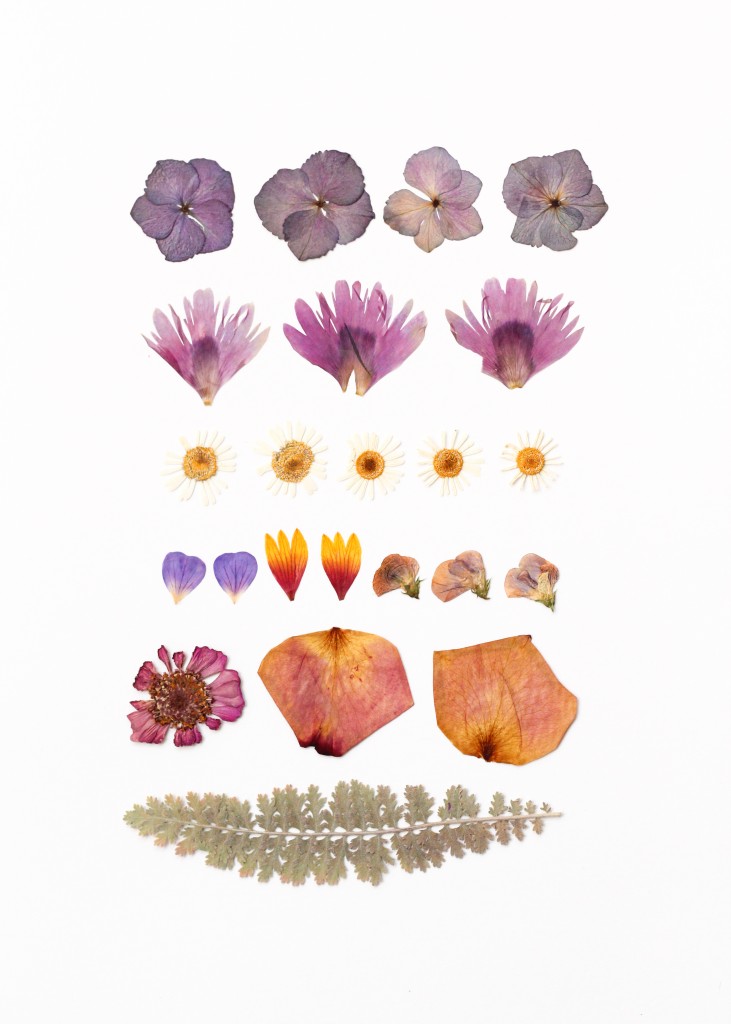
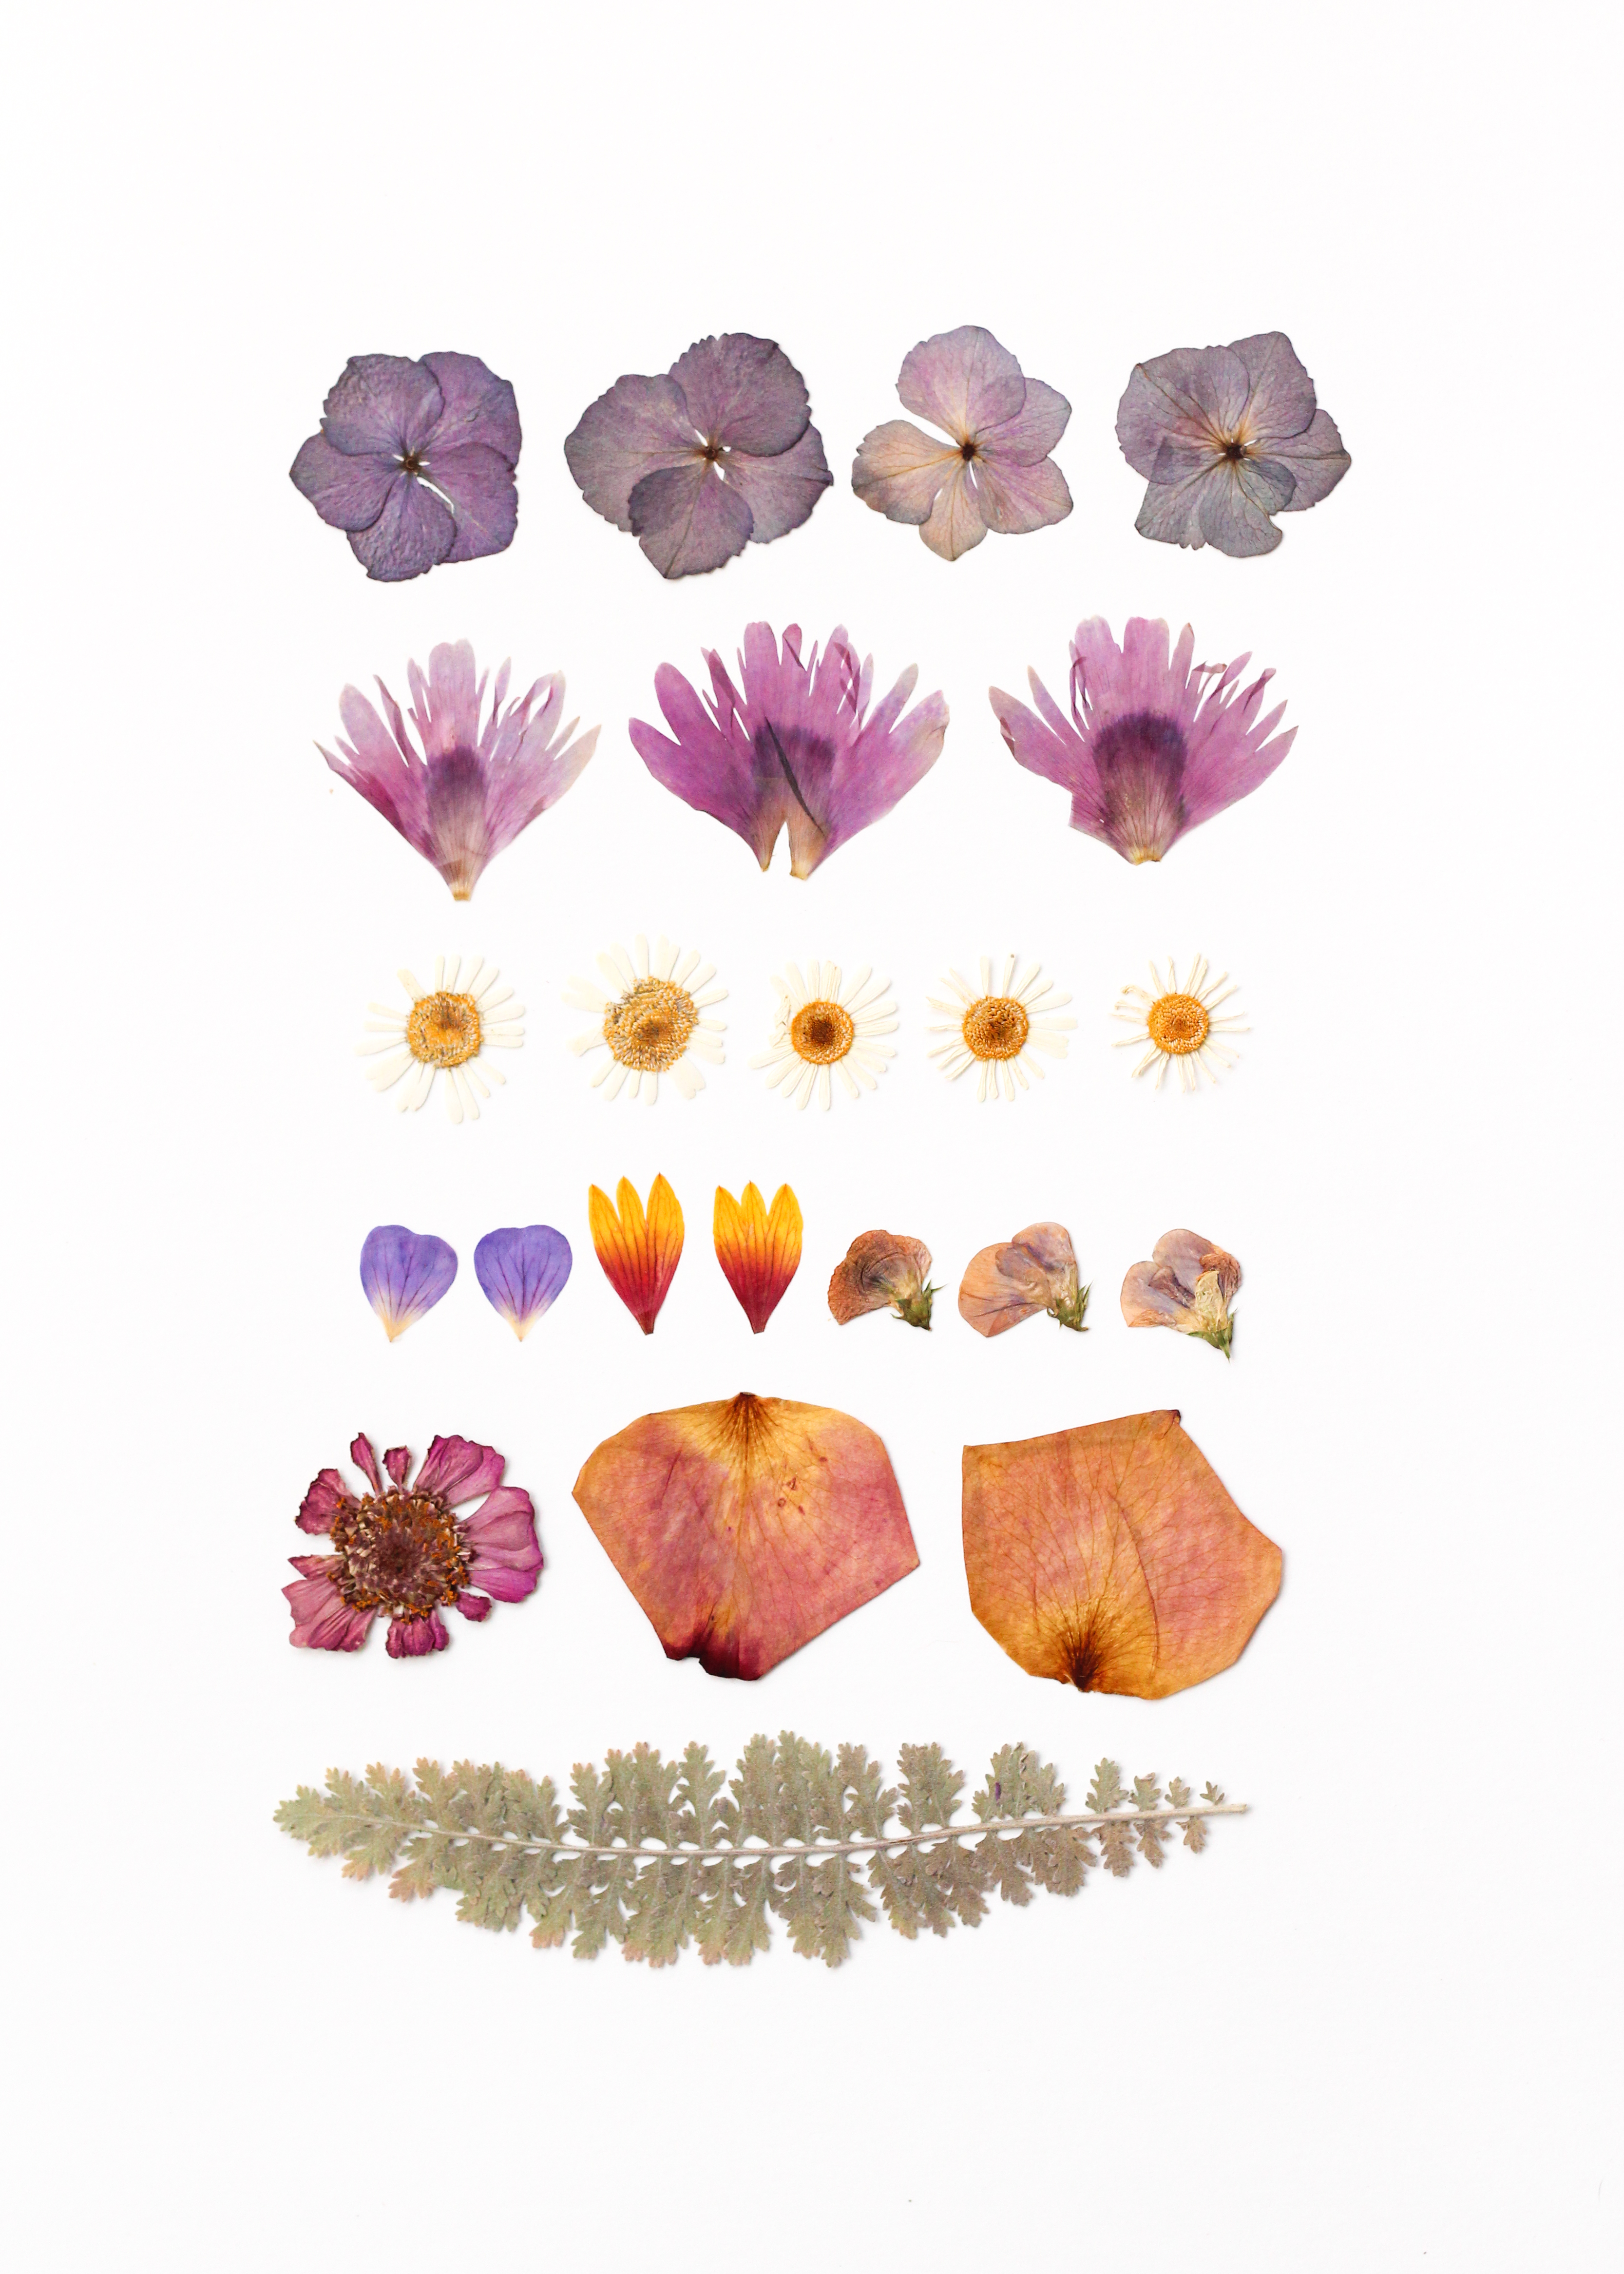
You can press your own flowers in a book following this tutorial (does take 4-6 weeks). Learning how to use a flower press will give you a shorter wait time.
Floral Tips
I pressed my flowers for 6 weeks and am really happy with the way they turned out. Using a flower press would cut your press time to 3 weeks. You could also buy them pre-dried if you don’t want to spend the time. Again, Etsy is a great source for this!
For this project, you’ll want the flowers to be as flat as possible. This will ensure that any glass you rest on top will have a flat and even surface. It will also be easier to cover with the resin.
The best results were achieved with:
- Hydrangea blooms
- Leaves
- Rose Petals
- Smaller wild flowers
Thicker flower likes peonies or even a full rose won’t work for this project. Instead try using just the petals so the flower lays as flat as possible.
How to Make Coasters
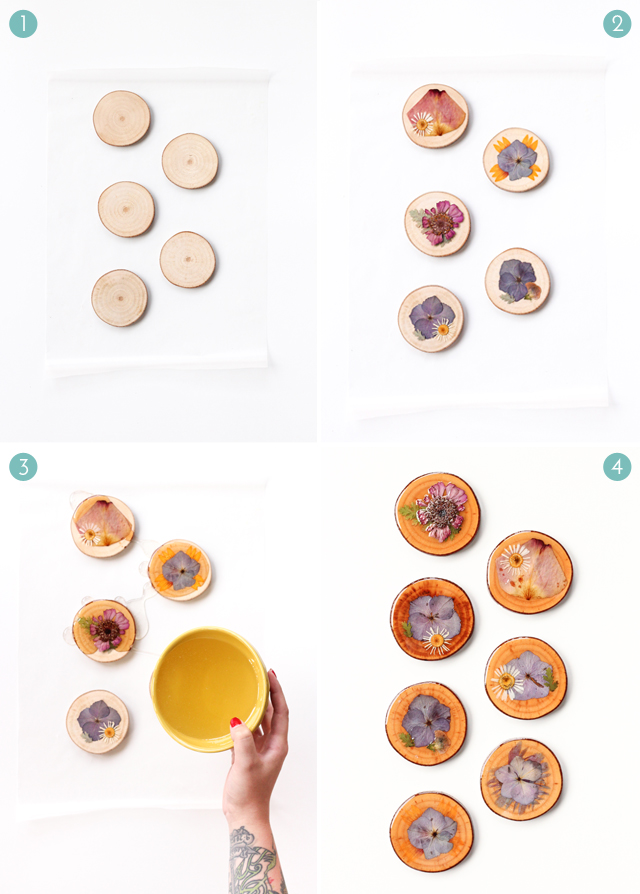
1. Place your wood slices on a block on wax paper.
2. Position your dried flowers on the coaster. How they lay is how they will be permanently sealed.
3. Mix your resin together according to the instructions then pour over your coasters, covering the entire surface. Be sure not to pour too much because you don’t want it to pool around the base. Just enough to cover the top, and potentially a bit of the sides.
**Remember that resins hardens! Whereever it touches will harden or be impossible to clean, so take your time!
4. Let sit for about 10-15 minutes then carefully move to a clean sheet of wax paper. If any resin hardens around the base, it will not be easily removed. You may have to transfer the coasters to a new sheet one more time to avoid any buildup around the base.
5. Let cure for 72 hours then enjoy!
These DIY Dried Flower Coasters would be a great wedding or Mother’s Day present! Really perfect for anyone in your life that loves flowers– even if that person is you!
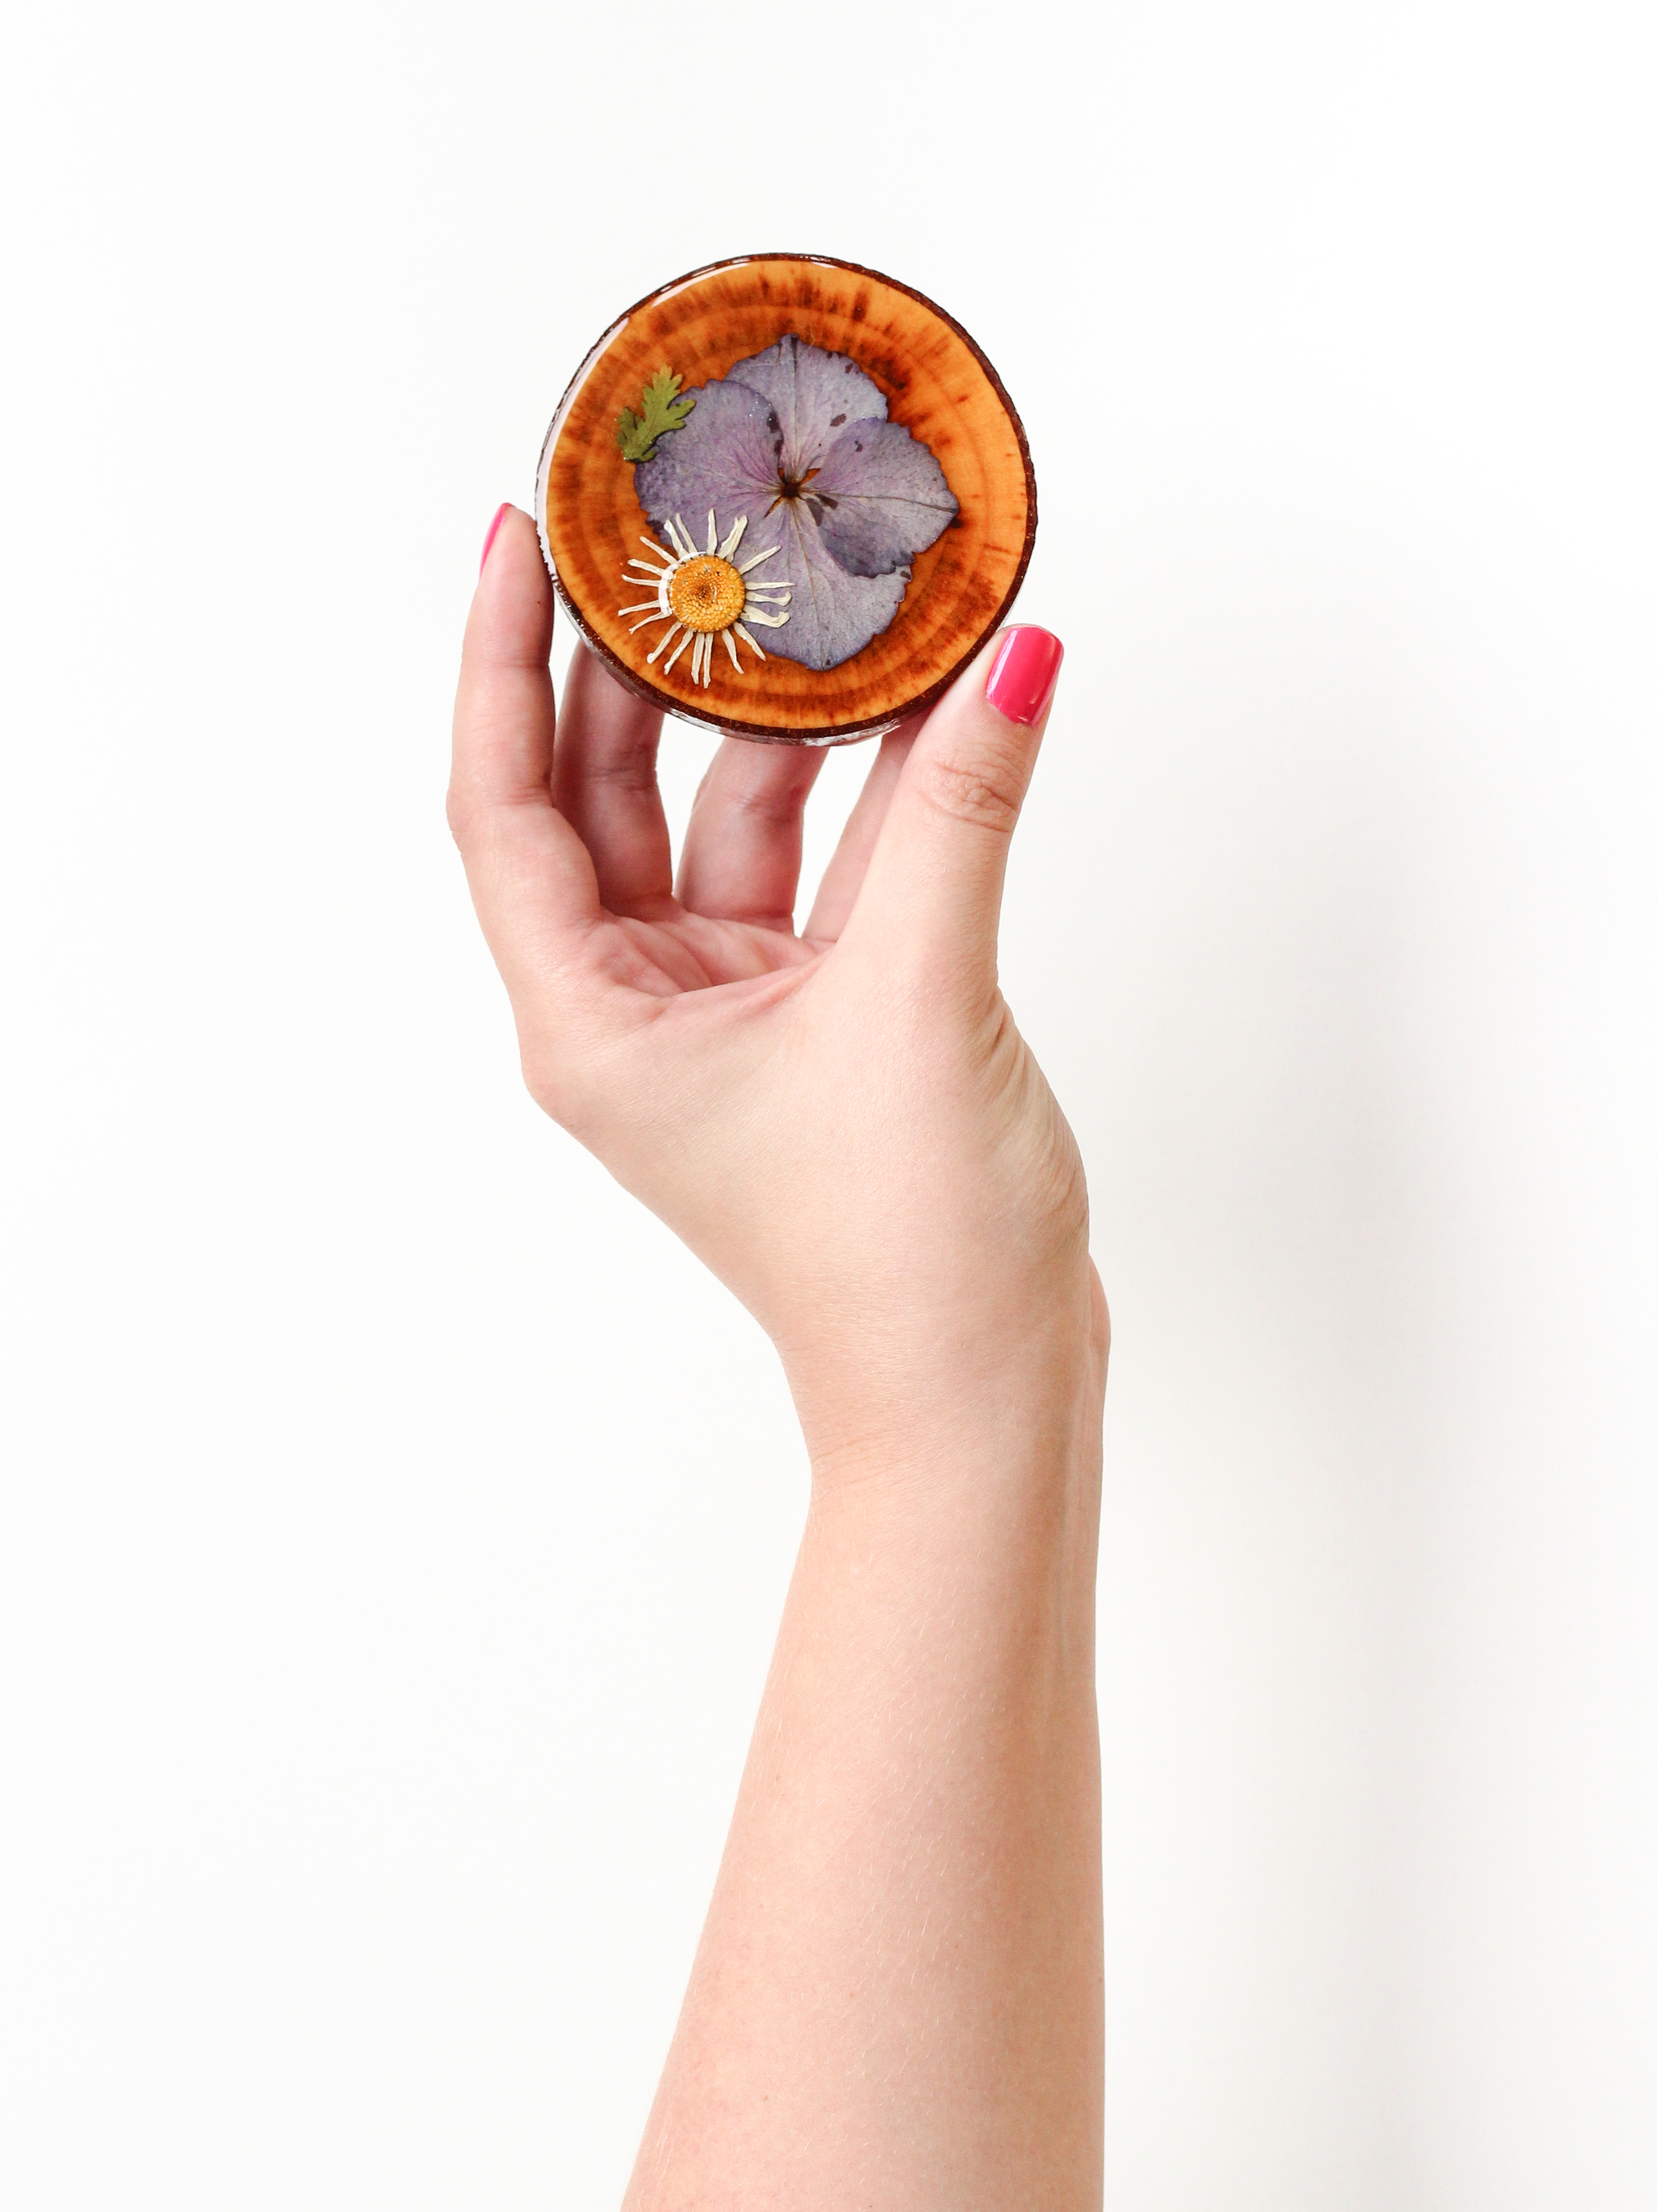
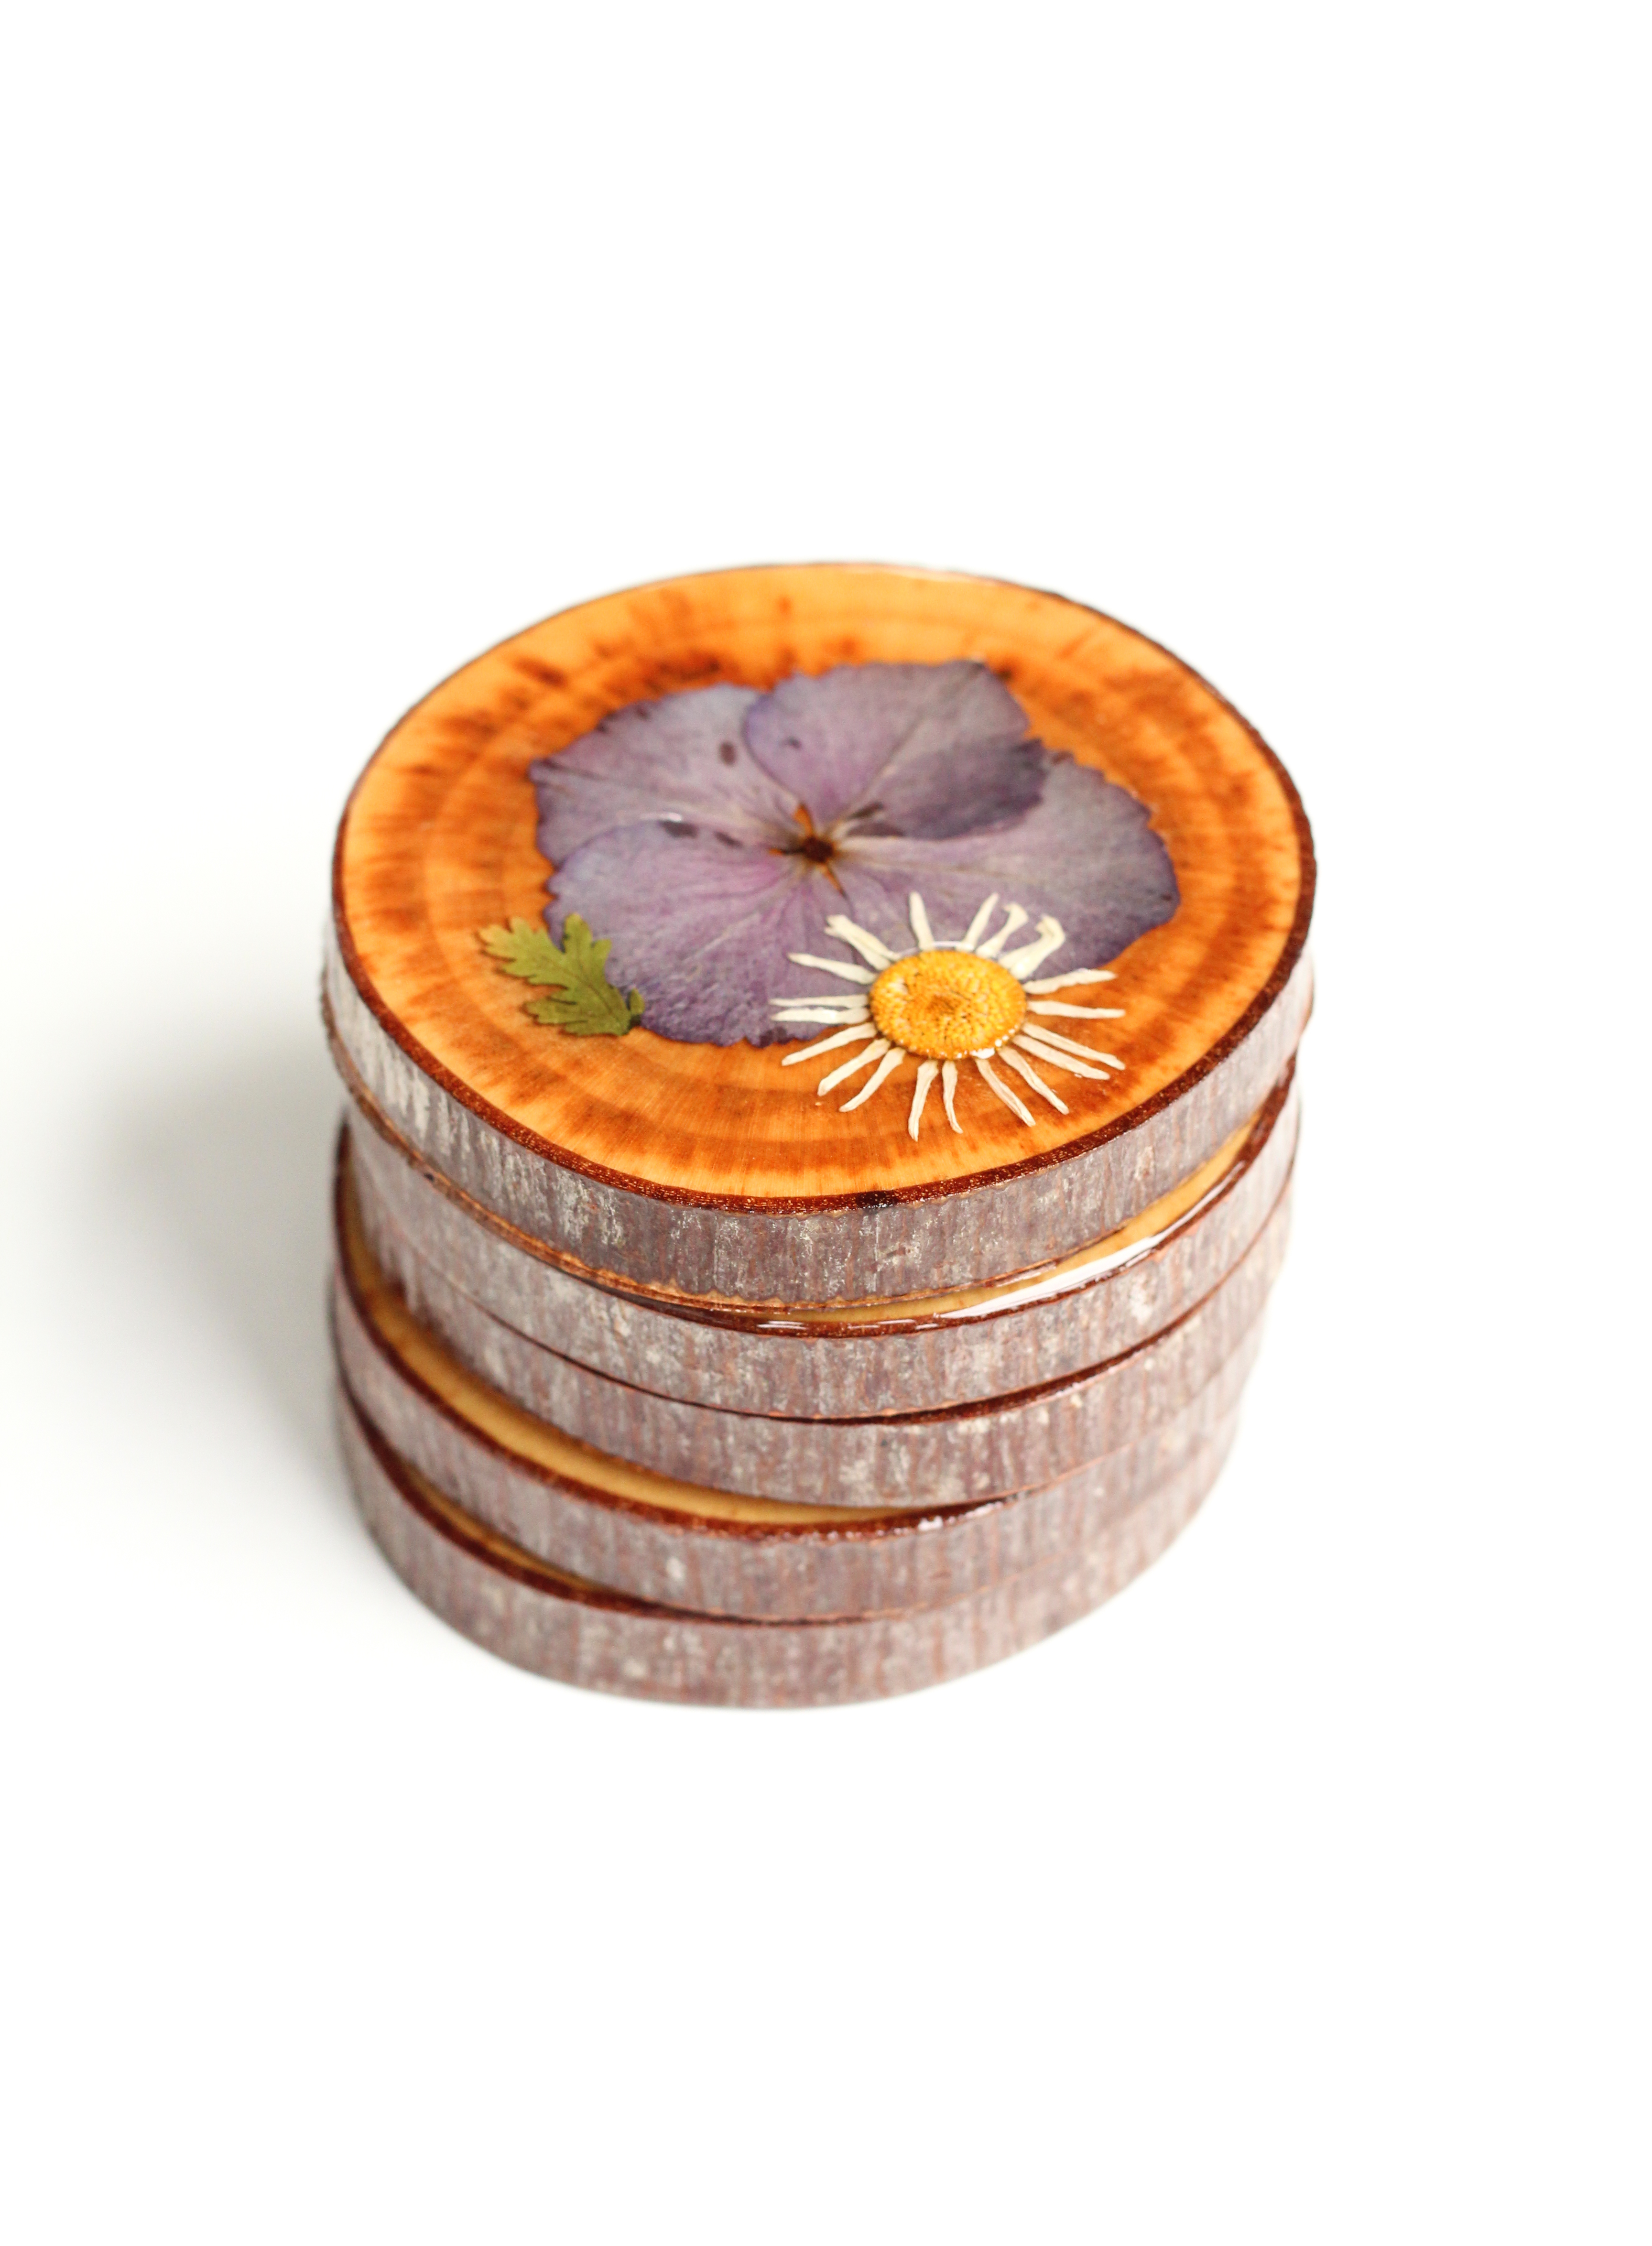
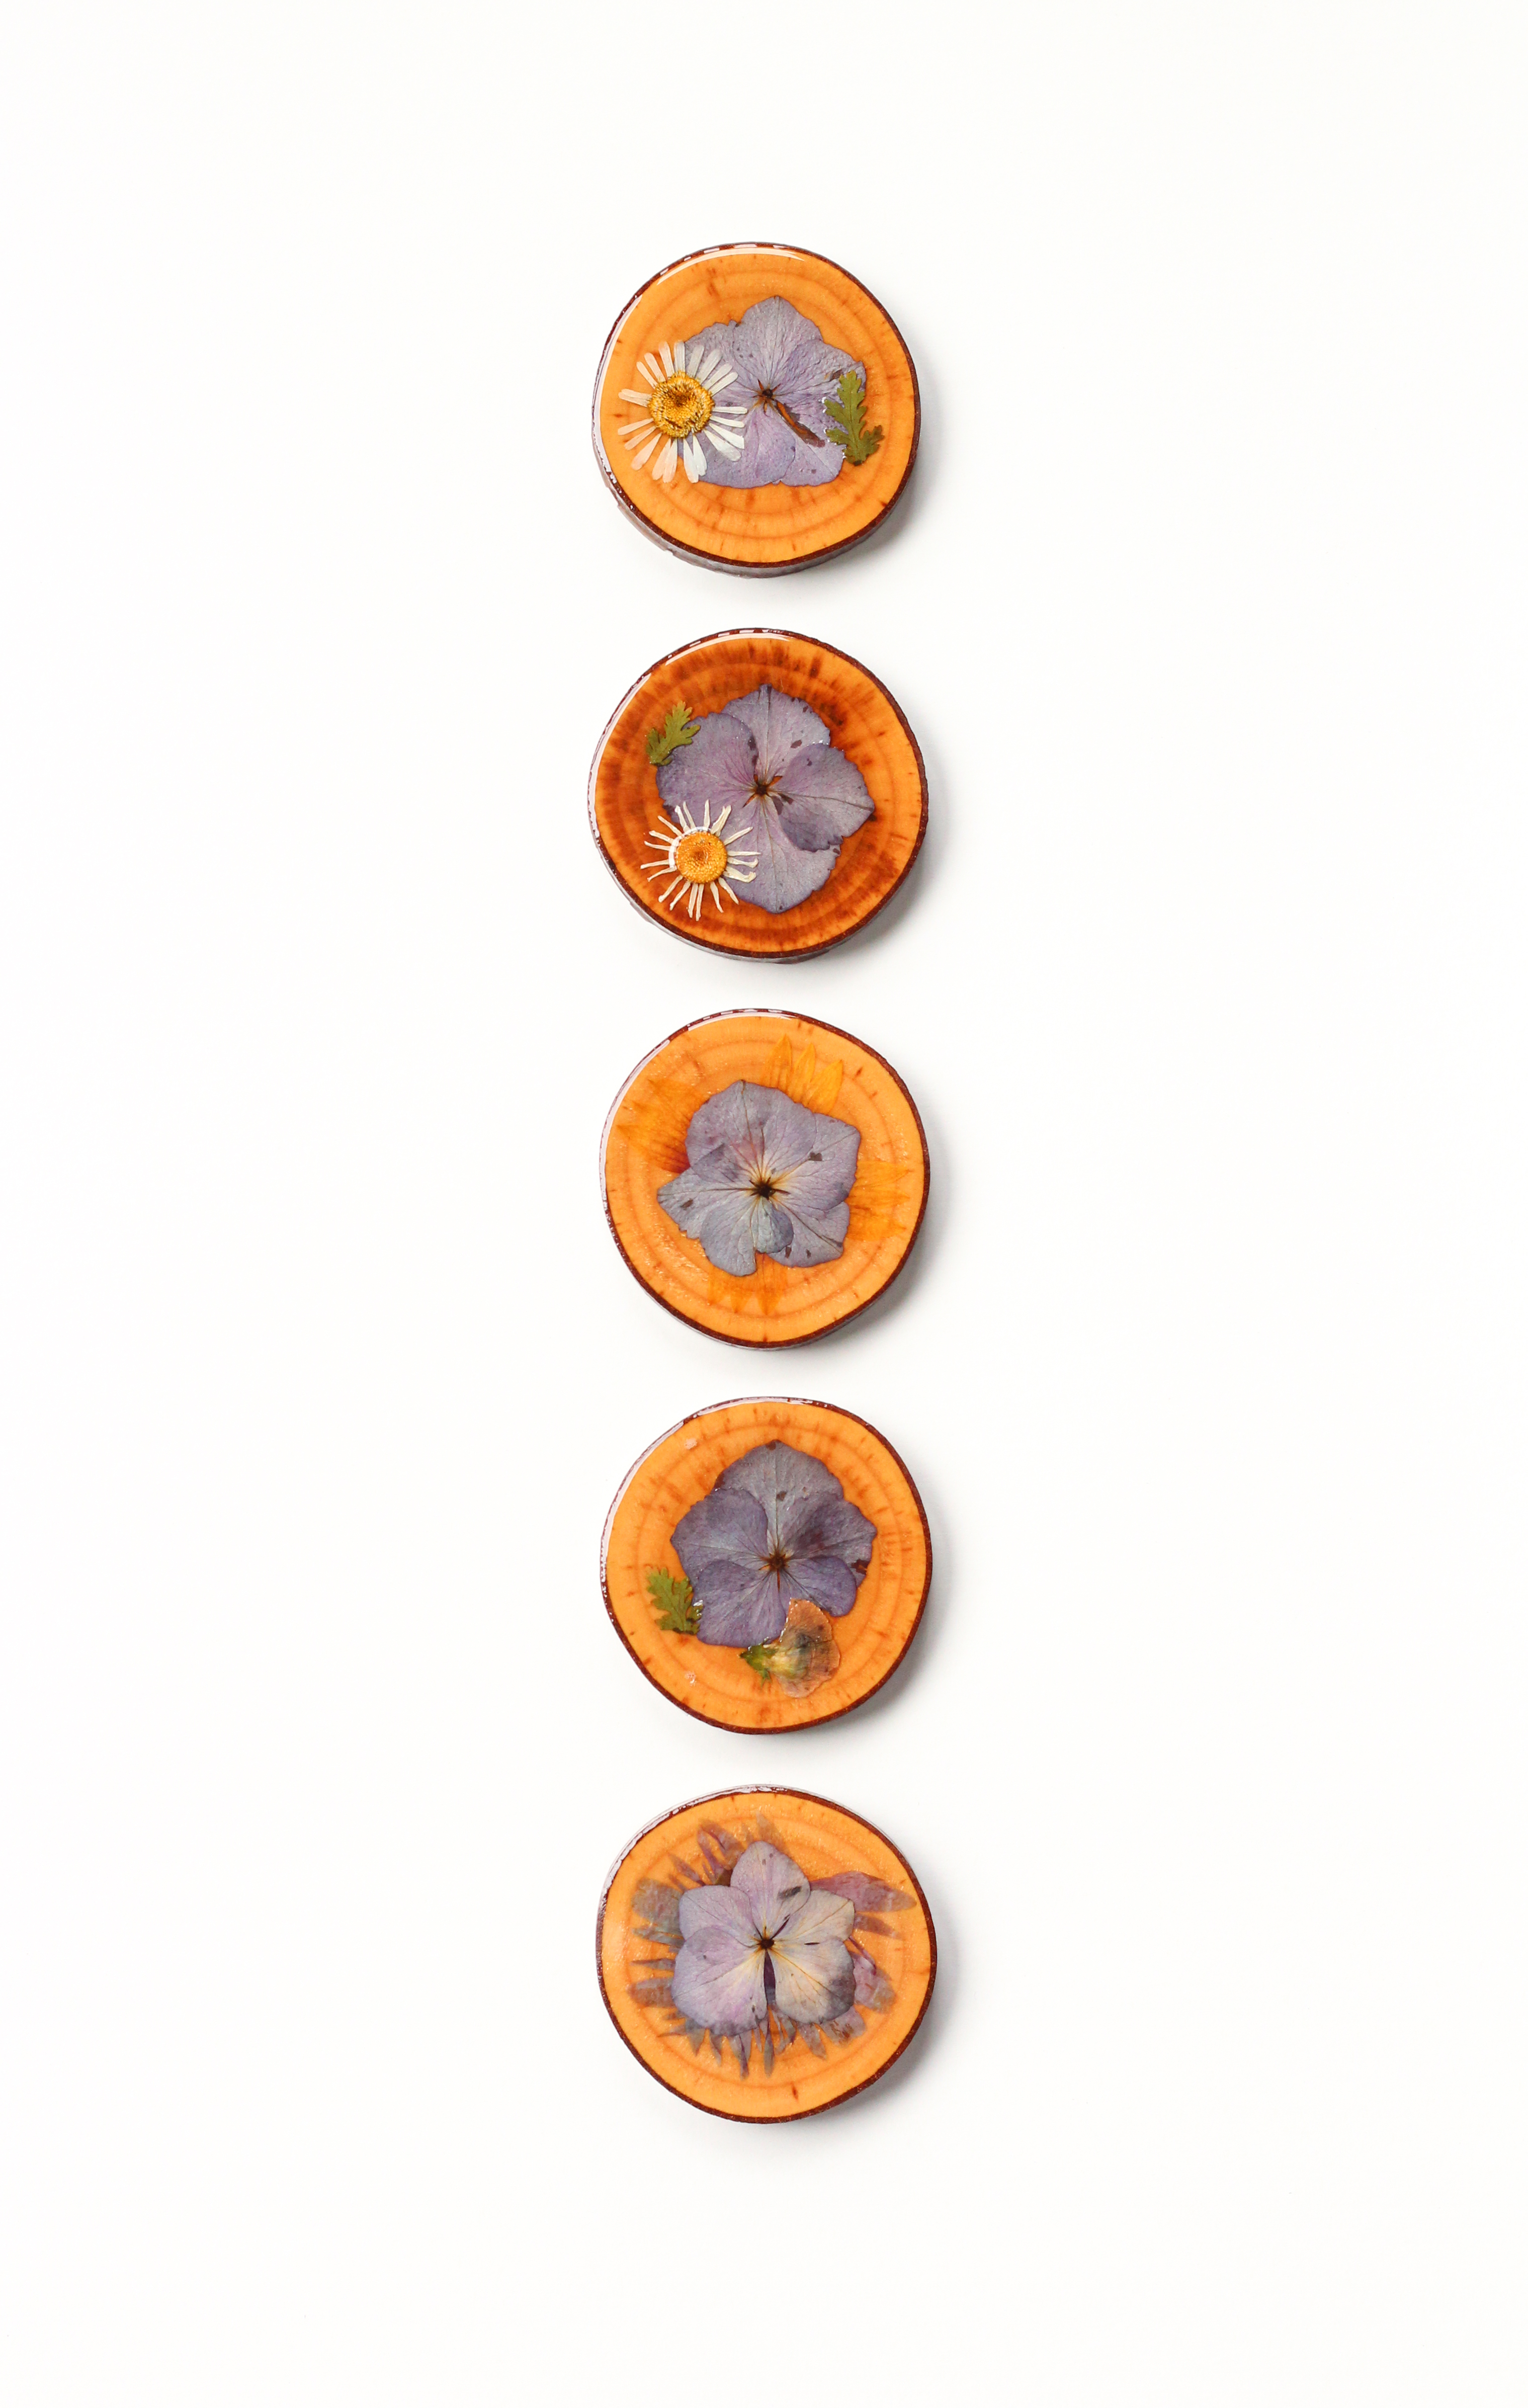


I am obsessed with these! About how thick are your slices?
Oh yay, thanks Kelly! The slices are just under 1/2″. I hope you give these a try :)
I have a shortcut for drying flowers that takes about 5 days. I have been drying flowers for years this way. You use Cream of Wheat DRY pour out of the box . Put a layer of CRW in the bottom of cake pan, bowls or what have you. Then lay your flowers out. I like Orchids just before they start to curl up and fall off the plant.. Then pour a layer just to completely cover the flower for 5 days and it preserves the color very nicely also! You can use wildflowers, mostly flat flowers work well, pansies, any flower you can buy @ nursery. Minature roses work but they arrenʻt flat and they take longer. Try it it work wonders Ruth Sligh sligh1841@att.net
So pretty and useful. And I’m uber-impressed with your evenly sawed slices. :)
Aww why thank you so much! So happy you liked the tutorial!
Whaaaaaaaaaat! I can’t believe how amazing this is. They’re GORGEOUS, Rachel!
Amy! Thank you so much! I have to give all the credit to the flowers and wood slices though :)
These are pretttyyyyy!
Thanks girl!
holy smokes. these are sooo pretty! you are so talented and crafty, rachel! ^__^
You are so sweet, thank you so much! Glad you liked them :)
So pretty! Totally worth getting resin in you’re hair :D
Absolutely! Thank you so much Laura!
LOVE them so much!
I’ve been trying to make coasters with resin with plant life but the exothermic heat keeps burning all the colour out of fresh foliage! Did you have any trouble with this Rachel?
Yay, thank you so much!
I did not! But I used dried/pressed flowers so they had lost a bit of their coloring before starting. I did notice that orange did not work so well, but I think it’s just because it blended in with the color of the wood slice :)
I really hope it works for ya, can’t wait to see them!
Thanks Rachel, I’m just glad to know natural materials actually work. I could also have added to much catalyst which I think tends to make it very hot.
One day I will get it right!!!
Yeah you will! And they will be beautiful <3!
I love these! Hopefully I can find some flowers to press over the winter…
Oh I hope so too Amanda! Your grocery store should hopefully have some. And if not, I think you could even buy pressed flowers on Etsy. Best of luck!
How do you cover both sides of the coaster with the resin? Meaning, do I complete one side and wait a couple of drying time days, and then turn over and cover the other side? I probably answered my own question, but would like your advice too. Very, very pretty craft.
Thank you so much Debra!
Yes, if you wanted to seal the bottoms as well, that’s what I’d recommend! I accidentally applied too much on top, so it poured over the sides and seeped underneath. I had to keep moving them to clean wax paper throughout so they wouldn’t stick, but in the process, it coated the bottoms (not a clean/smooth coat though).
I’d love to hear how this project turns out for you–keep me posted :)
Thank you Rachael for the reply and direction. Cheers!
so, if you pour the resin over the wood slice, are you completely coating the sides? They look so pretty and we have a LOT of downed trees :-)
Some resin will pour over the sides, so they do get covered! You can always use a brush to fully cover the sides once the top is set too.
Can this be done with fake flowers? I’d love to make these for my mother’s birthday but it’s two weeks away!
Tina, I am SO sorry I missed this comment! I would image fake flower would work too, as long as they lay flat. Perhaps you could make this for a holiday gift?
I began drying the flowers almost 3 weeks ago, I’ve picked out my wood and now I need to buy the epoxy. You show the smaller 8oz box how many coasters will that box make? I’m trying to decide what size box I need.
Oh how exciting! And I used half a bottle for 5 coasters but ended up having a LOT left over. I could’ve probably make 10 more, so I’d say you could probably make about 30 with the set I have pictured. A little bit goes a long way :)
Can’t wait to hear how they turn out!
Ok so the wood absorbed the epoxy and my flowers and leaves are not adhered.please give me any suggestions you have! This is a Christmas gift for my Mom and I would be absolutely heartbroken if I couldn’t give them to her!
Oh no, that should not be happening! Did you mix the two parts together according to the instructions? Also, how long did you let the resin mixture set? Could take anywhere from 24-72 hours to harden.
So pretty, what a great idea. I made some for my mom and she loved them! My husband had an idea to lightly press three thumb tacks in the back so that they weren’t touching the wax paper. It worked out great, i dint have to move them around at all. Then to cover the holes on the back i spray adhesive some felt on the back. Thanks for all the crafty ideas
OMG YES! I am so happy to hear that the project went well for you. And I love the idea of resting them on thumb tacks. Absolutely brilliant– thanks for sharing :)
Do I need to preserve the wood first I know that’s probably a weird question but I’ve never used resin before
Nope! I would just make sure that it’s fully dry so that you don’t run into any warping issues!
These are so beautiful. Can I use fresh petals?
Can you put hot drinks on these?
You sure can! The resin will harden to be like a plastic!
Finally got all the materials, so going to try these today. can’t wait to see what mine are going to look like as I LOVE how yours came out
YAY! I hope they came out amazing!
Hello! I’m going to try these with autumn leaves. I wondered if it would be best to cover the wood with a layer of resin first, then put the leaf on, then cover it with resin? I wondered if it might help preserve the leaf. What do you think?! Thanks! :) PS thank you for the amazing idea!
Hi Katie! No need to have to do that! The coat of resin will preserve the leave for you, so you can do about the tutorial as suggested :)
Do you have to apply epoxy to the sides and bottom? If so, is there a preferred way of going about this?
It’s really a good idea in your diy tutorial. I made frames most, never thought of making a wood one.
Hi, I am so glad to have found you! I have had the idea of using local flowers for coasters and other ideas. I wanted to use other materials than wood for the coasters, but don’t know what would be ideal to use with the epoxy resin. Any ideas?
Hi Vina! You can use almost any material. I’ve tried this on bathroom tile and it works as well. Can’t wait to hear how yours turn out!
Hi! I just made mine, but I don’t think they’re right. They’ve been sitting for 3 days already after applying the resin. Are they supposed to still be shiny when finished?
Oh no! Has the resin hardened fully or was it sticky for a few days? There should be some shine because it’ll similar to a hardened plastic.
It’s still sticky! I’m wondering if I should buy more resin and put it over it again. Some parts of the coasters seemed to have dried completely. No shine at all, but I don’t think that’s right.
That’s what I was afraid of :( my guess is that something was a little off with the ratio of the mixture because it should’ve dried within 24 hours. I don’t think pouring more over will help and I am so so sorry!
Hi! I’m a bit late to the discussion, but I’m hoping you’ll see my question and have some ideas for resolving my problems. I’ve been putting resin over dried flowers for a little while now, but I have found that the resin turns the purple flowers green. Have you noticed this and do you have any tips on keeping the purples, purple?
Oooo interesting! I still have my coasters, and the leaves are still purple, so I’m not entirely sure what might be happening with yours. Are the flowers completely dry when using? I know they tend to change pigment during that process, so I’m thinking that might be a factor? Sorry I don’t have more of a definite answer for you!
I’m making these tonight, and am still a little confused on how you actually pour the resin. I imagine if you just pour it out of bowl, it will spill over the sides (as in your picture), do you then wipe it off the sides, or how do you handle the spillage? Also, do you have recommendations on how to make sure its a smooth, even coating?
Oh how fun!! I would actually advise putting them up on wood blocks (or any other item that’s smaller than the diameter of the coaster) that will boost it up from the table and allow the resin to drip off the sides. Just make sure resin doesn’t flow underneath or it might fuse the block to the coaster. For the smoothness, work on a flat even surface. Start pouring in the center and slowly and it should spread evenly.
Good luck– let me know how to goes!