This post is sponsored by Fimo + Staedtler. All opinions expressed are my own. Thanks for supporting the brands that keep The Crafted Life making!
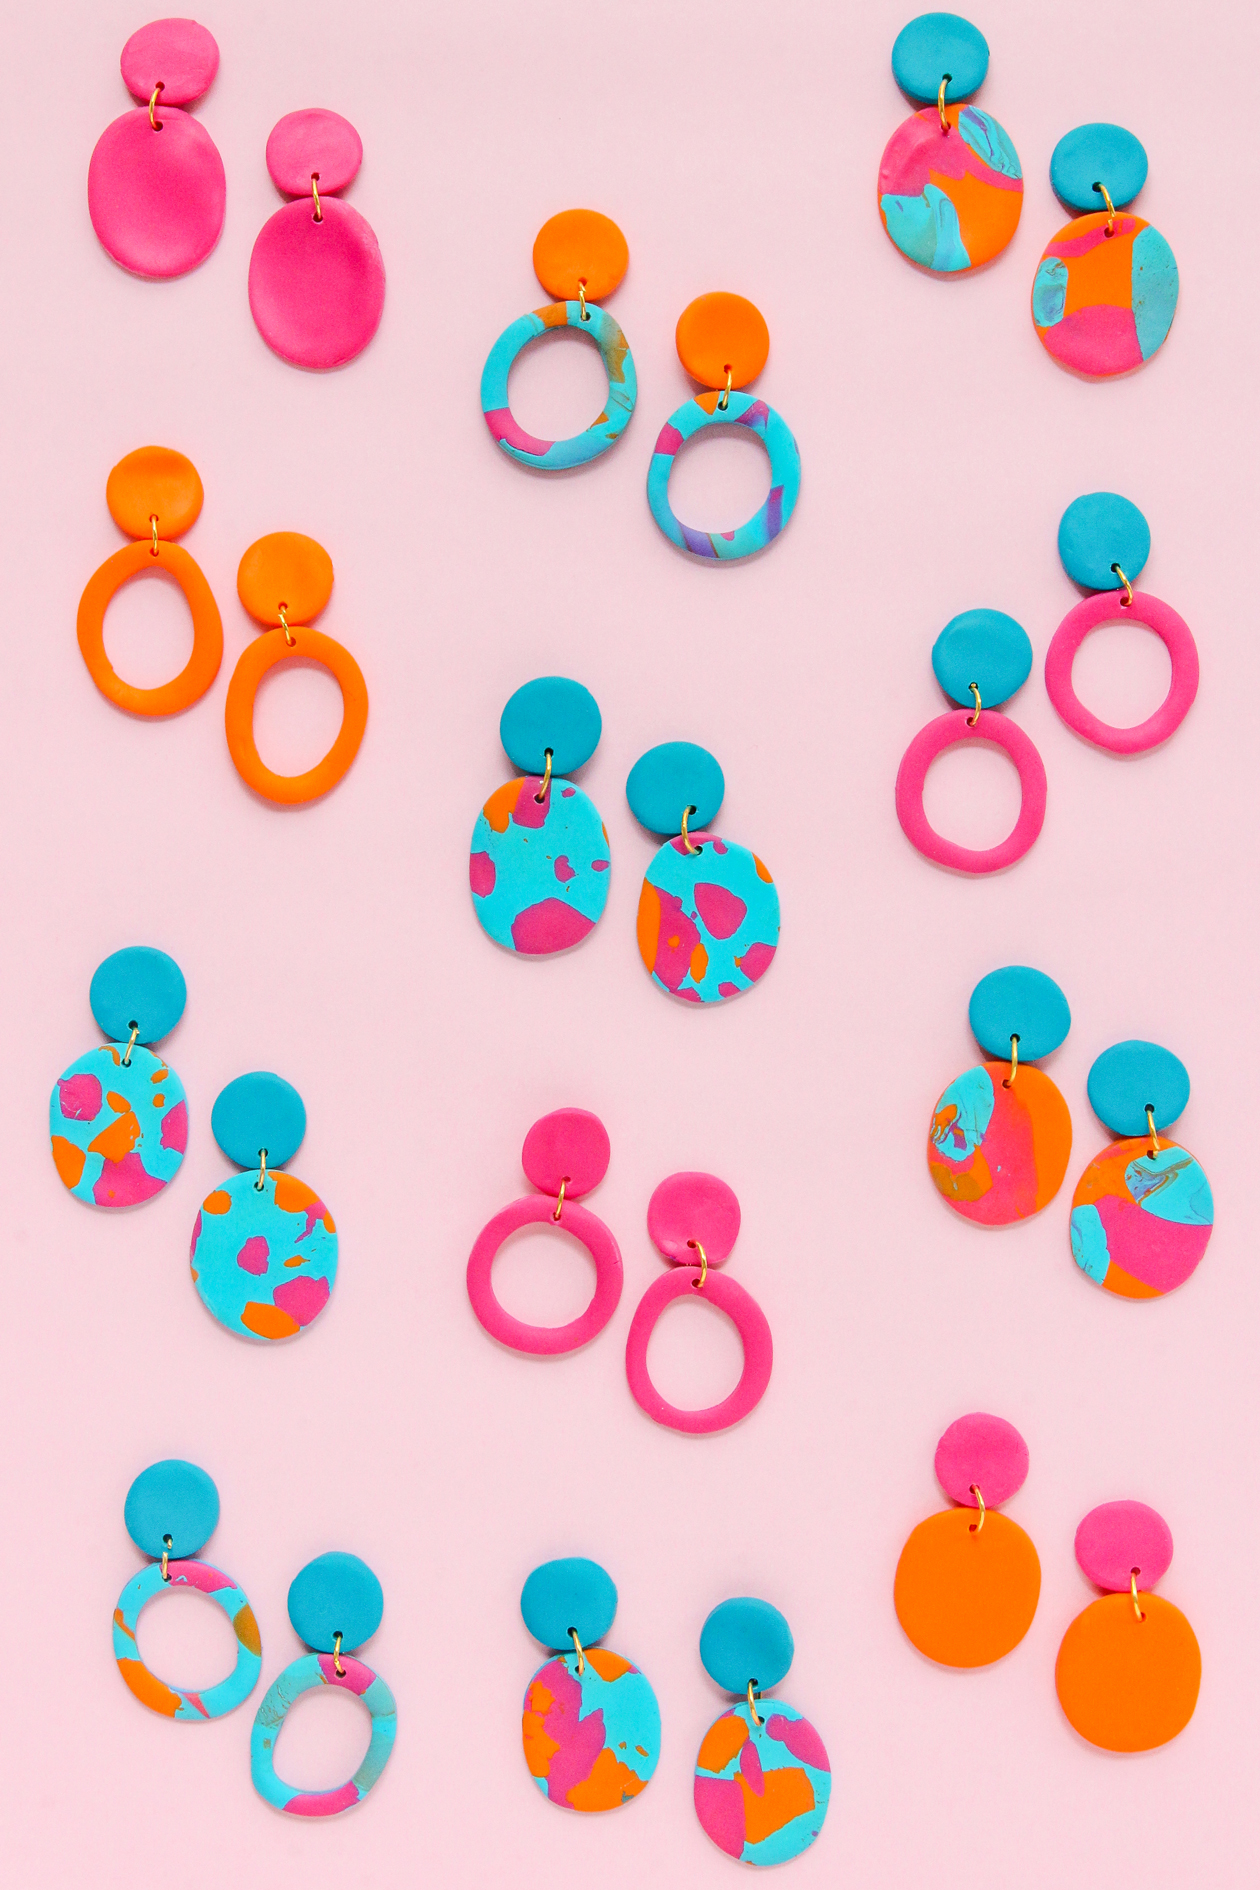
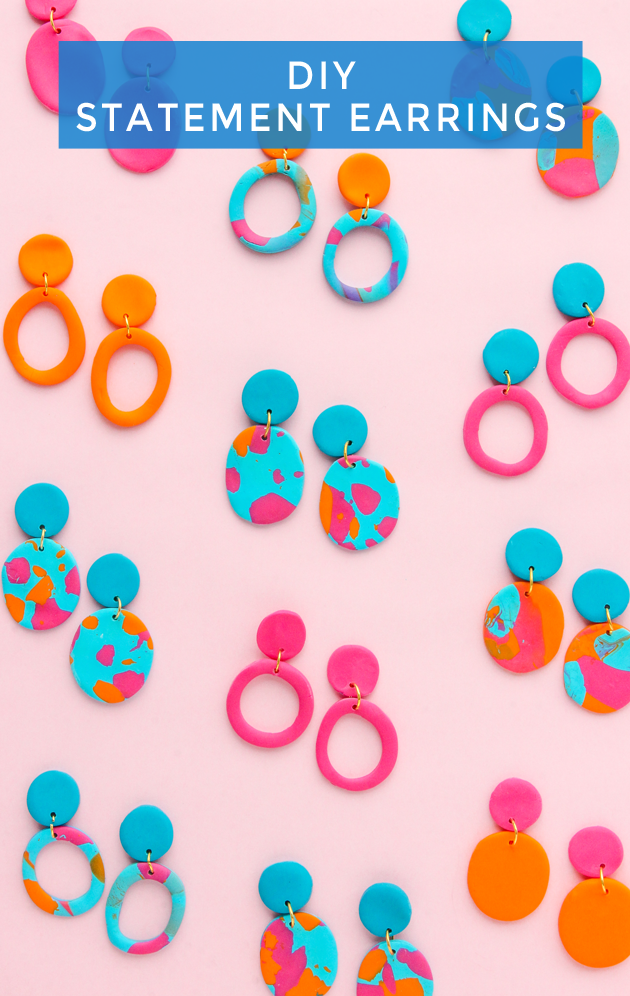 Making DIY statement earrings with FIMO is such a fun project because there are so many options for what you can create. From solid colors, to interesting patterns, different shapes and more, the possibilities are endless. And really, a little bit of clay goes a long way.
All you need to know are a few simple tips and you’ll have a new accessory wardrobe in no time. Seriously, it’s addicting! Make a batch for yourself and for your friends. Here’s how:
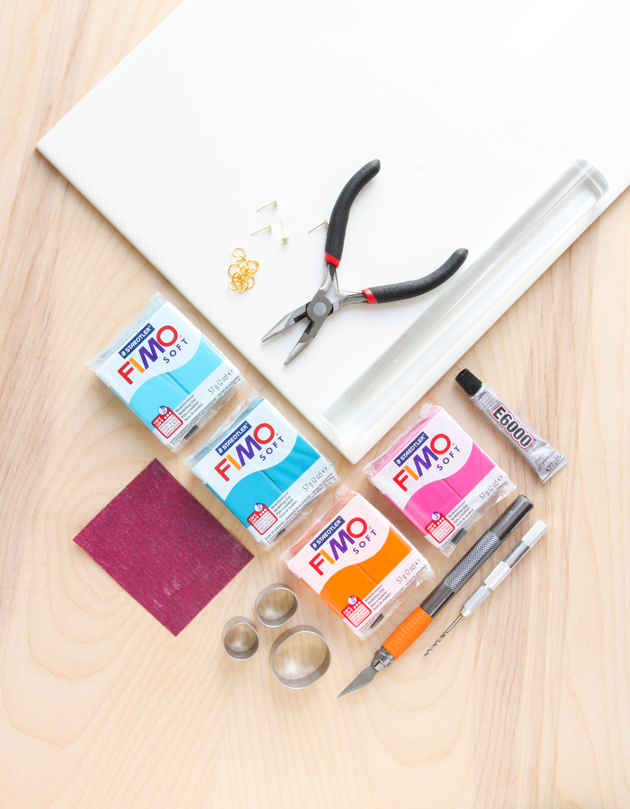 Materials
This post contains affiliate links
– Ceramic tile
– Cookie/clay cutters
– Pliers
– 10mm jump rings
– Earring backs
– Sandpaper
– Superglue (will hold much better than E6000)
Working on a ceramic tile will help you to keep your work space fuzz free. You can grab a larger tile at a hardware store. This project was also turned into a kit and is available at Michaels!
 How to Make Clay Earrings
1: Working on your ceramic tile, roll out your FIMO clay. Avoid it being too thin or too thick; you’ll want to get it to about the thickness of a quarter, no more than two (if they were stacked on top of one another). You can use one solid color for the earrings or mix and match!
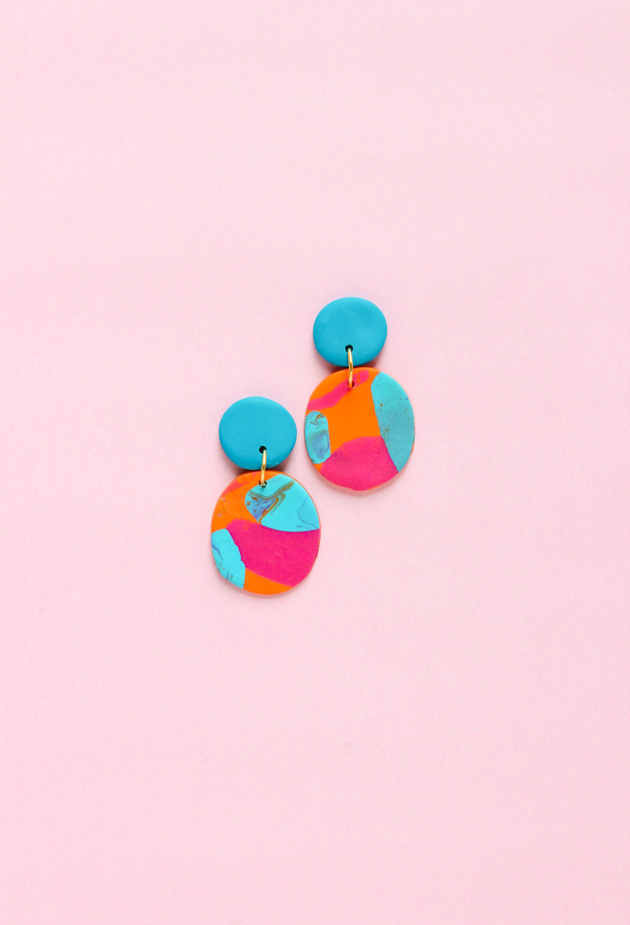
To make a pattern in your clay (without paint), first roll out the base/main color. You can create shapes for a controlled look, or simple tear up chunks for a more abstract approach (what I did). Let the secondary colors rest on top of the base color then roll the newly added clay until well blended.
2: Cut out your earring shapes with the cookie cutters and transfer to a baking sheet (I lined mine with aluminum foil).
3: Bake for 30 minutes at 230°F then remove earrings and let cool.
4: Gently sand any rough edges.
5: Line your earring pieces up for how you want them to look in your ears and drill the connecting holes. Avoid getting too close to the edge where the hole breaks through as well as making the whole too close to the center where the jump ring won’t fit.
6: Attach the earring pieces with a jump ring by holding the ring still in one hand with the pliers and twisting the other side towards it until fully closed.
7: Attach your earring backs and let dry overnight before wearing.
 So that’s how you make DIY statement earrings using clay! You can easily whip up a batch of these for a presents for all of your friends, or just do what I did and keep them all for yourself. I’m not judging. There are SO many color combo + pattern options to be made and I can’t wait to see what you come up with!