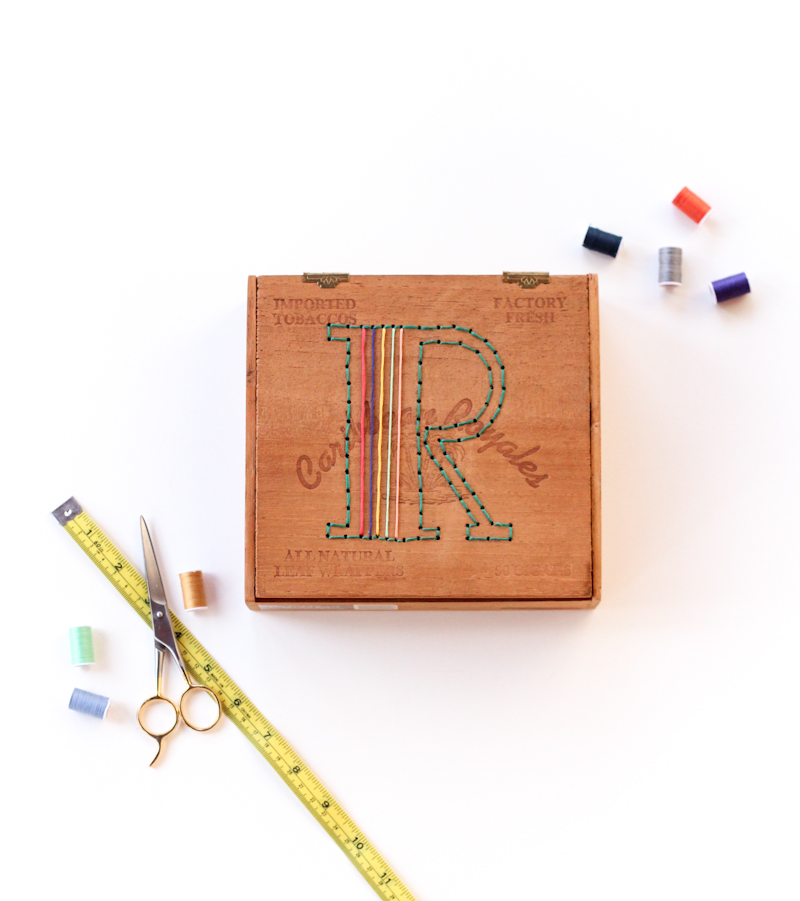
Time: 1 hour
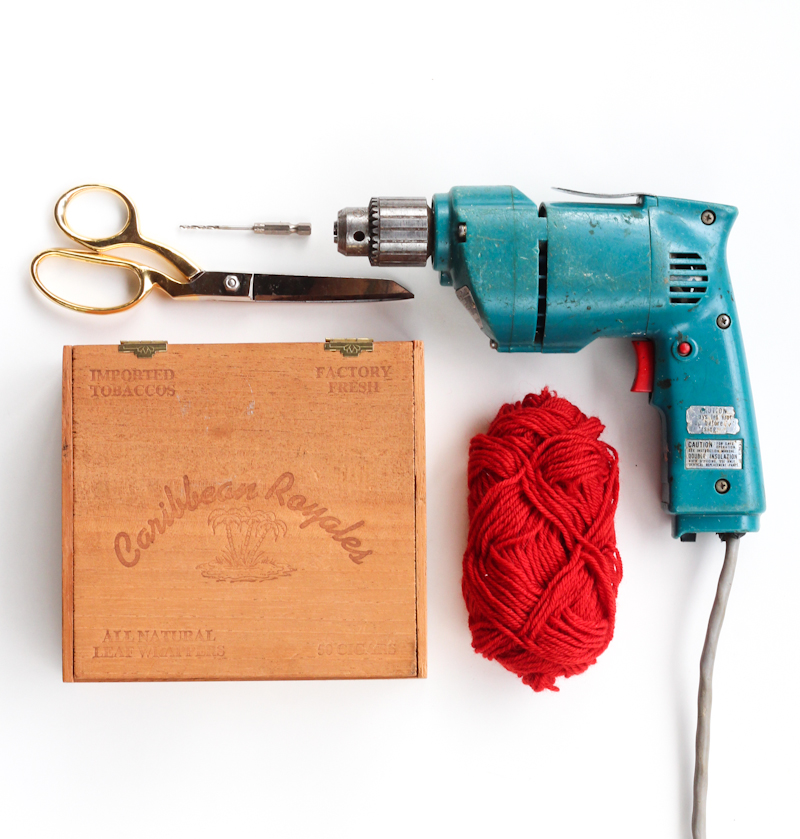
Materials: cigar box, stencil, drill, pencil, embroidery floss, scissors
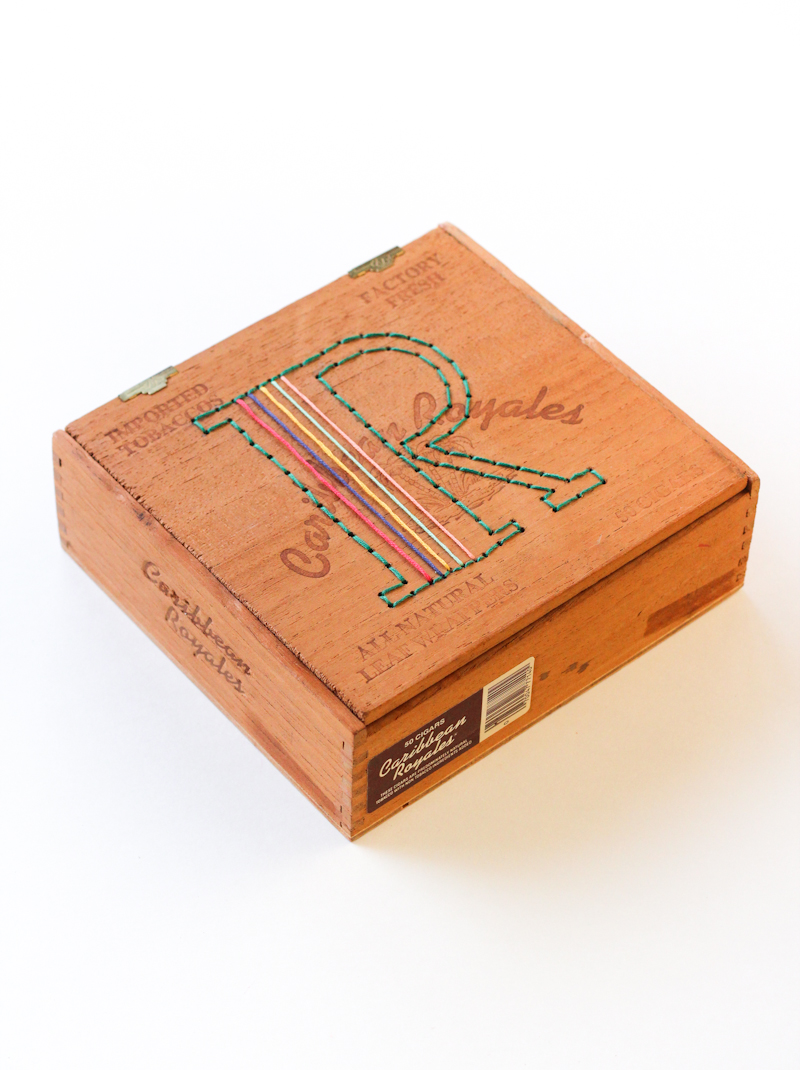
 Over the past few years of running this blog, I’ve shied away from sharing projects that involved power tools for one reason or another. But ever since making these geometric photo holders, I can’t stop day dreaming about new projects that I wouldn’t have done before, including this DIY Embroidered Cigar Box.
If you’ve never used a drill before, this project is the perfect place to start. I picked up this cigar box at an auction ($2 score!), but you can pretty much find them at most thrift stores or online. I chose to do a monogram, but the possibilities are endless!
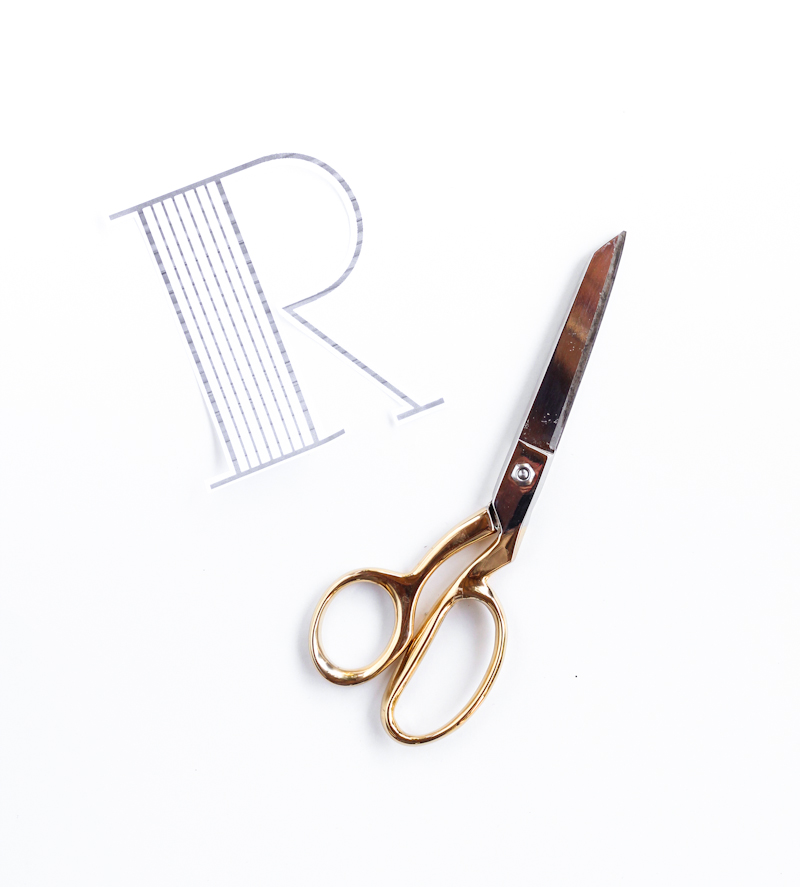 If you don’t already have a stencil you’d like to use, you can make one by printing out a letter (enlarged) and cutting it out.
 Position your letter on your cigar box then lightly trace with a pencil (you’ll have to erase these marks later).
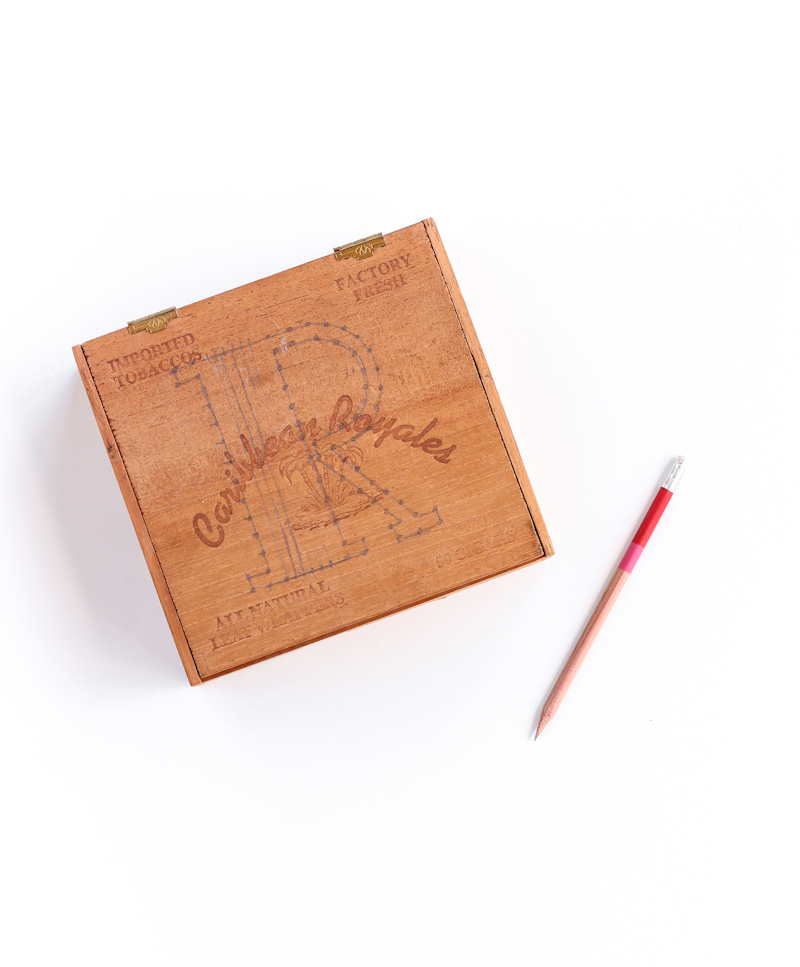 Next you’ll want to mark where you’ll be drilling. I freehanded this by making small dots that were similar to one another in spacing. Also if you were eyeing the color-blocked pencil above, here’s a handy tutorial for how to make your own!
 Drill, baby drill! Just be sure to not go through the other side of the box. If you don’t trust yourself, put a piece of wood inside the box to stop the drill from going through.
 Erase all your pencil marks and start stitching. I did a back-stitch so that the outline would be solid all the way through instead of dashed.
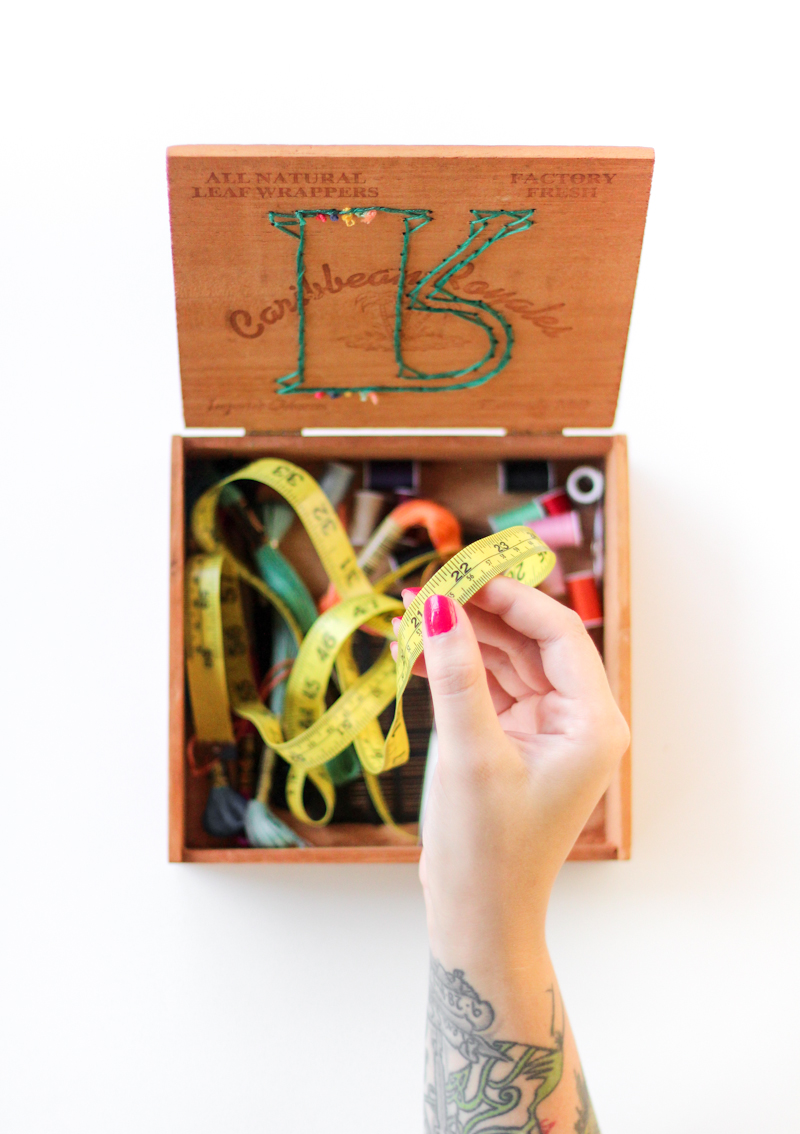
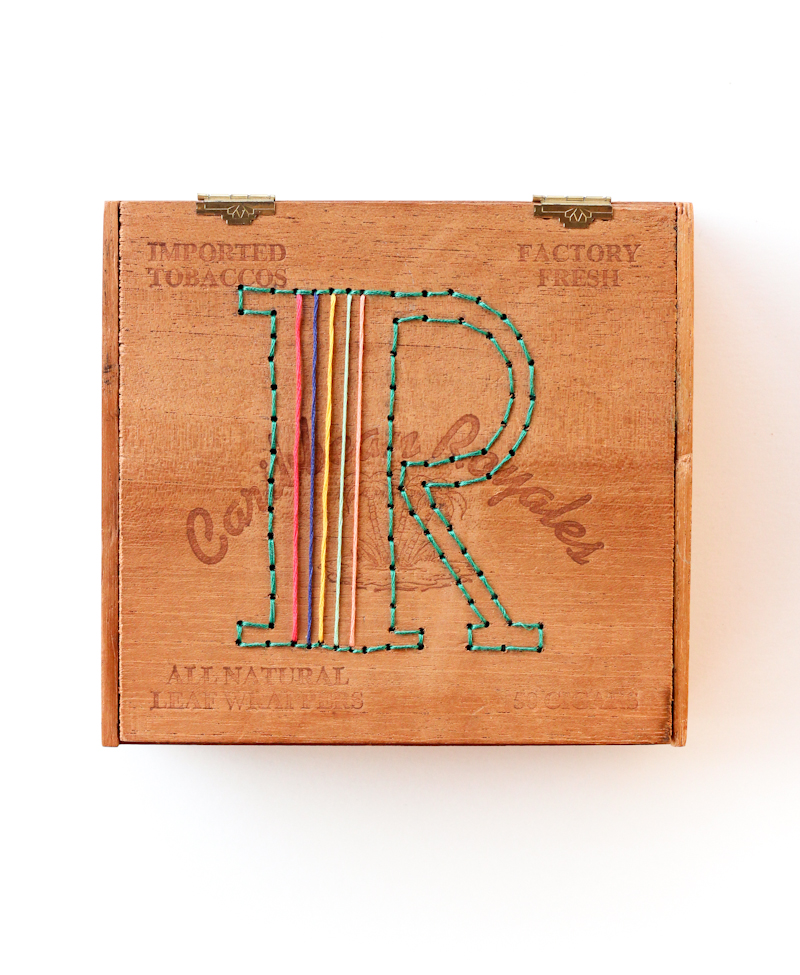 Tie off your knots and you’re done. I’m using mine as a sewing box, but you could really use it for anything. Photographs, coupons, secret candy stash, the choice is up to you!